
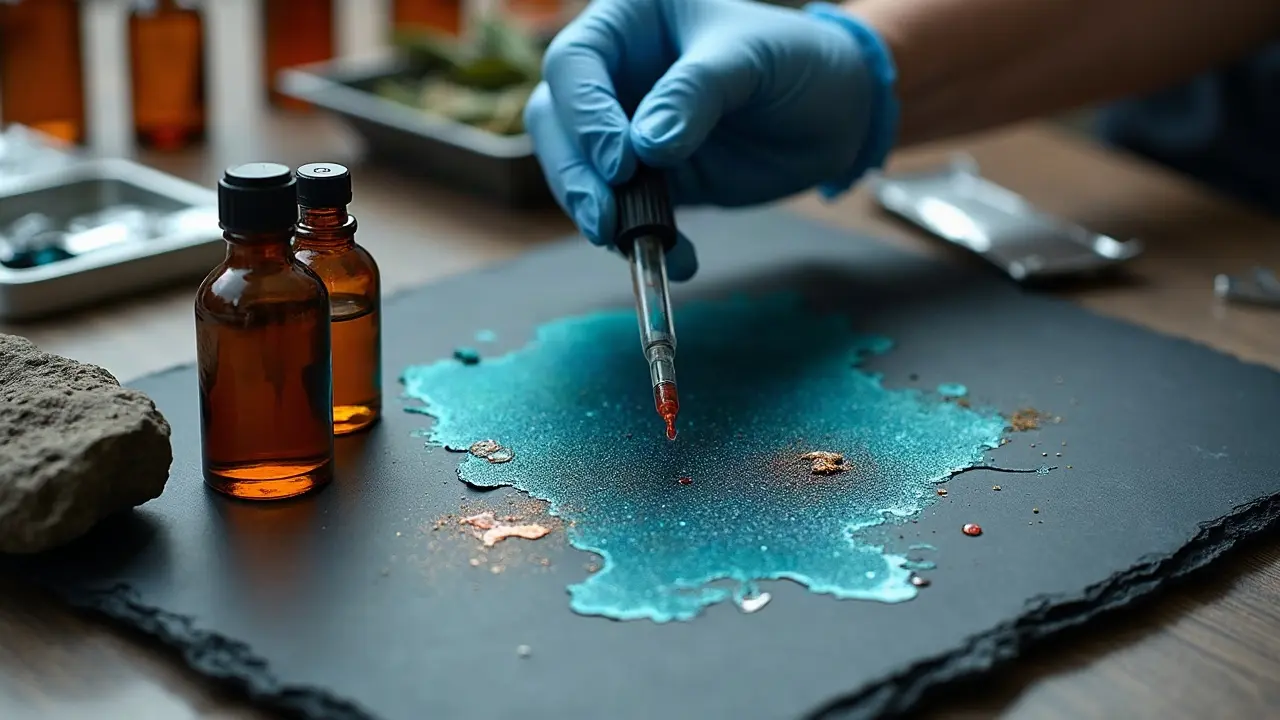
Most tattoo pigments are not individually preapproved by regulators, and many are repurposed from industrial colorants. That is not a scare line, it is a nudge to plan smarter if you are considering rare tattoo inks like UV-reactive, white-heavy, or metal-looking formulas. The payoff can be striking, the risks are manageable when you pick the right ink and studio.
What Counts as a “Rare” Ink, and Why It Matters
In practice, rare or unconventional inks are any pigments or carriers outside standard professional black and common color sets. They require extra screening because ingredients, particle size, and behavior under light can differ from norms, which changes both tattoo safety and long-term aesthetics.
- UV-reactive fluorescents that glow under blacklight, usually subtle or nearly invisible in daylight, but dependent on specific fluorescent dyes that may fade faster outdoors.
- White-only or pastel-heavy pieces relying on high titanium dioxide loads, gorgeous when fresh, prone to chalky heal and quicker optical fading on high-melanin skin.
- Metal-looking or pearlescent effects that mimic metallic shine with mica-like particles, not literal metal flakes, which can change texture or read differently once healed.
- Plant-labeled or vegan carriers, typically avoiding shellac or bone char, still pigmented by industrial colorants, so safety depends on the whole formula, not the vegan tag.
- Handmade carbon, soot, or experimental blends, sometimes used in handpoke, higher variation in sterility and consistency, only consider with rigorous studio documentation.
For color-forward planning, skim [our multicolor ink guide](/blog/tattoo-first-multicolor-ink-guide) as a baseline. Then layer the additional checks below if you are adding UV, white-only, or other tricky pigments.
Regulation, Ingredient Lists, and Proof You Should See
In the United States, tattoo inks fall under cosmetics, and while pigments can be subject to oversight, the reality is that bottles on your artist’s shelf are rarely individually vetted. Read the [FDA guidance on tattoo inks](https://www.fda.gov) to understand the limits of premarket review. The European Union tightened rules under REACH restrictions, which affected certain blues and greens, see the [European Chemicals Agency overview](https://echa.europa.eu). This is not to alarm you, it is your cue to ask for paperwork.
- Ask for the ink’s SDS or ingredient sheet, look for pigment codes like CI numbers, check carrier ingredients for isopropyl alcohol, glycerin, witch hazel, or distilled water.
- Confirm batch numbers and expiry dates, and that the studio logs which lot goes into your tattoo, this is normal in top studios like Bang Bang NYC or Good Times London.
- For UV-reactive requests, ask whether the dye set has past recall flags, and whether your artist has healed photos beyond week 12 under both daylight and blacklight.
If your studio cannot show you SDS sheets for unconventional inks, treat that as a hard pause. Transparent shops keep binders or digital files ready for client review.
Ink Allergies, Photoreactions, and Pigments With History
Allergic or photoallergic reactions are uncommon overall, but they cluster in specific pigment families. Dermatology sources consistently note that reds cause a disproportionate share of issues, and yellows with cadmium history can be photosensitive. Review the [American Academy of Dermatology guidance](https://www.aad.org) and the [Cleveland Clinic allergy overview](https://my.clevelandclinic.org) for baseline skin reaction signs.
- Reds and oranges, historically mixed from cinnabar or azo dyes, can trigger itchy nodules, eczema-like rashes, or delayed hypersensitivity that flares with sun.
- Yellow pigments, cadmium-associated in older blends, are linked with phototoxic reactions after sun exposure, always pair with daily SPF 50 on healed tattoos.
- Iron oxides in browns and some reds may darken during laser removal, and rarely cause MRI warmth or tingling, discuss your pigment set with your physician before imaging.
- Whites with heavy titanium dioxide provide opacity but can look raised during healing, and they complicate laser clearing, expect more sessions if removal is likely.
- Fluorescent UV inks look novel under blacklight but may fade faster and have less long-term data, treat these as cosmetic accents, not the main read of the tattoo.
If you have a personal or family history of dermatitis or contact allergy, add a belt-and-suspenders approach. The [Healthline explainer on tattoo allergies](https://www.healthline.com) is a good plain-language summary of symptoms and timelines that are worth knowing before you commit.
Patch Testing Rare Inks, The Way Pros Actually Do It
A true patch test for tattoo inks is not a topical smear. You need a micro tattoo, placed in a low-visibility spot, using the exact bottle and needle configuration. Plan the test at least 4 weeks before the main session so delayed reactions have time to declare themselves.
- Ask for two 1–2 mm test dots per color, one shallow, one normal depth, placed behind the ankle or near the hip to observe scabbing, itch, and color retention.
- Cover with Saniderm or Tegaderm for 24–48 hours, then wash gently with fragrance-free soap, moisturize with Bepanthen or Aquaphor as instructed.
- Log itch, swelling, or heat daily for 14 days, and watch for photo flares after brief sun exposure on days 10–28, bring notes to the main booking.
- Studios often charge $20–$60 for a comprehensive patch map, it saves far more if it prevents a partial redo or medical visit later.
If any dot produces persistent redness or itch beyond day 7, or a firm nodule, retire that color. When in doubt, choose a safer adjacent hue that tested clean, or pivot your palette strategy, for example more blackwork with selective color hits.
Longevity, Fading, and How Unconventional Inks Age
All inks fade, but they do not fade equally. Black, carbon-based, remains the most stable. White, pastels, and UV-reactive shades tend to lose punch faster, and can read patchy if packed too shallow or placed in high-friction zones. Plan your palette with realistic expectations, then set a care plan that protects saturation.
- Budget for touch ups every 2–5 years on UV or pastel accents, build this into pricing upfront so the design does not slowly hollow out.
- Commit to daily SPF 30–50+ on healed areas, and reapply outdoors, UV breaks down fluorescent dyes and shifts some reds toward brown.
- Use color-preserving balms like Hustle Butter, Mad Rabbit, or Tattoo Goo after healing to maintain surface sheen, non-sponsored examples.
- During the first week, a breathable film like Saniderm reduces scab bulk, which preserves more pigment in the dermis for truer color.
For more on what accelerates fading across placements and skin types, read [how to manage tattoo fading over time](/blog/how-to-manage-tattoo-fading-over-time) and adapt those tactics to UV or pastel-heavy designs.
Aesthetics by Skin Tone, Contrast, and Placement
Ink does not sit on top of skin, it is read through it. That means undertone and melanin density change how unconventional inks present. On deep complexions, white ink can heal with lower contrast and a higher chance of a raised texture during the peel phase. On very fair skin, UV-only pieces may look like a slight texture change until you step into blacklight.
- Use high-contrast linework to frame rare inks, so the tattoo reads well in daylight even if the rare pigment fades faster.
- Place delicate pigments away from high-friction spots like wrists or fingers, choose upper arm, calf, or scapula for better retention.
- On brown and Black skin, prioritize rich blues, violets, and emeralds for reliable read, and deploy white as a minimal highlight, not a fill.
- If the appeal is UV-only, make a dual-read plan, linework for day, fluorescence for night, so you never rely on one fragile effect.
Previewing colorways ahead of time is essential. Our platform’s design prompts in [the multicolor ink guide](/blog/tattoo-first-multicolor-ink-guide) can help you explore palettes that both flatter your skin tone and age well.
Sourcing and Artist Questions That Save You Headaches
Work with studios that stock consistent pro lines for color, then selectively source specialty inks. Common solid performers include Eternal Ink, Solid Ink, Fusion Ink, World Famous, Intenze, and Dynamic for black, non-sponsored examples. UV-reactive options are limited and variable, so your artist should show healed portfolios, not just fresh photos.
- Which brand, pigment code, and carrier are you proposing for each rare color, and can I see the SDS and batch label before booking?
- How many healed examples of this exact ink set have you done, and do you have 12-week and 1-year follow ups to review?
- What is your protocol for single-use caps, sterile needles, and cross-contamination when testing multiple rare colors in one session?
- If a reaction happens, what is your stepwise plan, studio documentation, and referral path to a dermatologist if needed?
Costs, Pain, and Session Planning With Rare Inks
Unconventional pigments can add to both planning time and consumables. Expect a $50–$200 surcharge for specialty colors or testing, on top of hourly rates that commonly run $150–$250/hour in major cities. Most clients feel similar pain to standard inks, but white highlights and repeated passes late in the session can spike to 7–9/10 because the skin is already sensitized.
- Plan shorter first sessions, 2–3 hours, to see how your skin accepts the rare pigments before packing large fields of color.
- Consider a vetted numbing cream like TKTX used correctly, artist-approved, for high-detail zones, always test for sensitivity beforehand.
- Book follow ups at 6–8 weeks for top ups, do not stack heavy color passes in day one, let the dermis recover to reduce scarring risk.
- Expect a healing window of 14–30 days, UV or white-heavy pieces may look uneven until weeks 3–4, do not judge the outcome on day 7.
Aftercare Tweaks That Protect Special Pigments
Aftercare basics still rule, just executed carefully. Gentle wash, thin moisturize, and strict sun avoidance are non-negotiable. For unusual pigments, minimize friction and watch for signs of irritation slightly longer since some reactions are delayed.
- Film dressing for 24–72 hours as directed, then fragrance-free soap, pat dry, a rice-grain layer of Bepanthen, Aquaphor, or Hustle Butter.
- No pools, hot tubs, or direct sun for 2 weeks, then daily SPF 50 after healed, reapply every two hours in strong sun.
- Avoid retinoids, AHAs, BHAs, or benzoyl peroxide on the area for 4 weeks, these speed exfoliation and can dull color prematurely.
- If you have sensitive or combination skin, see [our aftercare products guide](/blog/tattoo-aftercare-products-for-specific-skin-types) and [sensitive-skin protocol](/blog/tattoo-aftercare-for-sensitive-skin-types-revised-protocols) to tailor your routine.
If anything feels hot, very itchy, or swollen after day 3, stop topicals and get a professional opinion. Use the [AAD overview](https://www.aad.org) and [Cleveland Clinic](https://my.clevelandclinic.org) resources to recognize when a checkup is warranted.
Try rare-ink ideas safely on screen first. Use AI for Tattoo to generate colorways that respect skin tone, contrast, and aging, then [create](/create) a mockup and [try on](/try-on) placements before you book.
Try AI for Tattoo Free