
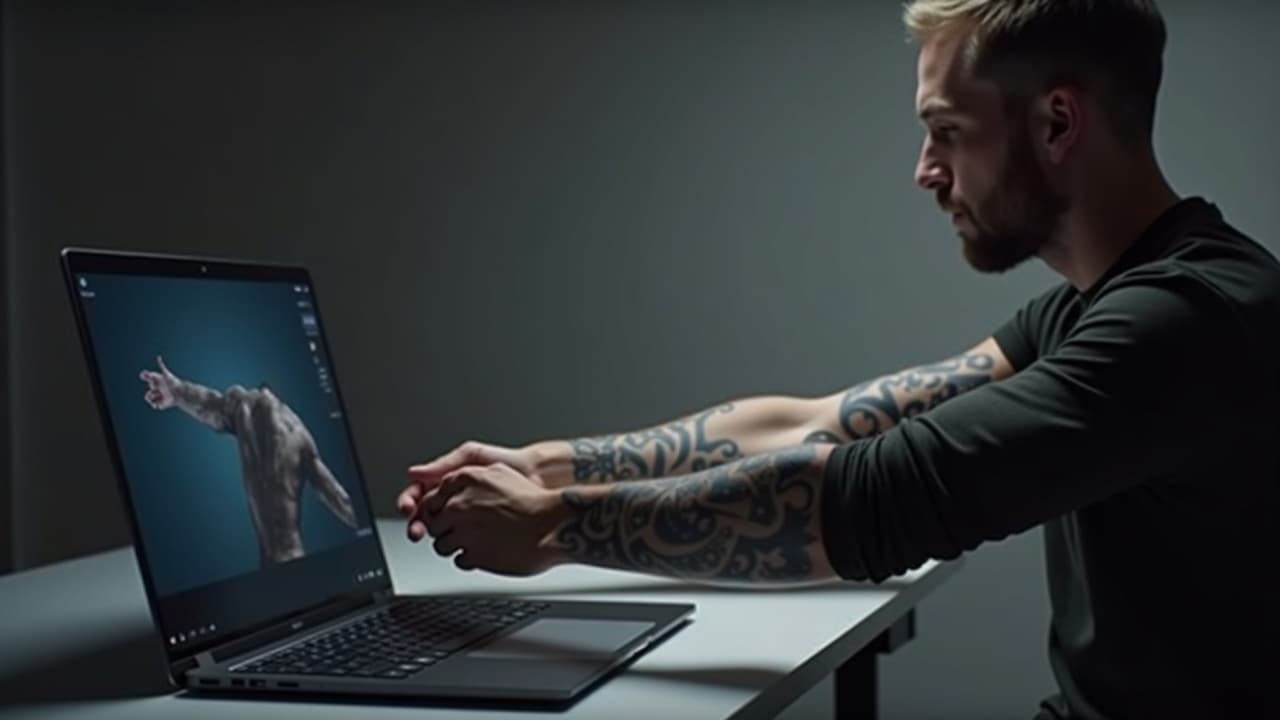
A sleeve that looks perfect on a flat mockup can warp 20 to 30 percent at the elbow once you bend. Most failures come from treating a cylinder like a canvas. The fix is engineering the wrap, not just styling the art. This guide shows a full, tool-agnostic workflow to map your limb in 3D, align motifs to muscle lines, plan seams and panels, and export print-ready tiles your artist can actually use.
Why Flat AI Images Fail on a Cylinder
Your arm is not a billboard. It is a tapered cylinder with bony landmarks and sliding skin. The inside seam of a sleeve migrates as you pronate or flex, the elbow ditch compresses, and the wrist flares with tendons. If you paste a flat AI image around a limb, three problems show up fast: spiral drift, scale creep toward the wrist or elbow, and a hard seam on the inner arm or calf. Most try-on tools only preview placement. This workflow is different from a simple try-on, it is composition and wrap engineering. If you need help with life-size previewing later, use our true-to-size try-on guide once your wrap is locked.
Step 1: Capture True-Scale Limb Photos and Measurements
Start with accurate references. Guessing circumference from a phone photo leads to scale drift. Grab a soft tape and note circumferences at wrist, 1/3 forearm, 2/3 forearm, elbow crease, 1/3 upper arm, 2/3 upper arm, and mid-bicep. Typical adult mid-upper arm circumference ranges 25–35 cm. For context, the CDC’s anthropometric reference tables report population distributions used for health assessments, which are helpful for sanity checks on your numbers. See the CDC’s dataset for details [Anthropometric Reference Data] (CDC) (CDC NHANES PDF).
- Use a 50 mm equivalent lens if you can, or step back 2–3 meters and zoom to reduce distortion. Wide angles exaggerate forearm taper and wreck scale.
- Stand in anatomical neutral, palm forward for arms, toes forward for legs. Capture front, side, and back views, plus a relaxed bend at 90 degrees.
- Tape a printed scale marker to the limb, a 50 mm bar with black tick marks. Keep it in frame for every angle to calibrate size later.
- Mark landmarks with eyeliner, wrist crease, elbow ditch center, olecranon point, biceps centerline, and the inner-arm seam line you expect to hide.
- Shoot under soft, even light. Avoid specular highlights that confuse depth maps. A white wall and a diffused lamp work better than direct flash.
Step 2: Build a Flat Arm or Leg Template via 3D or Quick UV Unwrap
You need a flat template that matches your limb’s taper. There are two reliable routes. The accurate route uses a 3D arm or leg, matched to your measurements, then unwrapped to a UV map. The fast route is a measured paper template made from taped segments. Both work if you keep scale honest.
- 3D mannequin path, In Blender, add a human base mesh, scale upper and lower segments to your measured circumferences, then mark a seam along the inner arm and unwrap to UV. The Blender Manual on Unwrap shows the exact steps.
- Paper path, Cut a strip of kraft paper as tall as your target zone. Wrap lightly around each segment and mark overlaps. Slice along the inner arm seam mark to lay it flat. Transfer measurements into a single tapered template.
- Hybrid path, Use a simple cylinder in Blender, taper to your seven circumference marks, subdivide near elbow and wrist, then unwrap. Replace later with a more anatomical mesh if needed.
Mark the elbow ditch, elbow point, wrist crease, and your planned inner seam on the template. Leave a 10 to 15 mm bleed on the seam edge so your paneling can overlap during print tests. This template becomes the canvas you feed to AI and the register you print for tape-on mockups.
Step 3: Use ControlNet to Wrap Motifs to Anatomy (Depth and Lineart)
ControlNet gives Stable Diffusion a scaffold to respect geometry. Use Lineart to preserve contour flow and Depth to respect taper and form shadow. The original ControlNet paper details how conditioning guides generation without losing prompt control. If you want the technical backbone, see “Adding Conditional Control to Text-to-Image Diffusion Models” (arXiv).
- Prepare control images, Export your flat template both as clean line art and as a shaded depth proxy. For depth, paint a simple gradient, darker near the inner seam, lighter over the outer arm ridge.
- Stable Diffusion setup, Use a SDXL base or your preferred checkpoint. Add ControlNet 1, Lineart preprocessor at 0.7–0.9 weight, Control Mode Balanced. Add ControlNet 2, Depth preprocessor at 0.4–0.6 weight for form respect.
- Prompt structure, Lead with subject and composition, not camera, “Japanese koi sweeping from wrist to bicep, chrysanthemum shoulder cap, negative space bands, clean outlines, tattoo-ready design, cohesive sleeve.”
- Negative prompts, Add “t-shirt print, poster border, frame, cut off, watermark, disjoint, mirrored seam, random scaling” to avoid framing artifacts that fight the wrap.
- Consistency, Use a style LoRA at 0.6–0.8 for line weight or render texture, or pull palette and form cues from a single reference with IP-Adapter at 0.5–0.7.
- Resolution and scale, Work at 300 dpi at final template size. For a 45 cm tall forearm section, aim for 5300–6000 px height to keep crisp stencil lines.
If you are not on Stable Diffusion, the concept still holds. In Procreate, sketch on the flat template, then use Liquify Push and the Warp mesh to drive flow along the biceps and extensor lines you marked. In Photoshop, use Displace maps built from your depth proxy. The tech changes, but the discipline is the same, always respect the template and your seam.
Step 4: Panel Breaks, Elbow Ditch Strategy, and Seam Hiding
A sleeve without a panel plan usually dies at the ditch. Plan logical breaks and treat the inner arm like a book gutter. You want the viewer’s eye to read the outer panel first, then discover the inner details without a jarring jump cut.
- Primary seam, Keep the main seam on the inner arm or inner calf. Reserve a 15–25 mm neutral strip of negative space for safe overlap and stencil registration.
- Elbow ditch, Avoid heavy fill across the crease. Use thinner linework, soft black, or open waves that can compress without cracking. Place focal petals or faces above or below the hinge.
- Elbow point and kneecap, Do not center a circular emblem on pure bone. It will vibrate during tattooing and age poorly. Slide circular motifs 10–20 mm off the point.
- Wrist and ankle, Tendons create vertical ridges. Run motifs along the ridges rather than across them. Use tapered negative bands to transition into hand or foot if those are not tattooed.
- Shoulder cap, Treat the deltoid as a separate dome panel. A chrysanthemum, mandala, or circular biomech plate sits here well, with tendrils flowing into the upper arm panel.
For multi-panel sleeves, consider three vertical panels, outer display panel for your main story, front panel for secondary motifs, inner seam panel for connectors and low-contrast texture. This split lets you hide registration and place line-weight transitions where they are least visible.
Step 5: Flexion Testing With Bend Previews
Static wraps lie. You need to preview bends before you fall in love with a layout. In Blender, add a simple armature, assign weights automatically, then add Pose Mode bends to 45 and 90 degrees at the elbow and a light twist at the wrist. Check for motif breaks across the ditch and at the seam overlap. If you do not rig, use a 2D bend test. Print an A4 strip of your elbow zone at 100 percent, tape it around your arm with the seam where you planned it, then flex. Watch where lines bunch or tear. Mark those edits on the template and iterate.
Depth-aware AI can help here too. Generate two versions of the elbow panel, one for straight, one for 90 degree flex, then design a midline that tolerates both. The goal is not zero distortion, it is controlled distortion that reads as flow, not failure.
Step 6: Focal Hierarchy and Negative Space That Survives Wrap
Great sleeves breathe. You need room for the eye to rest and a clear order of importance. Anchor your hero motifs on the outer panel where they can be seen from conversational distance, then downgrade contrast as you roll toward the inner seam. Leave planned negative bands to break dense areas and to rescue you during application when a panel needs a few millimeters of give.
If you are choosing between patchwork and cohesive strategies, study our sleeve composition guide. The same spacing logic applies to AI-driven sleeves, only now you lock spacing into a panel map so it survives bending and tape-up.
Step 7: Keep Style and Scale Consistent With LoRAs and IP-Adapter
Sleeves fall apart when motifs drift in style or micro-scale. A dragon at wrist with 0.4 mm line and a shoulder flower at 1.2 mm line will not age together. Use a style LoRA trained on the line weight or painterly texture you want and lock it in across generations. Use IP-Adapter to keep color palette and form vocabulary consistent by feeding a single master reference image. If you need help writing prompts that produce tattooable results, read our prompt and negative prompt guide.
Common Failure Modes and Fast Fixes
- Seam mismatch, If edges do not meet, widen the seam overlap and add a low-contrast connector texture. Use ControlNet Tile or Inpaint at the seam with Lineart enabled to harmonize.
- Spiral distortion, If motifs corkscrew, your template taper is off or your print scaled unevenly. Re-measure circumferences, correct UV stretch, and re-export at 100 percent with registration bars.
- Scale drift, If elements grow toward the elbow, check your depth map bias and LoRA weight. Drop Depth weight by 0.1 and add a reference grid overlay to your control image.
- Elbow crease cracking, Replace hard fills across the ditch with breathable patterning. Split a large motif above and below the hinge and bridge with light flow lines.
- Shoulder cap flattening, Treat the deltoid as its own UV island. Unwrap and design circular elements to that dome, then feather connectors into the upper arm panel.
Do not ignore printer and paper physics. Humidity can shrink paper by fractions of a percent, enough to cause a 3 to 5 mm seam error over a full forearm. Add registration bars and measure after print. Reprint if off. It is faster than forcing a bad tape-up in the studio.
Exporting Paneled Printouts Your Artist Can Use
Your goal is a kit, not a poster. Export tiled PDFs at 300 dpi with 10 mm overlaps, clear panel labels, and registration bars at wrist, ditch, and bicep. Include three layers if possible, clean linework for stencil, light grey value map for shading cues, and a colored reference for the big picture. If your artist works entirely freehand, they will still value registration marks and panel breaks.
- Scale check, Include a 50 mm bar on every tile. Tape up one tile and verify on-skin before printing the full set.
- Format, PDFs with embedded fonts and vector text for labels. Raster layers at 300 dpi minimum. Separate files per panel reduce on-site handling errors.
- Naming, Use clear names like “Forearm-Outer-Panel-A1” and “UpperArm-Seam-Panel-B2.” Your future self will thank you during session two.
- Include a flat UV, Export the naked template with landmarks. It helps your artist see where you planned hinge-safe art and where to stretch or compress.
- Deliver backups, Email the kit and bring a USB. Studios regularly lose files between devices. Belt and suspenders.
If your artist wants to derive a stencil directly from your AI linework, share our practical pipeline for converting AI designs into clean stencil lines, tattoo-ready linework workflow. That guide covers minimum line weights, smoothing, and print settings artists rely on.
Tool-Agnostic Options and When to Keep It Simple
This workflow scales up or down. Full 3D mapping with rigged bend tests gives the best predictability. But many solid sleeves were built from paper templates and disciplined negative space. If you are not comfortable in Blender, use a tapered template from measurements, sketch in Procreate over that, and only lean on AI to generate motif studies that you then compose manually. The throughline is the same, honor the template, plan the seam, and test the bend. If you want a general safety overview on tattoo products before you start shopping for papers and adhesives, see the FDA’s consumer page on tattoos and permanent makeup (FDA).
Ready to plan a sleeve that actually wraps and reads? Generate cohesive motifs with AI for Tattoo, then preview your layout on your body at true scale. Start with [Create](/create) and finish with an on-skin check in [Try On](/try-on).
Try AI for Tattoo Free