
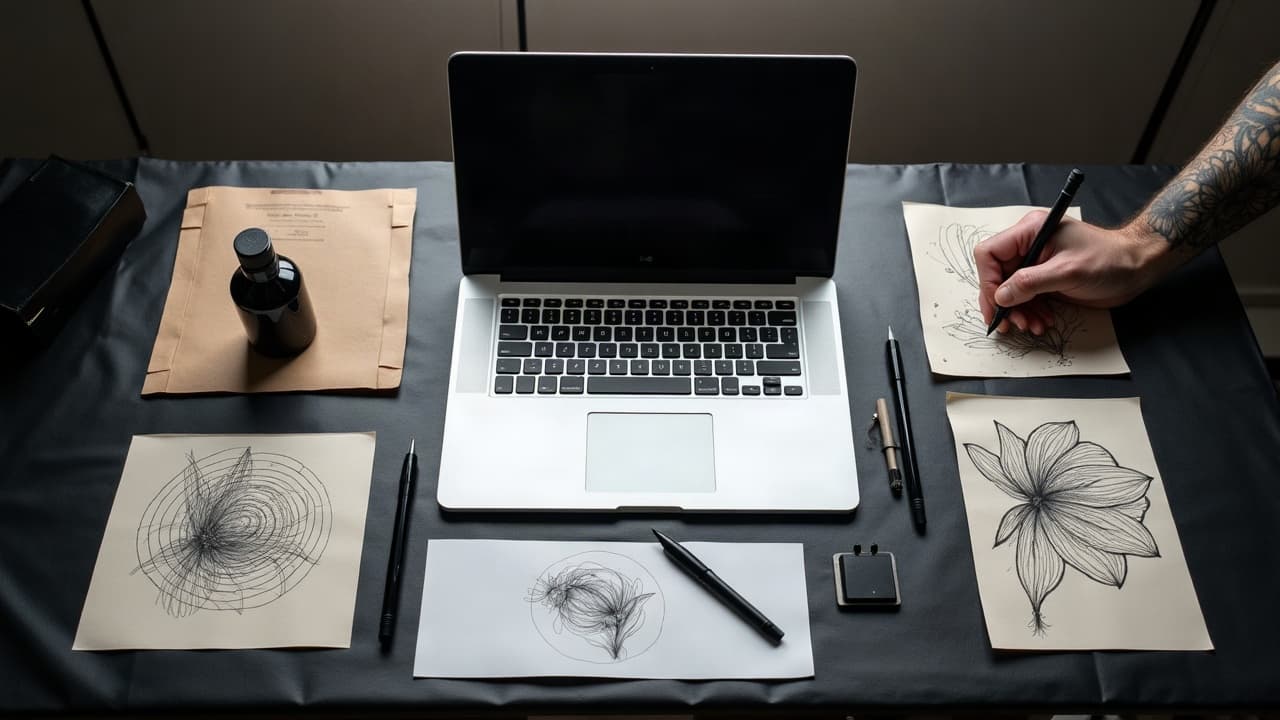
A well run prompt workshop turns chaos into design. With 90 minutes, a small crew, and a clear rubric, you can produce 30 to 50 viable AI tattoo directions, align on style, and leave with a print ready shortlist. The trick is treating prompts like materials, not magic. Set constraints, move fast, and score results against tattoo reality, line weight, placement, and skin.
Define outcomes, timebox, and budget before you invite anyone
Start by committing to what will be on the table at the end. State deliverables in plain language, not vibes. A simple target set, for example three approved concept sheets per client with front and side mockups, keeps the room honest. Put a price on the work too. For most small shops, a prompt creation workshop sits in the $150 to $600 range depending on prep, and it pays for itself by cutting revisions. Keep attendance lean so feedback stays actionable. I like 3 to 5 participants, usually one artist, one facilitator, one client, plus optional scribe.
- Workshop scope: 1 theme, 2 placements, and 3 style lanes, for example fine line, neo trad, blackwork, with 12 to 16 total shortlist images.
- Outcomes: a written prompt library, a style rationale one pager, and a next steps calendar with deposit rules.
- Timebox: 90 minutes live, 30 minutes prework, 15 minutes postwork to package files for handoff.
- Decisions in the room: choose top 3 directions and a fallback, agree on line weight ranges and size in cm.
- Out of scope: aftercare or medical advice, link clients to shop policies and reputable sources instead.
Prep the room and stack your tools like you mean it
Treat setup like stagecraft. Test prompts, hardware, and exports the day before. Work on a big screen for the room and a laptop for the pilot. Calibrate your display to sRGB so color calls are consistent, then plan to convert to tattoo reality in the review. Create a single shared board so nothing hides in tabs. I use Miro, Figma, and Notion for boards and notes, plus Procreate on an iPad Pro with Apple Pencil 2 or a Wacom Intuos for quick overdraws (non-sponsored examples). For AI engines, choose Stable Diffusion or DALL·E, and keep Midjourney for style scouting when needed, again (non-sponsored examples).
- Create a folder structure ahead of time: 00_brief, 01_prompts, 02_variations, 03_shortlist, 04_handoff.
- Paste an agenda at the top of the board with timestamps, keep tracks like a setlist.
- Preload 5 to 8 reference tiles per style lane in a grid, label sources and usage rights.
- Set a neutral lighting mockup and aspect ratio 1:1 or 3:4 templates for placements.
- Have a physical ruler and printable scaling guide ready, plan to test at actual size.
If you want fast style cues, spin up a quick audit using our styles gallery and save a few tiles to the board. For mixed teams or remote clients, start an async prework thread where everyone drops one sentence prompts and two references. This reduces blank page jitters and sparks stronger first sprints.
Assign roles and ground rules so feedback is crisp
Workshops stall when jobs blur. Name roles at the start and write them on the board. Keep etiquette simple, one voice at a time, disagree with options, and timebox comments to 30 seconds. I like a visible timer and a parking lot column for good ideas that are off topic. End each segment with a decision or a clear carry, not a maybe.
- Facilitator, runs the clock, enforces scope, keeps energy up.
- Prompt pilot, types prompts, manages seeds, toggles settings, exports images.
- Scribe, captures successful prompts and rationale in a prompt library doc.
- Style librarian, curates references, tags them, and checks usage rights.
- Client voice, states must haves and hard no’s, confirms shortlist picks.
Build a tattoo smart prompt architecture, then stick to it
Generic prompts make pretty posters, not tattooable art. Use a structured recipe that talks like an artist. I build every base prompt with these elements, then tune per engine. Write it long form once, then abbreviate. A shared language avoids derailments and makes iterations fast and consistent. If your crew is new to this, skim our collaborative prompts guide before showtime.
- Subject and symbolism, say “heron with river reeds, resilience and balance”.
- Style lane, for example “blackwork, high contrast, bold shadows” or “fine line, micro dot shading, low noise”.
- Composition, “3/4 view, centered, rule of thirds, negative space on the right”.
- Placement and size, “forearm outer, 16 cm tall, reads at 3 meters”.
- Technical constraints, “no watercolor bleed, avoid photoreal pores, line weight 0.25 to 0.6 mm”.
- Palette intent, “mostly black, minimal red accent, no neon”.
- Engine controls, “seed 12345, CFG 7, steps 30, aspect 3:4”.
- Negative prompts, “no extra limbs, no background text, no out of frame cuts”.
Example base prompt starter: “heron perched on reeds, resilience and balance symbolism, blackwork with bold shadows and clean negative space, 3/4 view, forearm outer placement, 16 cm height, line weight 0.25 to 0.6 mm, reads at 3 meters, seed 12345, aspect 3:4, no watercolor bleed, no photoreal pores, no text.” Save it, then fork responsibly.
Run fast ideation sprints that make variety without chaos
Short, focused bursts beat one long grind. I open with a warm up where the room writes three one liners each in 5 minutes. The pilot expands the best lines into full prompts and fires a first pass. After that, we sprint. Keep the format fixed so attention stays on design, not settings. Switch one variable at a time, usually style or composition. Use silent voting to avoid design by committee.
- Crazy 8s prompt remix, 8 variants in 8 minutes, vary only composition words.
- Style spectrum, run the same subject across blackwork, neo trad, fine line, and illustrative.
- Placement first, write prompts that name skin real estate up front, for example “upper back, wide wingspan”.
- Constraint flips, deliberately cap detail density or force large shapes to test readability.
- One shot wild card, once per sprint let the pilot try a weird angle the room would never pitch.
Iterate with evidence, score what actually tattoos well
Beautiful does not equal tattooable. Print at size or use a quick mock on skin. Read it from 3 meters. Check line continuity, shading fields, and trap areas against your hand’s needle sets. I like to mark potential problem zones in red on a copy, then rewrite prompts to clean them. Use a simple scorecard so choices feel clear, not personal. For deeper methods, see our prompt feedback and evaluation techniques.
- Tattoo ability score, 1 to 5, accounts for line weight feasibility with 3RL, 5RL, 9M groupings.
- Readability at distance, 1 to 5, test at scale on forearm or calf using the try on mock.
- Aging and upkeep, 1 to 5, avoid fragile micro details on zones that rub or get heavy sun.
- Client story fit, 1 to 5, does it reflect the brief’s symbolism and lifestyle.
- Effort to execute, 1 to 5, honest hours estimate and pain window for the placement.
When health context matters, stay in your lane and use reputable sources. For example, if a client has keloid history or eczema, design choices might shift toward larger negative space and lower trauma styles. Point them to the American Academy of Dermatology guidance and the Cleveland Clinic dermatology insights rather than speculating. If ink questions arise, the FDA on tattoo inks and pigments explains that color additives for injection are not formally approved, a reminder to choose trusted suppliers.
Respect ethics, references, and consent like a pro
Good workshops avoid messy IP and privacy issues. Only use references you shot, the client owns, or are public domain and clearly licensed. Always label sources and write consent notes on the board. Avoid uploading private client photos into tools that train on inputs. Limit personal data in prompts. Keep a log of model names and versions for transparency. If you need facilitation tactics for divergent thinking and voting, the Nielsen Norman Group on ideation workshops is solid reading. For safety context around inks and reactions, link to the FDA on tattoo inks and pigments again and keep medical talk out of scope.
I add a standard disclaimer panel to the workshop board. It states that design decisions consider long term legibility and placement, and that aftercare follows the studio’s instructions, not the workshop deck. When clients ask for product names, I reference Bepanthen, Aquaphor, Hustle Butter, and Mad Rabbit as common aftercare examples only, then defer to the artist’s protocol (non-sponsored examples).
Document, hand off, and set up the next session
The deliverable is not only images, it is a system someone else can pick up tomorrow. Package your prompt library, shortlist images, and notes into a clean folder with a readme. Name files consistently, client_date_style_seed_v3.png, so nothing goes missing. Export both full res and print ready sizes. If the artist is different from the pilot, include an execution note whether linework stays open or blends with whip shading, and expected 2 to 3 session plan for larger pieces.
- Handoff pack, prompts as text and PDF, shortlist images, mockups, and a one page rationale.
- Next steps, booking link, deposit amount, and a target session date.
- Risk notes, placements to avoid for detail, sun exposure concerns, or motion fold problems.
- Metrics sheet, fill in numbers right away while memory is fresh.
- Client homework, confirm top 3 and bring any personal reference for symbolism only.
Measure what matters. I track concept acceptance rate, time to shortlist, and number of off brief reworks. A healthy workshop gets 70 percent plus client acceptance on first pass and reduces pre tattoo revisions by 1 to 2 rounds. For remote teams, record the session, keep chat logs, and do a 15 minute async recap with the client the next day so selections hold after they sleep on it. When placement is in question, send them to our try on preview and size guide to test scale and orientation at home.
Bring this playbook to life in minutes. Open AI for Tattoo, start a session with our Create generator, and push a few structured prompts to see instant style lanes. Use the Try On tool to sanity check placement and size before you book. Ship a confident shortlist the same day.
Try AI for Tattoo Free