
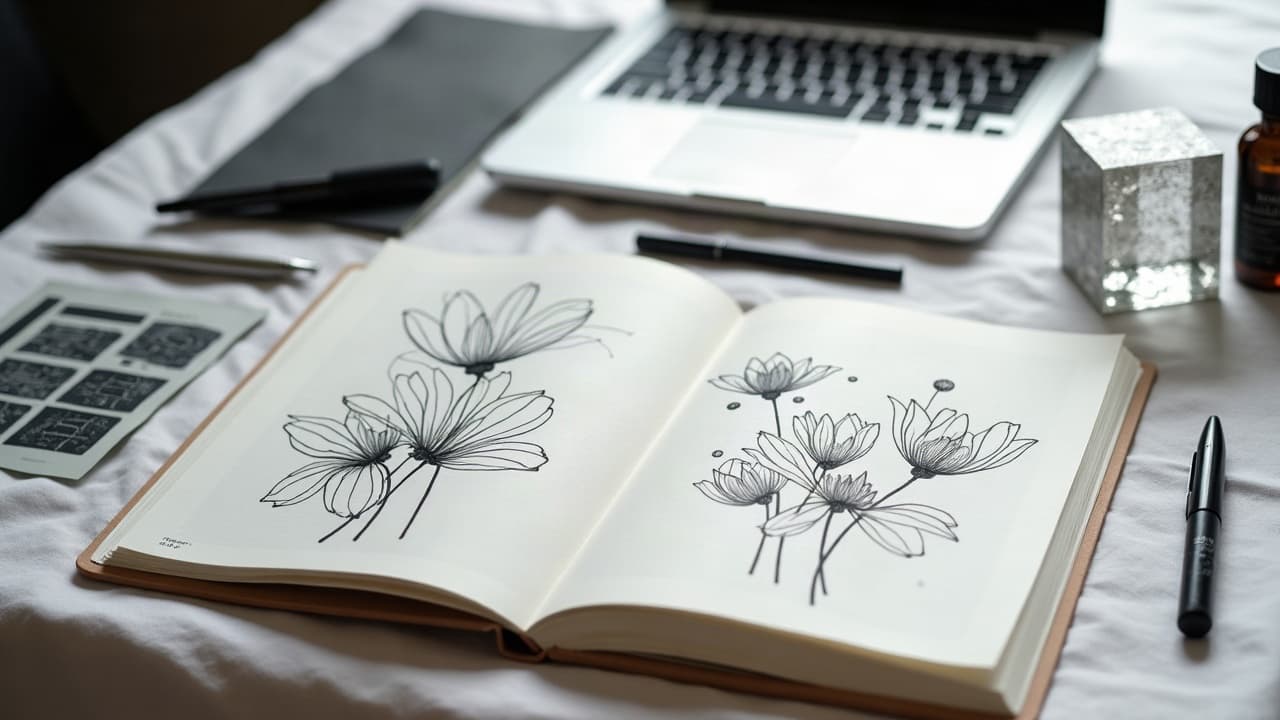
When workshops use structured AI tattoo prompts, teams typically move from vague ideas to print-worthy comps in 90–120 minutes, not days. The format keeps everyone, artist and client alike, pulling in the same direction while still leaving room for surprise. The result is more personalized tattoo design with fewer back-and-forth emails and far less friction.
Set Workshop Goals and Constraints With Prompt Frameworks
Start by defining what success looks like. Agree on one clear objective for the session, a reference style family, and a must‑have list of symbols or stories. A shared prompt framework keeps the room efficient and makes later edits measurable. I use a simple scaffold: Theme, Motifs, Style, Placement, Format, and Constraints. Write it on a whiteboard where everyone can see it.
- Theme and story: "healing after a marathon injury" or "honoring a first‑generation heritage." Translate vibes into concrete nouns and verbs that prompts can act on.
- Motifs: pick 2–3 anchors, like asclepius staff, gingko leaves, ocean waves. Name what is in frame and what is not.
- Style: choose a lane such as fine line, neo‑traditional, Japanese irezumi, or watercolor. Browse styles together to lock vocabulary.
- Placement and scale: "inner forearm, 15 cm tall," or "upper back panel, 20 x 25 cm." Add readability at 1–2 meters and healing window 10–14 days if relevant.
- Format and output: request high‑contrast linework, transparent PNG, and front + 30° angle for mockups. Decide on 2–3 variations per round.
Build a Shared Visual Vocabulary Before You Generate
AI listens best when the room speaks the same visual language. Spend 10–15 minutes collecting reference textures, line weights, and compositional moves. Save three categories: ideal, stretch, and avoid. Use small thumbnails with labels like "dense hatching" or "open negative space" so you can point to them mid‑prompt. If the client is unsure, walk them through our negative space primer for fast wins. Then skim styles to agree on how black saturation, line hierarchy, and contrast should feel.
- Pick one north‑star image. Not to copy, but to anchor composition rules like balance and focal points.
- Label the "no" board with 3–5 items, such as no photo realism, no dotwork gradients, no micro text under 2 mm.
- Create a glossary card. Define 3RL–7RL line ranges, whip shading, and packed black so edits stay technical and not just vibes.
Prompt Templates That Spark Client Creativity
Give the group scaffolds that invite specific choices. Templates reduce blank‑page anxiety and surface the client’s taste quickly. Ask clients to fill in the blanks out loud, then shape those words into AI tattoo prompts in real time. Keep wording literal, short, and ordered by importance.
- Motif + style + placement: "[motif 1], [motif 2], fine line, upper forearm vertical, high contrast, clean negative space, minimal shading, 2 variants."
- Story to symbol: "translate '[short memory]' into two symbolic elements and a binding motif, bold outer contour, no text, export transparent PNG."
- Style sandwich: "start with neo‑traditional shapes, overlay botanical engraving hatching, keep single‑needle outlines on small elements, 3 options."
- Constraint first: "design for dark skin contrast, avoid thin gray washes, prioritize solid fills and thick line outer frame, 4 mockups."
- Evolution lane: "Round 1 broad, Round 2 micro‑edits, Round 3 tattoo‑ready linework, maintain original symbol hierarchy." See our prompt evolution guide.
Live Iteration Techniques in Group Sessions
Structure keeps momentum. I run a timed loop: generate, sort, annotate, evolve. Display 4–6 comps at a time on a large screen and pause the room for two‑minute gut picks. Capture feedback as short, labeled notes that map to the prompt, not general commentary. Use a second monitor to adjust the prompt while the group still remembers what they meant.
- Two‑stack refinement: stack A maximizes composition, stack B maximizes line clarity. Cross‑pollinate wins into a merged Round 3.
- Yes‑and edits: replace "I don’t like it" with "keep X, reduce Y, add Z." Require three edits per round to stay actionable.
- Timer discipline: 5 minutes per iteration cycle for small pieces, 10 minutes for large. Cap at 3 rounds in‑session to avoid fatigue.
- Annotation best practice: convert feedback into atomic prompt tags. For a primer, share our annotation guide.
Roles, Consent, and Credit in Collaborative AI Design
Before the first prompt runs, clarify roles. The artist leads curation and tattoo feasibility. The client owns narrative truth and vetoes. If multiple artists are present, rotate creative director, prompt operator, and notetaker every round. Get written consent to capture photos or screen recordings, and document how final files will be shared and by whom.
Be transparent about training data limitations and ethical lines. Do not instruct AI to copy living artists’ signature work. Credit collaborators when sharing outcomes and keep a shared folder with versioned prompts and round exports. If you plan to test adhesives or apply a temporary stencil during the workshop, brief clients on potential skin reactions. The American Academy of Dermatology notes that tattoo and adhesive allergies are real concerns, especially in those with prior sensitivities (AAD overview). Reassure clients that the session focuses on design, with optional on‑skin mockups for those who opt in.
Managing Scope, Budget, and Timeline With Prompt Milestones
Workshops stall when scope is fuzzy. Price the session by outcome and rounds, not endless exploration. For most single‑motif pieces, a 90‑minute workshop with 3 prompt rounds and 1 polish pass is enough. Multi‑panel or back‑piece concepts usually need a second session. Put all of this in writing before you start generating.
- Pricing bands: $75–$125 per attendee for group discovery, $150–$250 for 1:1 premium concepting. Convert part of the fee to the tattoo deposit.
- Milestones: Round 1 mood comps, Round 2 merged direction, Round 3 tattoo‑ready linework. Deliver 2–4 final boards as takeaways.
- Change guardrails: one out‑of‑scope pivot allowed per session. Additional pivots billed at $25–$50 each to protect time.
- Off‑ramp: if the workshop fails to produce a viable direction, credit 100% of the fee toward a traditional sketch commission.
From Screen to Skin, Translating AI Comps Into Tattoo‑Ready Linework
AI excels at composition and motif ideation. Before anything becomes a stencil, the artist must humanize it. Redraw into clean vector‑style linework, simplify micro‑textures, and enforce line hierarchy for readability at arm’s length. Avoid ultra‑dense hatching where skin will move or crease. Check negative space and ensure core silhouettes are readable if the piece is seen in a mirror or from 2 meters away.
Run a technical pass: define primary contours at 7RL–9RL, inner details at 3RL–5RL, and shade with whip or soft black suited to the client’s skin and placement. Keep text above 2.5–3 mm height. If you plan a quick on‑skin mockup, remember that some adhesive films and transfer gels can irritate sensitive skin. Healthline highlights that contact dermatitis can occur with adhesives and tattoo products, so a small patch test is smart for first‑timers (Healthline reference).
Accessibility, Safety, and Ethics in AI‑Assisted Workshops
Make the room inclusive. Provide large‑font screens, spoken descriptions of visuals, and color‑blind‑safe palettes when reviewing. Offer camera‑free zones for privacy. Stick to single‑use, studio‑grade materials if doing any on‑skin trials, and clean shared devices between participants. The U.S. FDA reminds consumers that tattoo inks and adjunct products are not risk‑free and may contain impurities, so treat all demos as optional and opt‑in only (FDA guidance).
If a participant reports a history of skin reactions or eczema, avoid adhesives and skip any topical testing. The American Academy of Dermatology and Healthline both provide accessible overviews on allergic responses and aftercare basics, which is useful context when setting expectations for design‑only sessions (AAD overview, Healthline reference). When in doubt, keep the workshop screen‑based and book the stencil test for a separate day.
Tool Stack and Room Setup That Actually Works
You do not need a cinema studio. You need accurate displays, comfortable seating, and fast iteration. Set up a big screen for group viewing, a side monitor for the prompt operator, and a quiet corner where the artist can redraw winning comps. Back up to cloud storage the moment a round closes.
- Hardware: iPad Pro + Apple Pencil, Wacom Cintiq or Huion Kamvas, color‑accurate monitor, and a ring light for photo docs. Printers like Epson EcoTank for proofs (non-sponsored examples).
- Software: Procreate, Clip Studio Paint, Affinity Designer, and AI for Tattoo for generation and try‑ons. Keep versions labeled R1, R2, R3 (non-sponsored examples).
- Supplies: Saniderm, Hustle Butter, Mad Rabbit only if you are doing optional on‑skin try‑ons, plus hypoallergenic tape and transfer gel (non-sponsored examples).
- Ops: Assign a file wrangler to name exports, and a scribe to translate spoken feedback into prompt tags for the next round.
Where AI for Tattoo Fits in a Collaborative Workflow
Use AI for Tattoo to accelerate the parts humans find repetitive and to visualize placement quickly. Generate 3–6 style‑faithful comps per idea, filter them with the room’s glossary, and preview on body with virtual try‑ons so scale and flow are real, not imaginary. Save your best prompts inside a shared board so the whole team can keep evolving them between sessions.
- Kickoff: capture the client’s story, then open create to run Round 1 with two style variants.
- Refine: log atomic edits using our annotation tips, then evolve prompts for Round 2 merges using this evolution guide.
- Validate: use try‑on to check curve flow and readability at target size, then export a tattoo‑ready linework board.
One last safety note for studios that also sell aftercare: keep product talk factual and separate from medical advice. Share official resources when asked about risks. The FDA and AAD are reliable starting points for general guidance, and JAMA Dermatology regularly publishes peer‑reviewed research on tattoo complications for those who want deeper reading (FDA guidance, AAD overview, JAMA Dermatology).
Ready to turn a client’s story into a clear, tattoo‑ready direction in one session? Open AI for Tattoo, run structured prompts in create, and validate scale with instant try‑ons. Co-create faster, keep the art yours.
Try AI for Tattoo Free