
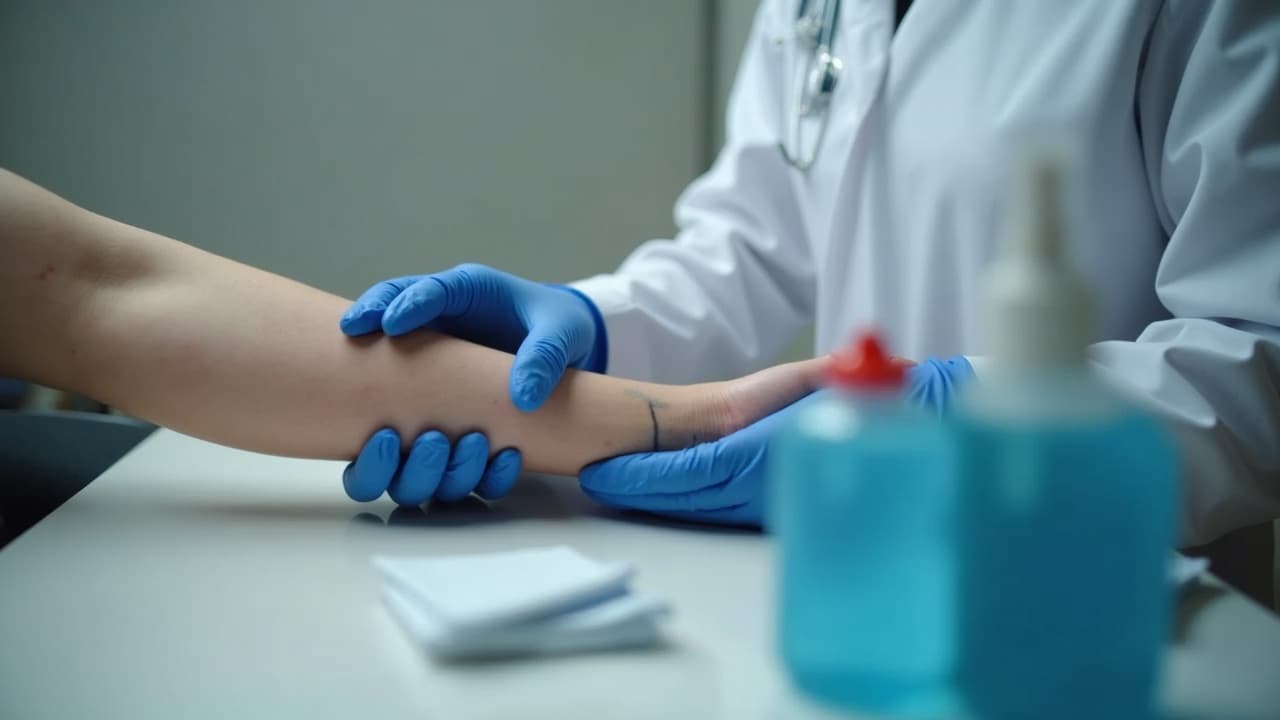
Most tattoo infections appear within 3 to 7 days of the appointment, and nearly all are preventable with clean technique and smart aftercare. The problem is that normal healing can look dramatic, so people either panic too soon or wait too long. As a studio lead who has seen thousands of heals, I’ll show you what is normal, what is not, and the exact moves that protect your tattoo without overreacting.
What Normal Healing Looks Like vs True Infection
Healthy tattoos behave like a controlled abrasion. Expect warmth, redness just beyond the stencil, clear plasma weeping, and mild swelling in the first 24 to 48 hours. By day 3 to 4, the surface calms, light scabbing or thin peeling starts, and itch picks up. Color looks dull under the healing layer and brightens again by week two. A true infection looks different. It ramps up when a tattoo should be quieting down, and it adds systemic clues your body is fighting something.
- Normal early signs, pink halo within 1 to 2 centimeters, light warmth, clear or slightly yellow plasma film that dries to a tight sheen.
- Normal week-one signs, thin flakes, mild itch, light tenderness, no new swelling, and no foul odor.
- Infection red flags, spreading redness bigger than a credit card after day 3, throbbing pain that worsens, thick green or gray pus, and a sour or foul smell.
- Systemic red flags, fever over 100.4 F (38 C), chills, red streaks moving away from the tattoo, swollen lymph nodes.
For clinical context on skin infections and red-flag symptoms, see the American Academy of Dermatology guidance on skin reactions American Academy of Dermatology. Cellulitis specifics, including fever thresholds and spreading redness, are outlined by Mayo Clinic, and Cleveland Clinic provides practical signs and timelines for infected wounds Cleveland Clinic.
A Clear Timeline: Day by Day Red Flags
Tracking your healing by days helps you decide when to wait and when to act. The trend matters. A tattoo that looks a bit angry on day one then improves is normal. A tattoo that looks fine on day one yet worsens sharply by day four belongs on a clinician’s radar.
- Days 0 to 1, bright redness, warm to touch, light oozing of clear plasma. Keep it clean and covered as directed. No thick pus or foul odor should appear.
- Days 2 to 3, redness should shrink, warmth should reduce. Peeling can begin. Worsening pain or expanding redness beyond 2 inches is not typical.
- Days 4 to 7, itch increases, flakes appear like a sunburn. Sharp swelling, hot skin, or green discharge now suggests infection rather than irritation.
- Week 2, color looks muted then improves. Any new fever, red streaks, or tender lumps up the limb at this stage is a seek care now situation.
Healthline summarizes typical healing milestones and common misreads like mistaking plasma for pus Healthline. If your timeline breaks this pattern in a worsening direction, assume more than routine healing and get evaluated.
What Actually Causes Tattoo Infections
True infections come from bacteria getting into a fresh wound. That can happen during the procedure, right after, or anytime the surface is compromised until it seals. Reputable studios cut this risk down to near zero with sterile needles, barriered machines, and single-use inks. You can still create risk at home if hygiene slips, if you soak the tattoo, or if you suffocate it with heavy ointments. Contamination of pigment is a rarer but real issue. The US Food and Drug Administration notes that certain tattoo inks or diluents have been recalled for microbial contamination over the years FDA.
High-risk moves after a session include submerging the area, touching with unwashed hands, training at the gym without a clean wrap on high-friction zones, applying thick petroleum layers that trap moisture, or sleeping in dirty sheets. People with diabetes, compromised immunity, or a history of MRSA should be extra cautious. The Centers for Disease Control and Prevention has guidance on wound hygiene and staph transmission basics CDC.
Prevention Techniques That Work in the First 72 Hours
The first 72 hours set the tone. Keep the area clean, breathable, and protected from friction. Follow your artist’s protocol exactly. If they use a second-skin bandage, keep it on as directed. If they send you out bare or with a simple wrap, you will wash and moisturize on a schedule. Our full routine is broken down in our aftercare guide.
- First wash, 3 to 4 hours after session or when your artist instructs, with lukewarm water and a fragrance-free liquid like Dove Sensitive Skin or Cetaphil Gentle Cleanser.
- Drying, pat gently with a clean paper towel, then air dry 10 minutes. No rubbing. No shared bath towels.
- Moisturize thinly, a rice-grain film of Aquaphor, Bepanthen, or a tattoo balm like Hustle Butter or Mad Rabbit. Reapply 2 to 3 times daily. Avoid heavy smears.
- Clothing, clean, loose, breathable layers. Avoid compressive gear that traps sweat or rubs.
- Hands-off policy, only touch the tattoo with washed hands. Clip nails short to avoid accidental scratching.
Supplies are inexpensive, expect 10 to 40 dollars for soap, paper towels, and a suitable moisturizer. If your artist uses a medical adhesive dressing, they will apply it in-studio to clean skin. See the pros and cons below before you try to DIY one at home.
Second-Skin Bandages: When They Help and When They Hurt
Self-adhesive barrier films like Saniderm, Tegaderm, or Derm Shield can produce exceptionally clean heals if applied and removed correctly. They lock out dirt, minimize friction, and let plasma drain into the adhesive layer. The pitfalls are user error and adhesive sensitivity. If fluid pools too long or edges lift and leak, the microclimate can turn messy. Adhesive dermatitis can also mimic infection with redness and itch but usually lacks pus or systemic symptoms. Compare brands and wear times in our bandage comparison.
- Artist-applied only, place on clean, dry skin with minimal stretch. Trapped soap or hair increases irritation risk.
- Typical wear time, 24 hours for the first piece, then replace once and wear another 2 to 3 days, if your artist says so.
- Leak rule, if you see fluid tracking to an edge, remove early, wash, and switch to the open-air routine.
- Allergy check, if a red, square rash develops matching the adhesive shape, switch off the film and moisturize lightly.
Ongoing Care Weeks 1 to 4: Keep It Clean and Dry
By day four, the skin is rebuilding a barrier but is still vulnerable. Keep washing twice daily, moisturize thinly, and protect from friction. Do not soak the tattoo. That includes baths, pools, hot tubs, ocean swims, and long steamy showers. Submersion softens the surface and invites microbes. For safe timelines and why chlorine and salt matter, read our swimming timelines and risks.
- No soaking for 2 to 3 weeks, stick to quick showers.
- No picking, let flakes shed naturally to avoid micro-tears.
- Gym hygiene, clean equipment, breathable sleeves, and a post-workout rinse to clear sweat salt.
- Sun block after surface heals, use SPF 30 to 50 broad spectrum. See our picks in our sunscreen guide.
How to Tell Irritation From Infection
Not every angry-looking tattoo is infected. Contact dermatitis from adhesive or fragrance, mechanical irritation from clothing, yeast in skin folds, and overuse of heavy ointments can all inflame a tattoo without bacteria being the culprit. Irritation usually settles within 24 to 48 hours after removing the trigger and switching to gentle soap and a light, fragrance-free moisturizer. Infection tends to intensify despite correct care, surfaces thicker discharge, and enlists fever or chills. Dermatology organizations outline common tattoo reactions and how they differ from infection American Academy of Dermatology.
What To Do If You Suspect Infection
If you are hitting multiple infection signs, act the same day. The goal is to limit spread and get an appropriate diagnosis. Do not smother the area with thick ointments. Do not start old antibiotics or share medications. Take clear, daylight photos of the tattoo edges to document spread.
- Immediate wash, lukewarm water and fragrance-free soap. Pat dry and leave uncovered in clean air for 30 minutes.
- Switch to thin moisturizer only, no heavy occlusion. A light layer of Bepanthen or Aquaphor is fine if the skin is cracking.
- Call your artist, describe signs and timeline. A good studio will encourage medical care when appropriate.
- Seek urgent care for fever over 100.4 F, rapidly spreading redness, thick pus, or red streaks. Mention it is a fresh tattoo.
- Expect costs, clinic visits often run 100 to 300 dollars before prescriptions. Generic antibiotics may cost 4 to 30 dollars. Prices vary by location and insurance.
If your clinician diagnoses cellulitis or another bacterial infection, start the prescribed antibiotic as directed and complete the full course. According to the Cleveland Clinic and Mayo Clinic, unfinished courses increase relapse and resistance risk Cleveland Clinic Mayo Clinic. If cultures are taken, follow up on results. If you develop hives or breathing issues, seek emergency care for possible drug allergy.
Choose a Safe Studio and Artist To Reduce Risk
Great aftercare cannot fix poor procedure hygiene. The cleanest heals start in clean rooms. You are allowed to ask how needles, tubes, and inks are handled. A professional will answer with specifics and show you their process without hesitation. If you need a quick red flag refresher, see our studio red flags guide.
- New needles and cartridges opened in front of you, sharps disposed into a red container.
- Single-use ink caps, with fresh pours for each client, no dipping back into bottles.
- Barrier film on clip cords and machines, chair and tray disinfected between clients.
- Artist hand hygiene, visible hand washing and fresh nitrile gloves every time they change tasks.
- Clear aftercare instructions printed or texted, product names, and first 72-hour schedule.
For broader consumer safety and regulation context around pigments and aseptic technique, you can also review resources from the US Food and Drug Administration FDA and the Centers for Disease Control and Prevention CDC. These bodies publish recalls, hygiene guidance, and data on wound infections unrelated to any one studio.
Products Worth Knowing, And How To Use Them
You do not need an entire apothecary. A mild soap, clean paper towels, and a thin moisturizer are the backbone. A medical adhesive film can be excellent if your skin tolerates it and your artist applies it. Avoid antibiotic ointments unless a clinician instructs you to use them, petroleum-heavy options and added antibiotics can cause contact dermatitis that looks frightening. If you are shopping, here are common products artists and clients use, specifically for their simplicity and skin friendliness.
- Soaps, Dove Sensitive Skin, Cetaphil Gentle, Dr. Bronner’s Baby Unscented. No fragrances or exfoliants. Non-sponsored examples.
- Moisturizers, Aquaphor, Bepanthen, Hustle Butter, Mad Rabbit. Thin layers only. Non-sponsored examples.
- Bandages, Saniderm, Tegaderm, Derm Shield. Follow wear times. Non-sponsored examples.
For comparison shopping and wear strategies on adhesive films, reference our breakdown again here, it can save you guesswork and prevent avoidable irritation second-skin bandage guide.
Planning ahead prevents panic later. Generate your design with AI for Tattoo, print a true-to-size stencil, and test placements with our virtual try-on before you book. Start with Create, preview on your body in minutes with Try On, and, if you want exact sizing, use our virtual try-on calibration guide.
Try AI for Tattoo Free