Strong tattoo consultations are short, but they decide almost everything that matters. In 20 to 30 minutes, you can lock in placement, style, budget, timeline, and an aftercare plan that fits your skin and schedule. Going in prepared keeps the artist focused on design, not detective work.
What a Tattoo Consultation Actually Covers
A consultation is a design and logistics meeting, not a sales pitch. Expect to align on subject, style, size, placement, color approach, session length, and budget. Good studios also review medical considerations and aftercare so you understand the healing commitment before you book. You might see rough sketches or references, talk through line weight and negative space, and confirm whether the stencil will be printed or freehand. Many artists will also note how your skin type, tanning habits, and daily clothing friction could affect longevity. You will often discuss aftercare supplies like Saniderm, Bepanthen, Aquaphor, Hustle Butter, or Mad Rabbit (non-sponsored examples), so you know what to pick up ahead of time.
- Topics typically decided: subject and style match, rough size in inches or cm, placement landmarks around bones or muscles, black and gray vs color, and whether cover-up or rework is realistic.
- Session planning: estimate hours per session, number of sessions, spacing between sessions (2 to 6 weeks), and a healing window that respects your travel or sports schedule.
- Budget and deposit: expected $150 to $300 per hour or a flat quote for small pieces, plus a $50 to $300 deposit that is usually non-refundable.
Pre-Consult Prep: References, Skin, and Schedule
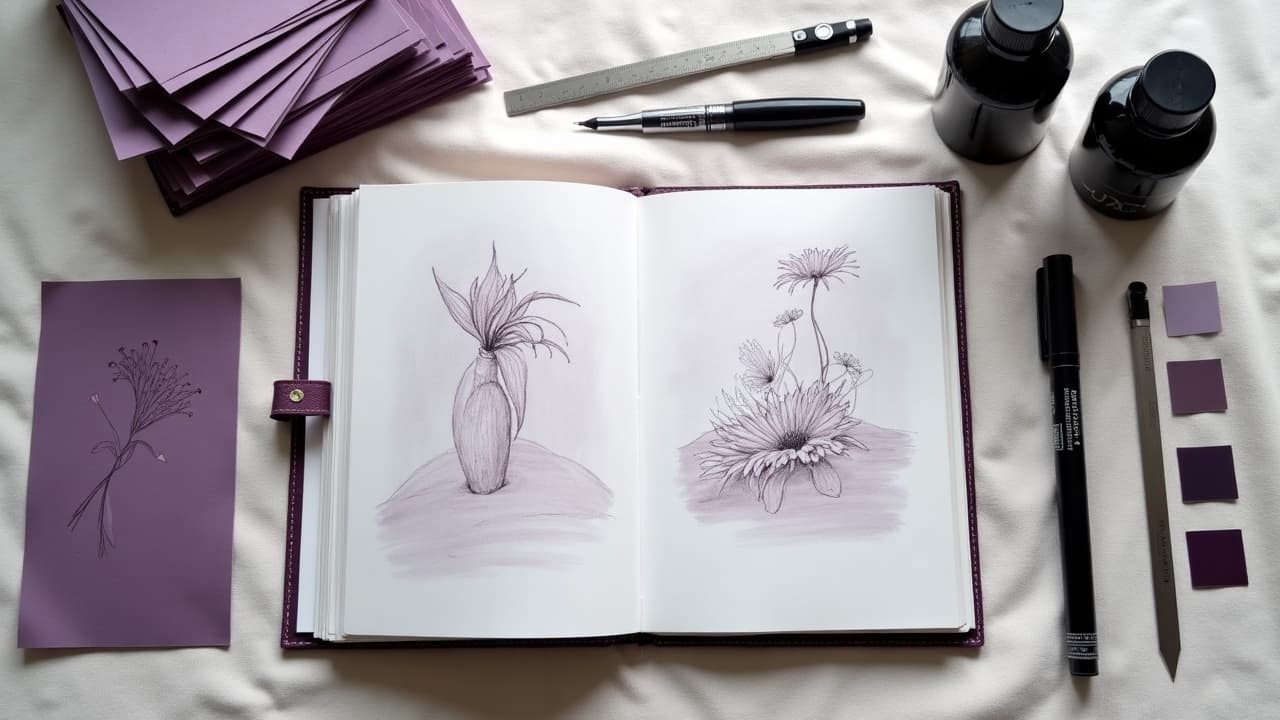
Show up with 3 to 6 reference images that clarify direction, not clones of a single tattoo. Label what you like in each image, like “fine single-needle linework,” “washed black shading,” or “muted palette.” If you are still torn on style, skim our composition and placement guide to articulate how your tattoo should flow with the body. Treat your skin like the canvas. Hydrate well, moisturize lightly for a week before the consultation, and avoid sunburns. For everyday prep, simple moisturizers like CeraVe Daily Moisturizing Lotion or Vanicream and a broad-spectrum SPF 30+ are enough. Do not exfoliate aggressively the night before. Artists want to see your true tone, texture, and any moles or scars that will influence placement. Bring your calendar. If you travel, play contact sports, or have work events, block a realistic 10 to 14 day early healing period without pools or intense sun. If you plan color, preview harmony with color theory in tattoo design so you can discuss saturation and long-term fade honestly.
Smart Questions To Ask Your Artist
The best consultations are a two-way interview. You are choosing an expert who will add permanent artwork to your body. Ask about process, safety, and expectations. Named specifics matter, from ink brands to needle setups, because they signal that your artist has a controlled workflow.
- Style and experience: “Can I see healed photos in this style, especially on my skin tone?” “How many pieces like this have you done in the past 12 months?”
- Safety standards: “Do you keep spore test logs for your autoclave?” “What’s your surface disinfection routine?” “Do you use single-use needles and disposable grips?”
- Materials: “Which inks do you prefer for this style, for example Eternal, Dynamic, World Famous, or Panthera?” “Any pigments you avoid on deeper tones?”
- Process: “Stencil or freehand?” “What needle configurations will you use, like 3RL vs 7M?” “How long should I expect for linework vs shading?”
- Comfort: “Typical pain level for this placement?” “Are numbing creams allowed?” “How do you schedule breaks?” “What is the aftercare plan for my skin type?”
Budget, Deposits, and Timeline Without Surprises
Money clarity keeps everyone calm. Many reputable artists charge $150 to $300 per hour, while small flash may be a flat $150 to $400 depending on complexity. Large custom work often needs a consultation sketch fee or $50 to $300 deposit that applies to the final session. Reschedules usually require 48 to 72 hours notice to keep your deposit in place. Expect real wait times. Busy artists book 2 to 6 months out for first sessions, then space multi-session projects 2 to 8 weeks apart to let skin recover. If you are coordinating around weddings or travel, bring those dates so your artist can warn you if the full piece cannot be finished in time. A clear plan beats a rushed tattoo every time.
- Confirm whether the deposit is non-refundable and how long the quote is valid.
- Ask if touch-ups are included within 3 to 6 months and what qualifies.
- Clarify overtime or add-on pricing for extra shading, color passes, or revisions beyond the initial scope.
Design Clarity: Size, Flow, and Skin Tone
Design ambiguity is the top cause of regret. Lock in the actual dimensions you want on skin, not just “medium.” On curved areas, an extra 0.5 to 1 inch helps lines breathe when the arm bends. Discuss how line weight, negative space, and contrast will keep the design readable from 2 to 6 feet away. For technique, ask where whip shading, dotwork, or pepper shading makes sense and where solid packing is critical. If your artist freehands to fit flow, confirm how much you will see on the day. Tools like Stencil Stuff for transfers and skin-safe markers are normal, but you should still approve a clear stencil before needles start. Color decisions live or die by placement and skin tone. Warm palettes read differently on cool undertones, and light pastels can fade early on high-melanin skin. Bring outdoor selfies without filters. If you are unsure, preview color choices digitally, or practice body mapping with our try-on tool after reading the composition and placement guide.
Health, Pain, and Numbing: What to Disclose
Tattoos break the skin, so infection and allergy risks are real. The American Academy of Dermatology guidance on tattoo reactions recommends discussing allergies to dyes, history of keloids, and any immune conditions with your artist and, if needed, your clinician. Read more at the American Academy of Dermatology. Disclose pregnancy, recent isotretinoin use, blood thinners, and any condition that affects healing. Avoid alcohol the day before. Many studios prefer you skip NSAIDs pre-session to reduce bleeding. For general ink and pigment safety context, see the U.S. FDA on tattoo inks and pigments. For wider hygiene basics, the CDC body art safety basics page is a useful primer. Pain varies by placement, but most first timers report a 3 to 7 out of 10 in fleshy areas, higher over bone. If your studio allows topical anesthetics, ask about timing and brand. Common options include Zensa, TKTX, and Dr. Numb (non-sponsored examples). For practical info on numbing creams, Healthline’s overview is a good sanity check: Healthline overview of tattoo numbing creams.
Placement, Sizing, and Lifestyle Constraints
Your lifestyle should shape design choices. Runners, climbers, hair stylists, cooks, and healthcare workers all stress different zones of the body. If your job or sport involves constant friction, high UV, or glove contact, you will want smarter sizing and strategic negative space to reduce blowouts and early fade. Think long term. Wrist and hand pieces face high sun and abrasion, foot tattoos swell and rub in shoes, and inner biceps can blur with compression sleeves. If visibility at work is a concern, plan placements that hide under your usual clothing, not just formal wear. When in doubt, test scale on skin with our try-on before you book.
- Lifestyle checks: daily sun exposure, uniform or dress-code rules, how often the area sweats or rubs, and nearby joints that flex the skin.
- Healing environment: can you protect the area for 10 to 14 days from pools, beaches, and heavy workouts?
- Future plans: if you want a sleeve later, leave flow lanes and negative space to build into.
Day-Of Logistics and Final Checklist
Treat the consultation like a mini-rehearsal for the appointment day. Confirm the address, parking, and whether the studio is cash only. Bring a valid government ID, your deposit confirmation, and wear clothing that makes the area easy to access. Eat beforehand, hydrate, and bring a light snack. Avoid heavy fragrances. Agree on the approval steps. You should review a clean stencil on skin, check placement in neutral posture and movement, and sign off before needles touch you. Ask how long breaks will be and how to request adjustments respectfully mid-session. Clarify aftercare now so you can shop on the way home if needed. Stock options include Saniderm or similar bandages, Bepanthen or Aquaphor ointment, and fragrance-free lotions like Aveeno or CeraVe (non-sponsored examples). For healing strategies by skin type, see aftercare for different skin types and our guide on tattoo scarring prevention.
- Final checklist: ID, deposit, references, skin shown without heavy makeup or self-tanner, and time buffer so you are not rushed.
- Confirm price method (hourly vs flat), touch-up policy, and reschedule terms in writing.
- Ask when to remove bandage, what to wash with, and which ointments or lotions your artist recommends for your skin.
Ready to lock your idea before your consultation? Generate clean concepts with AI for Tattoo, then preview size and placement on your body with our [create](/create) and [try-on](/try-on) tools. Walk in with confident visuals, walk out with a solid booking.
Try AI for Tattoo Free