
Quality is visible before the first line is ever pulled. A clean setup, consistent healed photos, and clear communication predict your result more than any viral clip. With solid standards, most avoidable problems, from blowouts to infections, never happen. This guide shows you how working artists actually vet colleagues, so you can choose with confidence.
Non‑negotiables: licensing, hygiene, and safety baselines
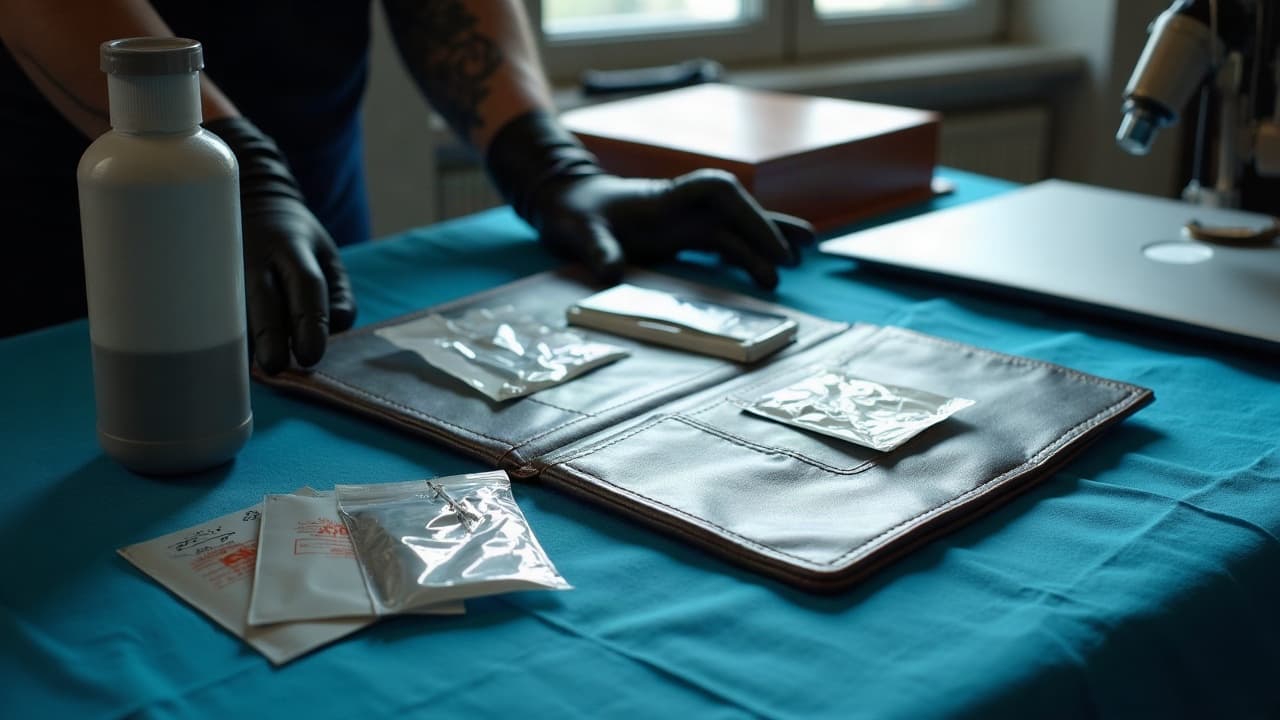
Every reputable studio hits the same safety marks, no excuses. You should see single-use needles, sterile cartridges, and individually wrapped ink caps being opened at the station. Ask how they sterilize anything reusable. A pro will explain autoclave spore tests with logs available on request or confirm full EO gas pre-sterilized disposables. Hand hygiene is constant, with nitrile gloves changed anytime something non-sterile is touched. Surfaces are wrapped in barrier film, machines have disposable clip cord covers, and rinse cups are fresh per client. These steps reduce risk of infection and bloodborne exposure, which major medical sources, including the Cleveland Clinic’s tattoo safety guidance and the CDC’s bloodborne pathogen resources, consider preventable with proper controls. The consent form should list artist and shop details, pigment brand, and aftercare. If any of this sounds unfamiliar to the artist, that is your sign to leave.
- Watch for new packages opened at the station, including needles, cartridges, razors, and ink caps, then disposed in a sharps container immediately after use.
- Look for barrier protection on touch points like armrests, clip cords, power units, wash bottles, and the artist’s chair, fully changed between clients.
- Ask about sterilization logs, specifically weekly or monthly spore tests for autoclaves, or proof of pre-sterilized disposables for all equipment.
- Confirm they use hospital-grade surface disinfectant with proper dwell time, and that gloves change after touching phones, doors, or cash.
- Ensure they discuss aftercare verbally and provide printed or digital instructions that match current standards, not vague or outdated advice.
Read a portfolio like a pro, fresh vs healed
Fresh tattoos look punchier, so judge by healed photos whenever possible. Healed work, typically after 2 to 4 weeks, reveals whether linework consistency holds up and if solid saturation was actually achieved. A strong portfolio shows multiple angles, consistent lighting, and healed follow-ups for color and black and gray. Pros list the style they specialize in, like fine line, Japanese, traditional, neotrad, blackwork, or realism, and you will see that style repeated across months, not one lucky day. Watch for over-smoothing or fake skin texture in photos, signs of heavy edits that hide blowouts or overworked skin. If the artist cannot show healed results, you are previewing hope, not proof.
- Compare multiple healed pieces in the same style. Good artists show consistent line weight, repeating shapes that remain crisp after healing, and even black values.
- Zoom into bends and corners. Quality linework turns cleanly without wobble, maintains depth in tight curves, and avoids fuzzy halos that signal blowouts.
- Evaluate color balance across skin tones. Saturated colors should pop without muddying, and whites should settle to cream rather than vanish completely.
- Check scale and placement. Designs should match anatomy, flow with muscle lines, and maintain readable contrast at arm’s length, not just in macro shots.
- Look for variety across body parts. Thighs, forearms, ribs, hands, each present challenges. A confident, versatile portfolio shows solved problems.
Technical skills you can actually verify
You do not need to be an artist to spot technical quality. Clean stencil placement, no blue smear left behind, tells you the artist maps flow and respects symmetry. Pack black should be velvety with no pinholes. Smooth blends will transition without visible needle tracks. Lines should meet their endpoints, not overshoot. In fine line work, micro shakes reveal poor stretch or machine control. In heavy color, dull patches indicate insufficient passes. Ask what machines and needles they use and why, not to gatekeep, but to hear clear reasoning. Pros can explain needle groupings and why they choose a 7RL over a 9RL, or a 23 mag for a large soft shade. The tools are secondary, but the ability to explain process signals competence.
Studio setup and cross contamination controls you should see
Most failures are not artistic, they are procedural. Professional stations separate clean and dirty zones, so used paper towels never cross back toward the machine or inks. Bottled inks are poured into disposable ink caps, never re-dipped from the master bottle. Fresh water rinse is in a disposable cup, not a reusable jar. Needles and cartridges are inspected for intact sterile indicators before opening. The chair base, foot pedals, and light handles are wrapped. If you see uncovered power dials touched with gloved hands mid-session, that is cross contamination. The FDA reminds clients that inks are not approved for injection, which is why sterility and record keeping matter across brands and batches, see the FDA tattoo ink safety overview. If a shop is casual about any of this, expect the same attitude toward your healing.
Consultations, communication, and professionalism
A good consultation feels like project planning. You will discuss reference art, scale, placement, skin prep, and healing windows. The artist will propose changes for readability and longevity, not just style preference. Expect a clear deposit policy, what is included in the session, and whether a free minor touch-up is offered within a set period. Many pros book 4 to 12 weeks out, and they will not rush designs the night before. You should receive clear pre-care, like shaving guidance and hydration, which aligns with our skincare prep guide. You will also receive modern aftercare that matches medical basics. For clinical signposts on complications, see the Healthline overview of tattoo infection symptoms. If communication is vague or defensive at this stage, expect worse on tattoo day.
Pricing, deposits, and timelines, what is normal
Rates track skill, demand, and location. In many US cities, solid artists charge $150 to $300 per hour, with day rates of $800 to $1,500 for larger pieces. A non-refundable deposit of $50 to $300 is typical, applied to your final total, and protects both of you from no-shows. Expect a waitlist, often 4 to 12 weeks, longer for niche styles. Cheap work often costs more later in laser or cover-ups. Precise quotes require design and placement confirmation, since detail density and skin type affect time. If pricing feels unusually low for the market or the artist pressures cash-only without receipts, treat that as a business competency warning, not a bargain.
Red flags that should make you walk away
- No proof of licensure or bloodborne pathogen training, or they dismiss regulations as unnecessary. Pros pass training and keep certificates visible or on file.
- Reused or unwrapped equipment at the station, uncovered clip cords, or touching phones and door handles with the same gloves used on your skin.
- Only fresh photos, heavy filters, or obvious skin blurring. Refusal or inability to show healed results within the last year for their claimed specialty.
- Copying another artist’s design without permission, or refusing to adapt a design to your anatomy. Quality pros protect originality and fit.
- Unclear pricing, cash-only pressure, or moving goalposts on what the session includes. Reputable shops document deposits, rates, and scope in writing.
- Pushing risky placements or scale that kills readability, like micro-script on finger sides, without explaining tradeoffs and longevity.
- Outdated aftercare advice, like petroleum-only for weeks, or no written instructions. Pros tailor aftercare and update it with new evidence.
- No consent form, no pigment brand disclosure, or refusal to discuss sterilization steps. Transparency is a baseline, not a perk.
Health, aftercare, and allergy awareness as quality markers
Pros do not just finish the tattoo, they steward healing. Expect clear aftercare instructions that match your placement and lifestyle, with a realistic 2 to 4 weeks healing window for top layer recovery. Many artists offer second-skin bandages for the first 24 to 72 hours, then switch to light moisturizers. For context on skin reactions, the American Academy of Dermatology notes allergic reactions can occur, more often with certain reds. The FDA maintains ongoing advisories on inks and recalls, worth a quick scan before you book, see the FDA’s tattoo resources. A pro asks about allergies, autoimmune conditions, and medications that influence healing, and they are comfortable saying no if risk is high. If an artist shrugs off allergy questions, that is a competency gap.
- Common aftercare options many pros trust include Saniderm or Tegaderm-style films, plus light moisturizers like Bepanthen, Aquaphor, Hustle Butter, or Mad Rabbit (non-sponsored examples).
- Numbing creams, such as TKTX, may be allowed case by case. Always ask first, apply correctly, and expect reduced efficacy during long sessions as skin acclimates.
- Check our healing checklist to spot normal peeling versus problems in our aftercare signs guide, then contact your artist early if something looks off.
Reputation checks that actually matter
Treat reviews like evidence, not marketing. Look past star counts for detailed narratives about cleanliness, patience, and healed outcomes. Instagram is useful, but prioritize healed posts and client re-shares over reels that hide details. DM past clients politely when possible, ask about healing and touch-up experiences. Search for the artist’s name plus terms like refund, infection, or touch-up to spot patterns. A great sign is when other artists recommend them, or when they contribute guest spots at respected studios. For new clients, read our first tattoo safety guidelines to cross-check shop claims with a neutral checklist. When the story matches across platforms and time, you have found a professional, not a trend.
Dial in design before you book, then focus on vetting the right artist. Use AI for Tattoo to generate custom concepts and virtually try them on to check scale and placement. Start with Create to iterate ideas, then preview sizing and flow with Try On. Arrive at your consult with clear references and fewer unknowns.
Try AI for Tattoo Free