
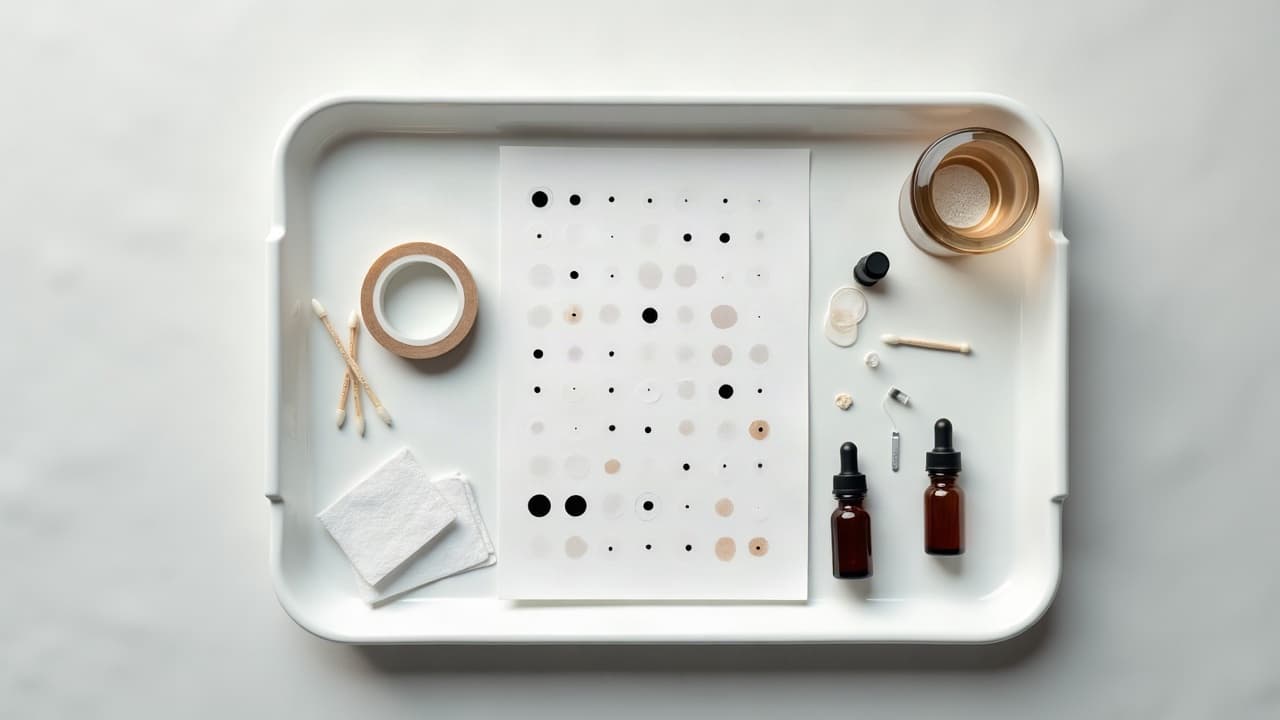
Most tattoo complications are preventable with smart pre-session testing. Allergic reactions to certain pigments do happen, especially in reds and some cosmetic blacks, yet a simple ink allergy test done 48 to 72 hours ahead often flags trouble before it becomes permanent. Here is how working artists and cautious clients stack the odds in their favor with tattoo safety routines that are practical, affordable, and fast.
Why pre-tattoo testing matters
Tattoo inks are complex mixes of pigments and carriers. Sensitivities range from mild irritation to true allergies that can itch for months. Medical sources note that allergic contact dermatitis and granulomatous reactions are recognized tattoo risks, especially with certain reds and older pigments. See the American Academy of Dermatology’s overview of tattoo reactions for clinician perspective at the American Academy of Dermatology. The Cleveland Clinic has public guidance on tattoo safety and skin reactions at Cleveland Clinic. For what is allowed in inks and labeling updates, the FDA provides consumer updates at U.S. Food and Drug Administration. Prevalence estimates vary by study, but dermatology literature confirms that pigment specific reactions exist and can persist. Browse summaries of tattoo reaction studies at JAMA Dermatology.
Testing does not guarantee zero risk, but it catches many avoidable issues. A sensitivity test before the full piece is especially valuable if you have a history of rashes, metal allergies, or reactions to hair dye or cosmetics. For first timers, think of testing as a 15 minute appointment that can spare you months of itching, steroid creams, or a cancelled healed look.
Know your risk profile before you book
Map your personal red flags and share them with your artist during consult. Detail past reactions to jewelry, makeup, black henna, adhesives, or sunscreens. If you manage eczema, psoriasis, vitiligo, keloids, or autoimmune conditions, testing is not optional. It is your baseline control.
- History of nickel, cobalt, or chromium sensitivity, a common jewelry issue. Consider extra caution with certain colored pigments.
- Past reaction to hair dye or “black henna,” which can involve PPD. That history bumps your risk for ink sensitivity.
- Active dermatitis or healing flares at the intended placement. Reschedule and test once your skin is calm.
- Ongoing acne meds, topical retinoids, or immune modulators. Flag this early so your plan includes patch testing.
For medical or chronic skin concerns, coordinate timing and placement with your provider. Our guide to planning ink with conditions such as eczema and vitiligo is a solid place to start, see tattoo aftercare for pre-existing skin conditions. And for setting expectations with your artist, read our communication best practices.
What is in ink, and which pigments cause trouble
Today’s inks use organic and inorganic pigments in a carrier like glycerin or ethanol. Reds can contain azo dyes or cinnabar derivatives in older formulas, while blacks typically use carbon black. Iron oxides and titanium dioxide appear in many shades, including white and flesh tones. While most clients heal normally, the pigments most cited in reaction reports are bright reds, some violets, and certain cosmetic blacks.
Regulators have raised questions about impurities and labeling. The FDA tracks safety issues and product alerts at U.S. Food and Drug Administration. In Europe, pigment rules evolve under REACH and related restrictions, summarized at the European Chemicals Agency, see ECHA. Your safety move is simple. Ask your artist which brand and exact color code they plan to use, then test that literal ink on your skin. If you have a known metal sensitivity, favor iron oxide reds over older azo reds and confirm the Safety Data Sheet when available.
Patch testing options, from dermatologist panels to at-home dots
You have three reliable paths. The gold standard is a dermatologist supervised patch test using standardized allergens, occasionally with custom ink dabs provided by your studio. This checks for classic contact allergens and can be paired with the actual ink. The window for reactions is 48 to 96 hours, sometimes extending to 7 days for delayed responses, so plan your calendar with buffer. Many artists also offer a no charge studio ink allergy test using a tiny dot placed on the upper arm or behind the ear.
- Dermatologist patch panel: Adhesive patches stay on 48 hours, then are read at 48 to 72 hours and again around day 5 to 7 for late reactions.
- In-studio dot test: A sterile micro dot of the exact ink sits on clean skin, covered with a Saniderm style film for 24 to 48 hours.
- At-home contact dab: Artist supplied ink is placed on a cotton swab, applied to a coin sized area, and covered. Remove after 24 to 48 hours, then watch for 7 days.
General timelines for patch testing appear in clinical patient guides at the Mayo Clinic and educational articles on delayed hypersensitivity at Cleveland Clinic. If you proceed with an at-home dab, keep it tidy. Clean hands, single use swab, cover with a breathable film, and photograph the spot daily under the same light so you can compare day by day.
In-studio sensitivity protocols pros and cons
Studios that prioritize tattoo safety build testing into consults. Ask for a sterile dot of the exact bottle and batch number. Some artists prefer a needleless swab so you are testing contact only. Others place a micro line with a single needle to simulate puncture plus pigment. Both approaches have value. The dot test is painless and addresses contact sensitivity, while a micro line mimics the real procedure with pain 1 to 2 out of 10 and a better read on local irritation.
- Pros: Real product, real skin site, minimal time, often $0 to $50. Easy to photograph and compare over 7 days.
- Cons: Not a full dermatology panel. A negative dot today does not rule out rare delayed reactions to other pigments later.
- Tip: Test each color you plan to use. If doing a red rose, test that specific red, and consider a second red as backup.
Document everything. Ask your artist to note pigment brand and color code in your consult form. If a mild pinkness appears then settles within 24 hours, that can be simple irritation. If it escalates to intense itching, swelling, or blistering, log it and do not proceed. Your plan B can be a grayscale variant or a different brand that you re test.
What to watch for, and how long to monitor
Irritant reactions show quickly. Expect possible light redness under the film that fades within a day. Allergic type IV responses typically peak 24 to 72 hours after exposure and can last several days. Signs that mean stop include spreading redness, raised bumps, persistent itch, weeping, or a delayed flare around day 5 to 7. Systemic symptoms like hives elsewhere, facial swelling, or breathing trouble are medical situations, not a studio fix.
If you react, take sharp photos and contact your artist. For clinical backup and options like topical steroids or antihistamines, check with a medical professional. The AAD outlines typical management strategies for contact dermatitis and tattoo reactions at the American Academy of Dermatology. When in doubt, do not tattoo that pigment. Switch colors, try a different brand, or pivot to black and gray where carbon black tends to have a lower reaction profile.
Choose safer pigments and plan aftercare that calms skin
Safer is about vendor transparency and predictable chemistry. Ask your artist which lines list ingredients, offer SDS sheets, and have consistent batches. When clients have histories of cosmetic reactions, many studios lean toward carbon blacks and iron oxides for colored work. Avoid anything labeled as or resembling PPD heavy “black henna.” Combine this with a calming aftercare plan that does not introduce new allergens on day one.
- Use a breathable film like Saniderm for the first 24 hours, then switch to a gentle ointment.
- Aftercare standbys: Bepanthen, Aquaphor, Hustle Butter, Mad Rabbit (non-sponsored examples). Patch test new aftercare on the inner arm first.
- Fragrance free soaps and lotions only. Skip benzoyl peroxide, retinoids, and glycolic acids on or near the fresh tattoo.
If you typically run hot or live in humid climates, reduce sweat, friction, and sun during the first week. For climate specific maintenance tactics, see our notes on tattoo aftercare for hot climate. This is not overkill, it is how you protect a clean heal when your skin is already a bit reactive.
Timing, costs, and how to schedule tests without losing your slot
Build testing into your booking. Ideal spacing is 2 to 4 weeks before your appointment so you can test each color and wait out the 7 day monitoring window. Many artists will hold your date during testing with a modest deposit. If the test is negative, you proceed. If you react, you pivot colors or reschedule with priority.
Typical costs are straightforward. Studio dot tests are often $0 to $50 credited toward your tattoo. Dermatologist patch panels vary by market, expect roughly $100 to $300 out of pocket if uninsured. Keep meds simple the week of testing. Avoid starting new skincare actives and only consider antihistamines if a clinician says so. If you are planning numbing, discuss options such as TKTX or prescription lidocaine with your artist in advance and test a pinhead amount on your inner arm first.
If you react, here are your realistic options
A failed test is not the end of your design. You have choices that protect your skin and still deliver a strong piece. First, switch the problem color. If one bright red flares, another brand’s iron oxide red may pass. Second, shift to black and gray, where carbon black is generally better tolerated. Third, adapt the placement to a denser skin area that has tested clean, like the outer forearm.
- Ask your artist for alternate pigments and retest those specific bottles.
- Rework the palette to desaturate problem zones and lean on shading for depth.
- Consider a staged approach, adding small color accents over time only after each passes testing.
Keep perspective. Plenty of portfolio ready tattoos rely on smart shading, texture, and negative space even with limited color. If you need composition ideas that work in safer palettes, browse styles and line weights and then tailor them to the inks that passed your sensitivity test. For equipment variables, see our notes on choosing the right needle, since technique can compensate beautifully for a restricted palette.
Ready to test a palette you know your skin likes? Use AI for Tattoo to mock up grayscale, oxide based reds, or full color alternates before you book. Generate options in minutes at Create, then see scale and placement instantly with our Try-On. Bring your best testing backed concept to the studio.
Try AI for Tattoo Free