
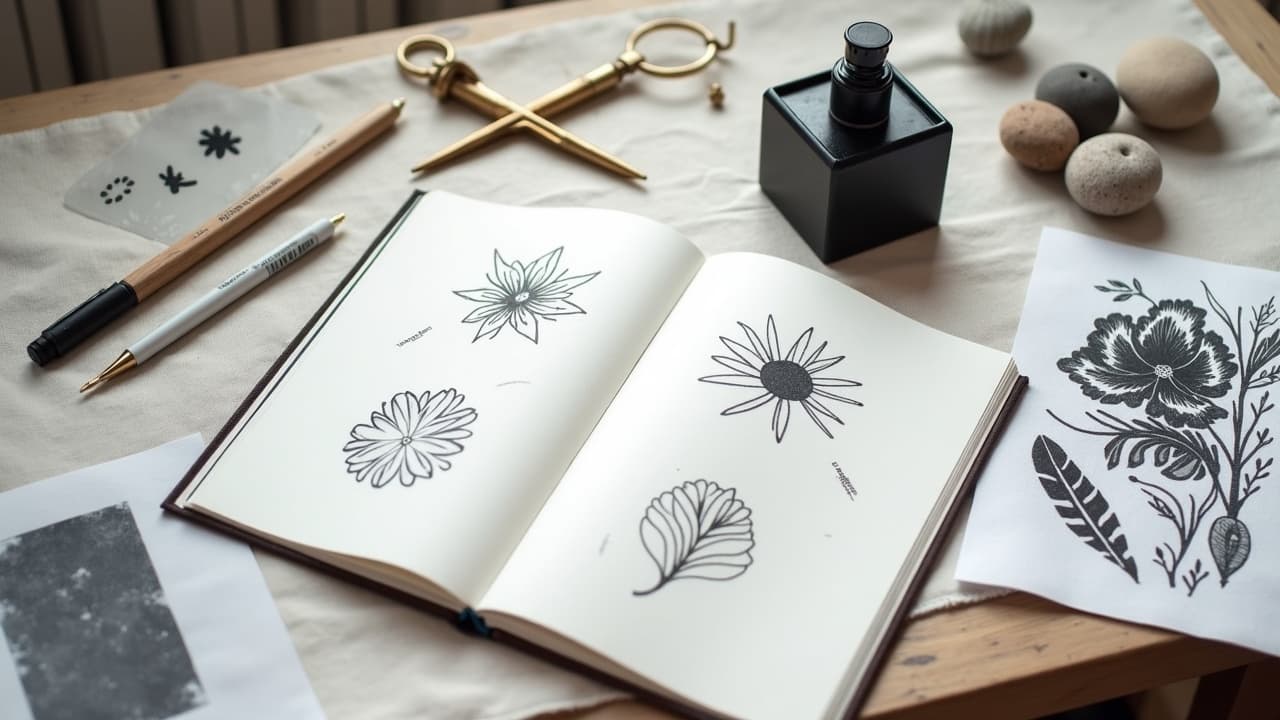
Most tattoo misfires from AI are not the model’s fault, they are a prompt problem. When you specify story, style, placement, and limits with intent, you cut failed drafts by 30–50% and get previews you can imagine living with. Treat AI tattoo prompts like a mini creative brief, not a wish. A strong prompt turns a foggy idea into a personalized tattoo design with readable lines, balanced contrast, and skin-smart color choices.
Start With Your North Star: Story, Style, Boundaries
Before you name filters or artists, write the one or two truths that must be in the piece. The North Star keeps your prompt from becoming a collage. Define the story, your visual taste, and any hard limits. Put it in plain language, then translate to prompt tokens.
- Story: one sentence of meaning and one of imagery. Example: “For my grandmother’s garden, a climbing rose that wraps my forearm, showing resilience through seasons.”
- Style: two to three visual flags like fine line, black and gray, engraving texture, or microrealism so the model understands your taste ceiling.
- Boundaries: non‑negotiables such as “no skulls,” “no faces,” “no text,” “must avoid red,” “leave 1 cm negative space around wrist crease.”
If you are new to prompt writing, pair this with our starter framework in AI prompt guide for first-timers. You can also scan and borrow vocabulary from browse styles to anchor your style stack in known genres.
Build a Style Stack Models Understand
“Vibes” do not render. Style tokens do. Stack 2–4 tokens that play nicely together and match your skin and placement. Use movements and techniques the model has learned rather than only living artist names. Ethical note, referencing living artists is common in AI, but many creators dislike it. Movements, techniques, and historical references work great and avoid muddy ethics.
- Core genre tokens: American traditional, Irezumi, neo-traditional, blackwork, ornamental. Mix one core with one technique.
- Technique tokens: engraving, etching lines, dotwork, stippling, whip shading, hatching. These steer texture and line weight.
- Finish tokens: matte black, limited color palette, subtle watercolor wash, aged paper background (for mockup only), high contrast.
- Complexity tokens: minimalist, medium detail, hyper-detailed, microrealism. Match detail to placement size so lines do not close up over time.
When in doubt, pick one core genre and one technique. Example prompt spine: “blackwork peony, engraving texture, medium detail, high contrast.” For futurist themes, this primer expands tokens you can trust, see aesthetic guidelines for futuristic inks.
Prompt for Placement, Scale, and Flow
Skin is not a flat canvas. Your prompt should tell the model the aspect ratio 3:4 or 1:3, orientation, and where to hold negative space for joints and creases. Note curvature so motifs do not warp. If you plan a wrap, instruct a gentle taper so the seam is quiet.
- Include size in centimeters or inches and orientation. Example: “forearm outer, 7×17 cm, vertical, aspect ratio 3:4, leaves top and bottom negative space.”
- Name flow lines. Example: “composition curves with radius matching forearm, main stem follows brachioradialis, secondary leaves point toward elbow.”
- Call out stencil strength. Example: “primary line weight 0.3–0.5 mm, secondary 0.2 mm, minimal cross-hatching near wrist to prevent blowout look.”
If you are cautious about pain, know that midsized outer forearm or calf pieces are often around pain 3–5/10 for many people, though pain varies with biology and stress per Cleveland Clinic guidance on pain and skin procedures. Use placement to set your session strategy, and let the prompt reflect line density accordingly.
Encode Emotion and Narrative Without Fluff
Models read emotional cues when they are specific and visual. Avoid abstract words like “freedom” alone. Anchor feelings to tangible actions, weather, or time of day. Work in camera or illustration language to frame the mood without turning the prompt purple.
- Emotion via action: “sparrow lifting off, wings half-open, wind pushing feathers back” reads braver than “symbol of freedom.”
- Mood via light: “twilight rim light, soft shadows, high contrast edges only on focal flower” is cleaner than “moody.”
- Narrative via sequence: “three shells, small to large, like steps, arranged diagonally ascending” sketches growth without any text.
- Keep verbs concrete: carved, etched, wrapped, braided, mirrored are strong. Avoid fluffy modifiers and keep to 2–3 per object.
You can also frame emotion with a single prop. “Broken teacup repaired with kintsugi” signals healing better than a generic “resilience” tag. The model follows props you can draw in real life.
Symbols and Cultural References, Done Respectfully
A good prompt does homework. If you invoke a cultural symbol, ask whether you have standing to wear it and whether you are using it correctly. State the tradition by name and constrain the style so the model does not remix it into novelty that offends. If you want universal motifs of love, remembrance, or luck, look at our cross-community references in symbolism of love across communities.
- Be precise. “Heisei-era Irezumi chrysanthemum, black and gray only, no waves, petal count 16” respects form better than “Japanese flower.”
- Avoid sacred items outside your practice. If in doubt, switch to botanicals, constellations, or crafts from your own lineage.
- If you include language, spell it correctly and specify script, stroke order fidelity, and placement. Ask a fluent friend to validate before committing ink.
Color Choices, Skin Science, and Aftercare Reality
Color is personal, but skin science matters. On many darker skin tones, black and gray linework with intentional negative space reads best at distance. Reds and yellows can be higher risk for allergic reactions according to the American Academy of Dermatology, and the U.S. FDA notes tattoo inks are not FDA approved, so pigments vary by supplier quality FDA overview. If you have a history of contact dermatitis, say “limited color palette, avoid red azo pigments” in your prompt.
- Longevity: high-contrast blackwork, restrained color hits, and deliberate dotwork shading age better than heavy pastel fields that can blur over years.
- Healing window: initial peel in 3–6 days, overall healing 2–4 weeks for most small to midsize pieces, per accessible overviews like Healthline. Prompt for sparse shading if you want faster recovery.
- Aftercare products: Saniderm, Bepanthen, Aquaphor, Hustle Butter, Mad Rabbit (non-sponsored examples). If you plan to use a film, note “suitable for second skin” so surfaces are smooth without scabbing textures in the first week.
- Numbing cream note: Some use TKTX or lidocaine topicals. The FDA advises caution with strong topical anesthetics. Discuss with your artist, then decide if you want to schedule longer breaks instead.
Use References, Seeds, and Weights to Control Output
When your platform allows it, a reference image makes everything easier. Upload a photo of your forearm for fit or a sketch of your flower to anchor silhouette. Set reference weight 0.3–0.7 to borrow shape without cloning. Use a fixed seed to make controlled variations. If you have a “style strength” or CFG scale slider, keep it midrange for balance. High values can overfit the text and wipe out natural texture. Low values can drift off brief.
- Control focal point: “peony center as focal point, highest contrast at stamens, edges soften outward” helps models avoid busy corners.
- Masking: If your tool supports region edits, freeze the stem, iterate petals only. Label it in the prompt: “lock stem, vary petal curl and negative space.”
- Output specs: ask for clean background, 300 DPI, and vector-friendly edges so your artist can stencil without redrawing everything from scratch.
Iterate Like a Pro: Constraints, Compare, Commit
Rapid iteration beats one bloated prompt. Change one variable at a time and label each round so you learn. Give feedback like an art director, not a disappointed client. Name what to keep and what to change.
- Round labels: “v3, increased line weight 10%, removed background leaves, kept central bloom.” This keeps your archive searchable.
- Tighten language: swap “delicate” for “0.2 mm lines.” Replace “balanced” with “symmetry along vertical axis, center 5% left of midline.”
- Compare in grayscale. Toggle color off to test read at 2–3 meters. If it collapses, simplify shapes or add negative space bands.
- Cap the options. Three strong comps beat 20 almost-rights. Commit to one, then do micro-edits on scale and spacing.
From AI Canvas to Studio: Hand-off and Budget
AI is step one, not the finish. Export a high-res PNG and a simplified SVG if available. Note requested line weight, shade density, and any must-keep elements. Print the design at real size and tape it to skin to confirm flow across bend points. Expect a pro to tweak edges and stencil breaks for readability.
- Budget: for a custom forearm floral, expect $200–$800 depending on artist, city, and detail. You are paying for drawing time and machine time.
- Session plan: small forearm or calf often fits in one sitting. Larger wraps benefit from two shorter sessions so your artist can refine between.
- Consent pack: bring pigment allergy notes and aftercare plan. If you are high-risk for reactions, read general medical overviews from sources like the Cleveland Clinic and discuss alternatives with your artist.
Ready to turn a tight prompt into a testable mockup? Use AI for Tattoo to generate concepts with placement-aware framing, then create a batch of controlled variations. Drop them onto your skin in seconds with the virtual try-on to see flow, scale, and contrast before you book.
Try AI for Tattoo Free