
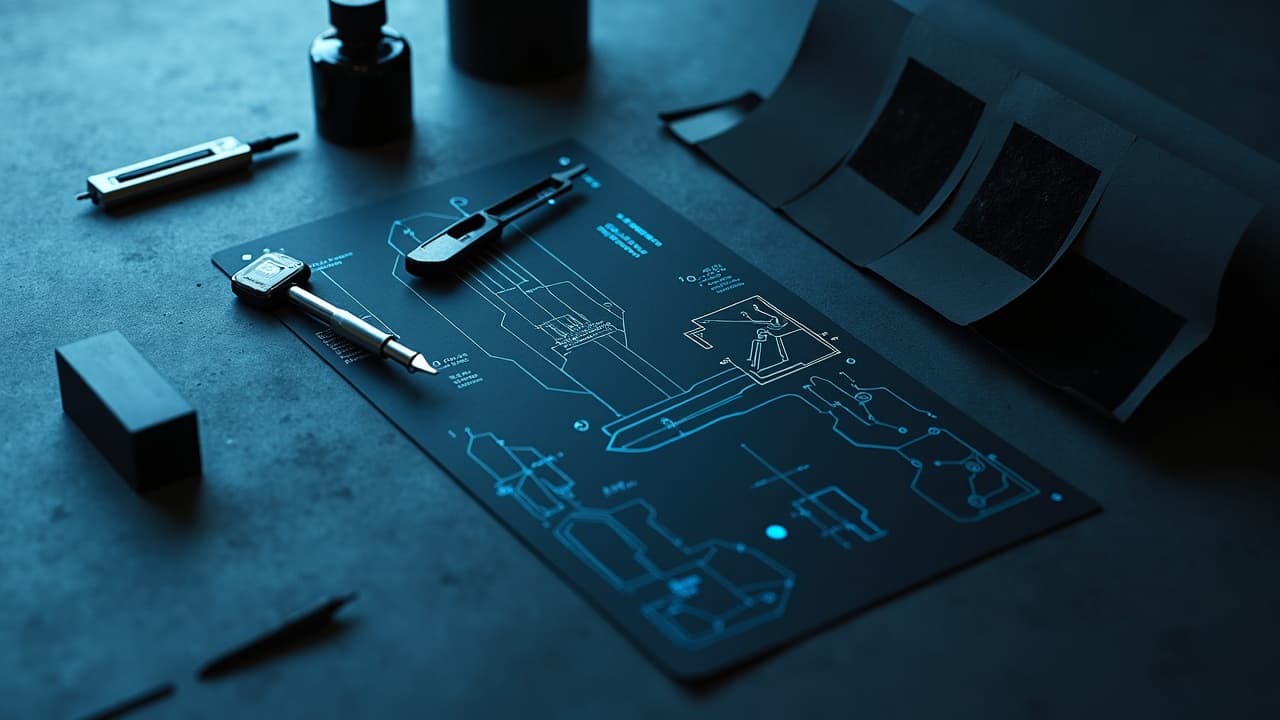
The most future-proof "futuristic" tattoos are built on silhouette, not effects. If a design reads in one second at arm’s length, the chrome and glow will still look smart in 10 years. AI tattoo design can speed discovery, but the skin still decides what survives. Start with form and contrast, then let the machines riff on finish and mood.
What actually reads as futuristic on skin
Futuristic is not a filter, it is a vocabulary. On living skin, that language starts with bold negative space, clean macro geometry, and a single focal path the eye can follow without squinting. Think of sci fi not as spaceships, but as confident shape logic you could still recognize if all colors disappeared.
- Anchor the concept with one dominant geometry, for example a ring, arc, or triangle spine, then layer micro-detail around it. Your focal path should be readable from 2 meters.
- Reserve 30 to 40 percent clean skin as breathable negative space. This away-from-ink contrast is what makes tech textures and micro-lines stay legible after healing.
- Keep iconography minimal, like one glyph, circuit node, or datastream band. Multiplying emblems weakens the signal and raises the risk of clutter in high-motion zones.
Named-product reality check, because tools shape taste: sketch structure in Procreate or Clip Studio Paint, then generate variations with Midjourney, Stable Diffusion, or DALL·E for surface ideas like iridescence and chrome (non-sponsored examples). AI is excellent at finish, but you still control the bones.
AI-driven palettes that age well
On screen, neon always wins. On skin, value contrast wins. To keep futuristic tattoos sharp, design palettes in grayscale first, then announce color as accents, not wallpaper. Use duotone stacks anchored by a reliable dark, for example charcoal, sepia, or deep blue-black. Then drop one high-chroma accent so the design breathes without screaming.
- Try a gunmetal plus cyan scheme. Gunmetal defines edges, cyan pops highlights. If your client tans, swap cyan to electric teal for better year-round contrast.
- Use magenta or violet accents sparingly around focal points, not across whole fills. Small bright islands stay bright longer than big neon continents.
- Avoid full areas of pure white. Save white for pinlights and edge catches, otherwise healed texture dulls the effect. A grey-white underpaint reads cleaner over time.
Ink chemistry matters. Brands like Eternal Ink, Fusion, and World Famous have stable blacks and cool accent ranges, while fluorescent and UV-reactive ink can be finicky on longevity and irritation risk (non-sponsored examples). For safety and expectations, review the FDA’s tattoo ink overview and the American Academy of Dermatology guidance on tattoo reactions.
Geometry, line weights, and negative space
Future aesthetics love precise order. Skin loves movement. Your job is to let those meet. Use hierarchical line weights so the macro structure outlives the micro-detail. Think 0.35 to 0.45 mm for scaffolding, 0.18 to 0.25 mm for micro-panels, and dot or hatch logic for texture. Build in breathing gaps so capillary spread has room without collisions.
- Mix hard mechanical edges with soft organic arcs to keep the body’s curvature in charge. Edges hold the story, arcs hold the fit.
- Use our breakdown of shape and blank space in negative space techniques to keep panels from crowding. White space is your future-proofing layer.
- For readability on darker skin, lean into contrast-by-shape. Strong silhouettes plus medium-value fills beat low-value color-on-color every time.
Pro tip, test your map in monochrome first. Turn your AI render to black and white, print at skin scale, then do a five-second glance test. If the focal path lands instantly, color can now help, not rescue.
Texture simulation, from chrome to glass
AI is the fastest ideation partner for finish. Train prompts toward chrome, brushed metal, carbon fiber, glass, holofoil, and circuit etching. Then, translate those back into tattoo-native marks. Chrome is not a gradient, it is an arrangement of confident value blocks with two or three crisp white pinlights and committed shadow anchors.
- For chrome, map three values only, then punctuate with 1 to 2 mm white pins. Over-smoothing muddies on healed skin.
- For glass, stage soft internal reflections with thin negative lines. The illusion comes from the background peeking through.
- For carbon fiber, tattoo the weave implication, not the grid. Alternate short diagonal strokes and micro gaps to suggest the texture without filling an entire patch.
Prep on tablets like iPad Pro or Wacom Cintiq, using Photoshop or Krita brushes that mimic stipple and hatch sets (non-sponsored examples). Keep a final pass inside your liner-flats, not airbrush blur. Your future texture should survive the healing window of 14 to 21 days without turning to fog.
Prompt architecture for consistent outcomes
AI’s chaos is fun, but clients pay for consistency. Build a small prompt system with locked shape grammar. Lead with the macro brief, for example "single arc spine with panel tessellation," then add material and lighting. Lock seed numbers to reproduce, and use ControlNet or reference sketches to anchor composition. Parameterize chaos rather than hoping for it.
- Keep a style sheet with 5 to 8 master terms you always use, such as "parametric arc," "tri-panel," "holographic rim light," and "graphite base." Consistency beats novelty.
- Tune your CFG and sampling steps for clarity over texture. Too much noise detail yields tattoo-hostile mush. Sharper renders make better stencils.
- Cross-check with AI prompt strategies for consistent style and the novice prompt generation guide if you are building your first pipeline.
Tool stack callout, because it matters: Stable Diffusion + ControlNet + ComfyUI for reproducible pipelines, or Midjourney for fast moodboards. Keep all outputs in a layered Procreate file for redline fixes and stencil prep (non-sponsored examples).
Placement and body flow for tech aesthetics
Futuristic reads best where the body already feels engineered. Forearms, calves, outer biceps, and the upper back give long arcs for parametric spines and paneling. Avoid squeezing full circuits into wrists or ankles unless you plan for drift and wear. If a client wants a micro-tech piece, keep the focal read at coin size, not postage stamp.
- Design to motion. Put hinge-like joints where the body bends so seams feel intentional when flexed.
- Use skin landmarks like the ulna line or Achilles line to carry your primary arc. Symmetry is less important than believable flow.
- For a first tech piece, budget pain 3 to 6 out of 10 placements and shorter sittings. Complex panels across ribs or knees look cool but are patience tests.
Need help balancing contrast for tricky placements? Our contrast techniques guide breaks down value ladders that survive swelling and micro-spread.
From screen to skin, the preflight checklist
Beautiful AI art can be a terrible stencil. Preflight every design like a print job. Merge tangents, thicken micro-lines, and stage white hits where the artist can actually reach without overworking. Confirm that every texture patch has a tattoo-native mark recipe, not just a gradient dream.
- Print at true body scale, then squint test in room light. If it only works backlit on a tablet, it is not ready.
- Create a mark key. For each texture, write what tool and needle group makes it, for example 3RL for micro-hatch, 7M for soft fills.
- Plan the session. Complex futurism often needs 2 to 3 sittings. Quote $200 to $350 per hour for top-tier execution, variables based on city and detail.
Hardware and consumables matter. Reliable thermal stencil printers, Spirit stencil paper, and studio tablets like an iPad Pro help keep the blueprint crisp. Test heal plans with Saniderm, Bepanthen, Aquaphor, or Hustle Butter for calmer skin and cleaner color lock, plus Mad Rabbit sunscreen to defend bright accents later (non-sponsored examples).
Longevity, pigments, and safety realities
A clean futuristic read depends on safe inks and realistic expectations. Reds and certain pigments carry higher allergy odds, so be cautious with hyper-magenta accents near large fills. The American Academy of Dermatology notes that pigment reactions and keloid tendencies vary by individual, which is why patch tests and open conversations beat assumptions. See AAD tattoo basics for risk overviews.
UV and neon effects are exciting, but they are not regulated as a special class. The FDA’s tattoo resources explain that inks are not pre-approved and ingredients shift, so treat UV-reactive ink as an aesthetic choice with tradeoffs. For wound care timelines and general skin safety, the Cleveland Clinic’s tattoo guidance and Healthline’s tattoo care primers are solid refreshers on hygiene and sun protection. If in doubt, choose contrast over chemistry.
Trend-proofing with story and respect
Futuristic does not mean anonymous. Give the piece a story that will still matter when styles shift. One personal symbol integrated as a node, a coordinate tucked in a panel, or a sound waveform as a lattice can root the design without turning it into trivia. Limit text to what you will never outgrow.
- Avoid harvesting sacred motifs as texture. If you borrow, research the source and either collaborate with a culture-bearer or pivot to neutral geometry.
- Design for editability. Keep removable modules so future touch-ups or additions do not require full rework. Our guide to tattoo contrast can help you plan expansion seams.
- When you hit a block, iterate with AI for ten fast variants, then pick two to humanize. Novelty is cheap, clarity is rare.
If you want a gut-check on symbolism across cultures, start with neutral systems like math, astronomy, or personal data forms, not living religious scripts. An elegant constellation grid or Moebius ribbon ages cleaner than melting pop icons.
Ready to translate your concept into clean, future-forward ink? Use AI for Tattoo to generate structured, stencil-ready compositions, then create your palette variations and try on the placement at real scale. Explore reference-rich styles in our library to lock shape grammar before you book the session.
Try AI for Tattoo Free