
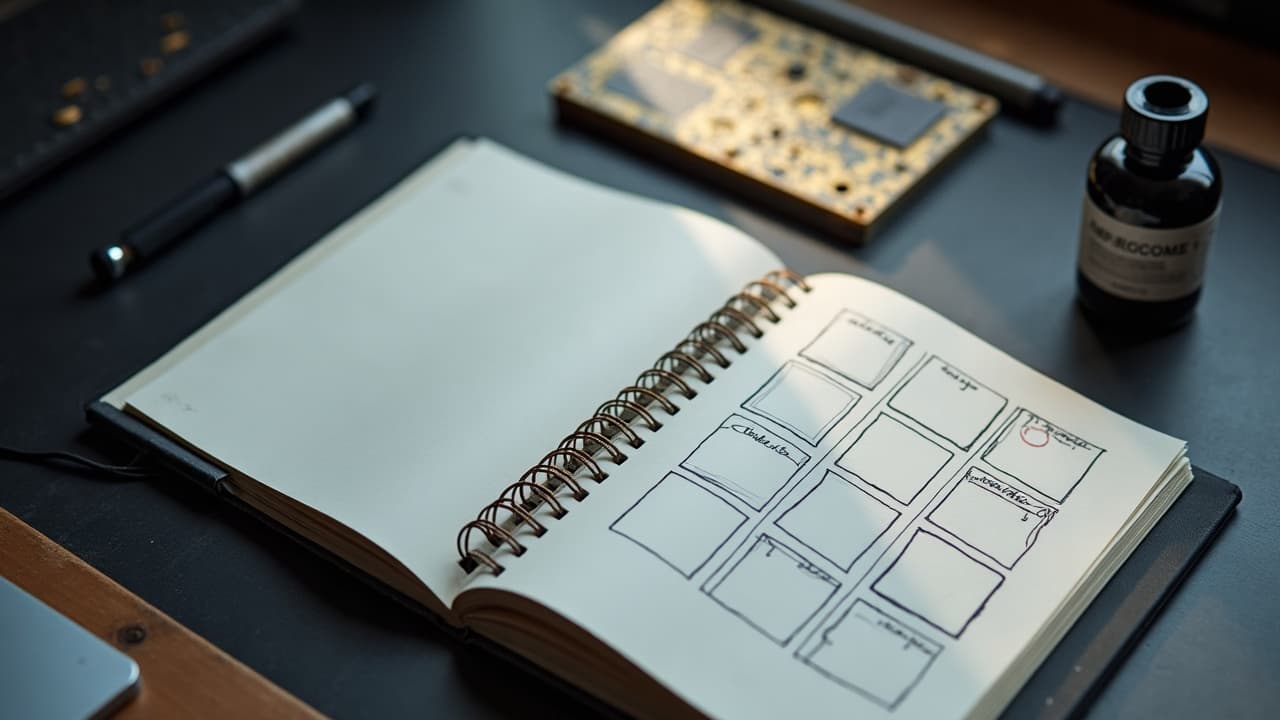
Blank-canvas paralysis drains hours. A structured AI prompt fixes that, turning loose ideas into concrete thumbnails you can critique, ink, or discard quickly. Used with intent, AI tattoo prompts do not replace drawing, they accelerate it. This guide shows exactly how a novice artist can craft prompts, iterate toward a consistent look, and convert results into tattooable linework without losing authorship.
The anatomy of a high‑performing tattoo prompt
Great prompts read like a mini creative brief. They specify subject, design method, and constraints that matter on skin. Aim for eight parts you can tune on demand: subject, style, line, shading, composition, view, palette, and constraints. Most general image prompts ignore at least three of these, which is why they look pretty online but fail as stencils.
- Subject and action, for example “coiled snake around peony.” Add pose verbs like wrapping, drifting, piercing to control flow.
- Style, for example neo‑traditional, fine line, blackwork, or illustrative realism. Include 2 to 3 style tags, not 10.
- Line and shading method, for example single‑needle linework, bold 7RL outline, whip shading, stippling.
- Composition rules, for example S‑curve, rule of thirds, negative space halo, no tangents.
- View and placement context, for example forearm wrap, 3/4 view, left-facing, elbow gap preserved.
- Palette constraints, for example black and gray only, or muted palette, no saturated red.
- Texture allowance, for example no micro‑texture, large shapes, readable from 1.5 m.
- Output intent, for example clean stencil, flat color blocks, high-contrast thumbnail grid.
A quick template you can reuse: “coiled snake around peony, neo‑traditional, bold 7RL outer line, whip shading interior, negative space halo, 3/4 view for forearm wrap, black and gray only, no micro‑texture, clean stencil.” Models like Midjourney, DALL·E, and SDXL understand this structure (non-sponsored examples).
Tools that simplify your first month
Pick tools that give you control without endless knobs. For pure ideation, Midjourney v6 is strong out of the box. For surgical control, Stable Diffusion XL with ControlNet and seed locking lets you repeat wins. Expect $10–30 per month for hosted tools, or a one‑time GPU cost if you run local.
- Beginner stack, Midjourney + Procreate for sketch cleanup. Low setup, fast results (non-sponsored examples).
- Control stack, SDXL + ComfyUI with ControlNet for pose and edge maps, then Photoshop or Clip Studio Paint for curves cleanup (non-sponsored examples).
- Reference capture, your phone camera + PureRef for boards. Keep boards local and organized by style, subject, and client.
Locking a seed gives you consistent variants. Image-to-image with a low denoise strength keeps your thumbnail’s composition while swapping style or palette. Upscaling late avoids false detail early. When in doubt, run small 512 px grids for breadth, then pick one winner to push.
Build your style compass before you generate
If every prompt points a different direction, your portfolio will too. Make a simple style compass, then write prompts that serve it. Start by grabbing 30 images you would proudly tattoo, not just admire. Tag what you love in plain language, for example thick outer line, soft gray wash, 2‑tone palette, negative space aura. Revisit those tags as mandatory prompt ingredients.
- Make three moodboards, line‑led, shade‑led, color‑led. Each should have 10 images you can explain in two style tags.
- Pull style words from our styles overview and from our consistent style prompt guide. Reuse exact phrasing.
- Write a 1‑sentence style rule, for example “bold silhouette, gentle texture, readable at 2 meters.” Paste that into every prompt as a non‑negotiable.
Add a negative vocabulary to protect tattoo readability, for example no photorealistic pores, no tiny filigree, no overlapping outlines. When you keep repeating these guardrails, you spend less time deleting shiny but un‑inkable details later.
Prompt templates that actually work
Use templates with slots so you can iterate quickly. Avoid stacking 20 adjectives. Instead, fix your style spine and vary the subject, action, and placement. Keep sentence order stable so the model learns your priorities.
- Placement template, “{subject} in {style}, bold 7RL silhouette, smooth gray wash, negative space halo, fits {placement}, no micro‑texture, clean stencil, high contrast.” Swap {subject} and {placement}.
- Action template, “{animal} intertwined with {botanical}, neo‑traditional, thick to thin line weights, stippling shadows, rule of thirds, 3/4 view, limited palette, no tangents.”
When you need exact pose or flow, drive the model with reference images. Rough a silhouette in Procreate, export as a PNG, and run image‑to‑image with ControlNet lineart to preserve your layout. Keep a text suffix like “tattooable, clean linework, no background” on every run. For composition coaching, review our negative space techniques.
Iterate with image‑to‑image and references
Your sketch is still the north star. Start ugly and blocky. Feed that into AI to generate 20 tasteful variants you would not have found alone. Then pick one and sketch back over it. Repeat. You are training your taste as much as the prompt.
- Sketch in Procreate or Clip Studio Paint, 1200–2000 px canvas. Export as a flat PNG with a clear silhouette.
- Run SDXL Img2Img at denoise 0.35–0.55. Lower values hold your pose, higher values explore style.
- Store winning seeds with labels, for example “snake‑peony, 3/4 forearm, seed 81255.” Reusing seeds gives stylistic continuity.
For fast pose control without a 3D rig, photograph your own arm or a foam cylinder for wrap studies, then trace the flow. Tools like ComfyUI, Automatic1111, Photoshop, and Procreate fit cleanly into this loop (non-sponsored examples).
From AI concept to tattooable linework
AI loves micro‑detail. Skin does not. Your job is to simplify without losing character. Think in readable silhouettes, controlled line weights, and negative space anchors that hold up at a glance. If a detail disappears when you zoom out to 15 percent, cut it or group it.
- Make an outline pass, unify the outer contour at 7RL–9RL weight, reserve 3RL–5RL for interior accents only.
- Scrub noise, delete tiny textures, remove parallel tangents. Let background areas breathe with 2–5 mm of negative space.
- Convert to a high‑contrast stencil. In Procreate, duplicate the layer, Threshold to hard black, then tidy with Curves and the Monoline brush.
- Print at target size and at 70 percent size. If it dies at the smaller print, it will die on a calf in six months.
For composition and legibility, revisit our contrast guide. Keeping a checklist next to your iPad catches 80 percent of problems before your client sees them.
Color, contrast, and safety considerations
Color choices in prompts need real‑world guardrails. Red pigments provoke more reactions than most hues according to the American Academy of Dermatology. When you write “no saturated red” into prompts, you reduce rework for clients with known sensitivities. The FDA notes tattoo inks are not formally approved, so treat brand and pigment choices with caution as you plan palettes (FDA).
- Proof in grayscale first. Add “black and gray only” to your exploration runs, then re‑introduce accent color.
- Prefer two‑ or three‑color palettes for longevity. High contrast reads better from distance and ages gracefully.
- Write sun reality into your choices. The Cleveland Clinic emphasizes sun protection as a core skin health habit, so avoid ultra‑low‑contrast pastels that vanish with mild fading (Cleveland Clinic).
If color is essential, lock high‑contrast pairs like teal‑orange or purple‑yellow in the prompt, and keep midtones limited. When in doubt, test a desaturated preview before committing to a final stencil. Aftercare planning, for example Saniderm, Bepanthen, Aquaphor during healing, matters too, but the design’s contrast is the real longevity lever (non-sponsored examples).
Ethics, ownership, and client communication
Clients want clarity. Tell them where AI enters your process and where your hand takes over. I keep a three‑image strip, your sketch, the AI variant, your final redraw, in the client deck so authorship is obvious. This builds trust and shortens approvals.
- Ownership, the U.S. Copyright Office requires meaningful human authorship to claim copyright. Redraw, edit, and document your steps so your final is protectable (U.S. Copyright Office).
- References, keep a studio policy. No verbatim copying of living artists’ designs. Use multiple references and transform heavily before AI sees them.
- Consent, secure written approval before using a client’s photos for references or try‑ons. Small forms save big headaches.
If you train custom LoRAs or embeddings, document sources and license status. When a client asks about data or originality, being able to show your prompt logs, seed list, and revision notes is more convincing than any speech.
Daily practice loops and common fixes
Consistency beats inspiration. Small, repeatable drills compound style faster than marathon sessions. Use time boxes, a rating rubric, and a seed bank. Treat your prompts like brush presets, tuned and named for reuse.
- 15‑minute warmup, generate 12 thumbnails from a single template with three subject swaps, then pick one to refine.
- 30‑minute craft block, redraw one AI concept by hand, unify line weights, resolve tangents, and print at size.
- Weekly review, score every piece 1–5 on silhouette, texture, contrast, placement. Keep only 4‑star and 5‑star in your book.
Common problems map to simple prompt or process tweaks. If you see muddy thumbs, add high contrast, clean stencil, or remove background. If details look brittle, reduce adjectives, increase shape size, and lower the denoise. If wraps feel flat, specify forearm wrap, calf wrap, or upload your own cylindrical reference.
Ready to test this for real clients without guessing? Generate targeted concepts with your style compass inside AI for Tattoo, then preview placement with our virtual try‑on. Start in the Create workspace to build prompts, save seeds, and compare variants side by side. Bring your best idea to life now: Generate in Create and try it on instantly.
Try AI for Tattoo Free