
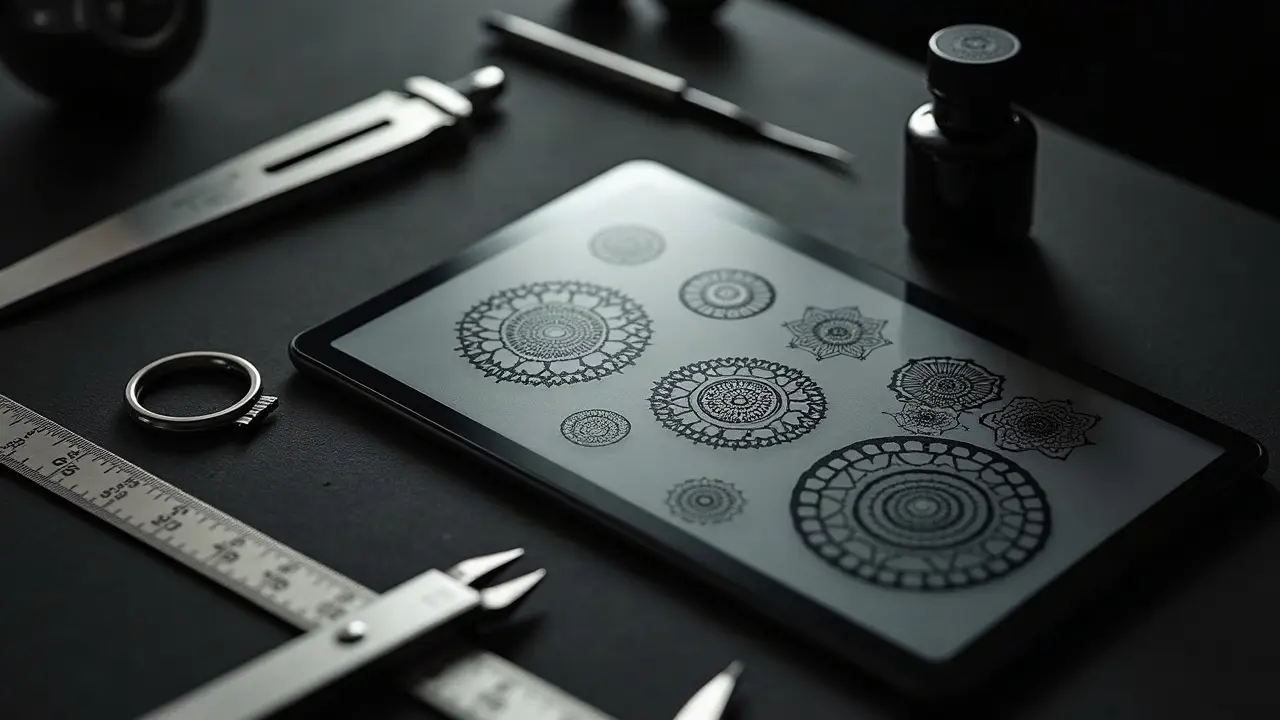
Great AI tattoo art is rarely born from a single sentence. The cleanest, most tattooable results come from structured prompts, tight negative controls, and 5 to 15 micro-iterations that move from composition to lineweight to texture. If you have ever printed a gorgeous AI render that turned to mush when stenciled, the issue was not the idea, it was the iteration mechanics. In the shop, we speak in line weights, value steps, and placement constraints. Your prompt should too.
Build a controlled prompt backbone before you iterate
A good AI draft starts with a backbone you can adjust like dials. Break your prompt into stable components so changes are surgical, not chaotic. I use a four-part structure that keeps designs legible on skin and easy to refine across sessions.
- Subject tokens: what the piece is, in 5 to 12 words. Example, “coiled viper, open mouth, forward 3/4, mid torso crop.”
- Style tags: 3 to 5 guiding markers, not a paragraph. Example, “blackwork, bold line, high contrast, negative space halos.”
- Composition directives: primary shapes and flow. Example, “S-curve spine alignment, directional lighting left, asymmetry, large midtones.”
- Constraint and negative block: what to forbid and enforce. Example, “no watercolor bleed, no photoreal pores, no background clutter, keep 2–3 line weights.”
Keep variables isolated. Instead of rewriting the whole prompt, adjust a single dial, like “increase midtone openness by 20 percent” or “reduce micro texture, keep silhouette dominance.” If your platform supports it, lock a seed to preserve composition while you test materials or lineweight. This is how you get consistent families of options clients can compare without noise.
Use a deliberate iteration rhythm, not random retries
Treat prompt work like sketching. Start broad, then converge. I run four distinct passes, timing each so I do not overwork any phase. This keeps you from chasing artifacts and forgetting the actual placement on the body.
- Thumbnail pass, 10 to 12 low-step generations, small resolution, aspect 3:4 or 4:5 if you aim for limbs or back panels. Focus on silhouette clarity, not details.
- Structure pass, 4 to 6 mid-step generations with seed lock. Refine flow lines, anchor points, and negative spaces. Kill noisy backgrounds with stronger negative prompts.
- Detail pass, 3 to 5 higher-step runs. Add 2–3 line weights, stipple fields, or hatch blocks. Test contrast ratios that read from 3 meters.
- Polish pass, 2 to 3 finals at full resolution. Freeze the best composition, clean edges, then export stencil and reference plates separately. Limit yourself to 30–60 minutes here.
Batch smart. If you are moving from a forearm piece to a calf, do not start over. Keep the subject tokens and style tags intact, adjust only aspect ratio and flow directive. That single change often yields placement-ready results in one or two tries.
Tattoo reality check, lineweight and contrast that hold on skin
AI loves micro detail. Skin does not. I bias prompts toward bold outer contours, secondary mid-weight structure, and sparingly used microline that can be dropped at stencil time. If you plan single-needle texture, say so as a constraint, but pair it with explicit contrast scaffolding. Your future healed piece will thank you.
If you are new to translating digital values to ink, read our linework and contrast guide. It shows why value mapping in 3 steps light, mid, dark outperforms soft gradients for readability. Overly soft shading can migrate or blur visually, and blowouts can happen when chasing hyperfine lines. Health sources explain why minimizing trauma and avoiding excessive passes matters, see the tattoo blowout overview at Healthline.
Allergy and pigment cautions are real, especially with some reds and yellows. The American Academy of Dermatology notes tattoo reactions and granulomas, see guidance at the AAD. Keep this in mind when prompting color-heavy drafts for clients with sensitive skin. If you intend a black and grey conversion, state “monochrome final, color only for ideation” so the model does not overbuild hues you will later strip.
Negative prompts and constraint stacking, the quiet superpower
Negative prompts prevent rework. List what ruins tattoos, then forbid it. I keep a reusable block for most styles, then I add project-specific constraints. Stacking beats one long sentence because you can toggle lines quickly.
- Universal negatives: “no tiny text under 8 pt, no photoreal pores, no background scene, no soft vignettes, no drop shadows on edges.”
- Blackwork set: “no grey fog, no watercolor bleed, no halftone screens, no fine lace textures smaller than 1 mm.”
- Fineline set: “cap microline to 0.2–0.3 mm, no dense crosshatch fields, avoid high-frequency noise in hair and fur.”
- Color realism set: “no neon glows, avoid pure white fills larger than 5 mm, keep highlights as negative skin.”
If your tool respects weighting, scale negatives slightly higher than stylistic tags when you are correcting behavior, then rebalance once the issue is gone. This prevents overcorrection where the model starts stripping good texture along with the bad.
Reference fusion without copying, ethical and effective
You can steer results with references while respecting artists. Use public domain sources, museum scans, and your own photos, then describe influence at the movement level, like “Art Nouveau curvature” or “Japanese compositional asymmetry”, instead of naming living artists. Blend two references at a time, not six. Fusion gets muddy fast.
If you need a color cue or pigment realism, remember that tattoo inks are not FDA approved for injection. That is the agency’s standing position, see the FDA on tattoo inks at the FDA. Keep color prompts conservative and plan for healed desaturation. For complication context across large datasets, you can browse JAMA Dermatology research at JAMA Dermatology. The takeaway is simple, prompts that push extreme microdetail and saturated flats can translate to more trauma. Keep design choices friendly to needle and skin.
Client co-creation, from adjectives to A-B decisions
Clients speak in feelings first. Convert that into ranked adjectives and binary choices. Ask them to pick between “airy vs dense,” “symmetry vs organic,” “2 vs 3 line weights.” Build those words directly into your prompt blocks so they see their language reflected in outputs.
- Run A-B boards of 6 to 8 thumbnails with the same seed and style, only one variable changed. Clients decide faster when noise is low.
- Use a prompt brief sheet that stores subject tokens, style tags, negatives, body placement, and must-keep motifs. Version it with dates.
- When a client asks for a change, translate it to a one-line prompt delta, like “increase negative space 15 percent” or “switch leaf veins to stipple.”
- Share why a request may fail on skin with citations, like AAD guidance or Cleveland Clinic healing timelines, then propose a skin-safe alternative.
For communication frameworks across edits, bookmark our tattoo design revisions guide and the use cases overview in AI tattoo prompts for body art. These keep scope realistic and save you from promising what a needle cannot deliver.
Prepare for stencil reality and body placement flow
Before you fall in love with a render, force a stencil pass. In your editor, knock the image to pure black with two or three line weights, eliminate hairline textures, and verify that negative space makes recognizable shapes. If the piece collapses, go back and prompt for stronger silhouettes and fewer micro details.
Placement rules matter. Forearms and calves want vertical S-curves, ribs like horizontal sweeps that breathe, and backs can hold radial anchors behind shoulder blades. Use AI to test flows, then try the design on a real body. You can preview scale and wrap easily with our virtual try-on.
Healing sets the real contrast. Clinical sources place top-layer healing at roughly two to three weeks for many people, see the tattoo healing overview at the Cleveland Clinic. Plan prompts for stronger initial contrast knowing there will be 10–20 percent softening after peel and settle. Avoid massive black fills on thin skin, they can lengthen healing and increase risk of blowout or scabbing that distorts edges.
Technical controls that move the needle
Some platform parameters influence prompt fidelity more than others. If available, I treat CFG or adherence strength like a personality slider and keep it moderate while compositing, then raise it for the polish pass. Too high too early chokes variation. Step counts follow the same mindset, lower for exploration, higher for cleanup.
- Keep a seed library of winners per style. Reuse seeds for consistent families across a sleeve.
- Match aspect ratios to anatomy, 2:3 for limbs, 1:1 for caps, 3:2 for back plates. This single control cleans up composition.
- Use image prompts as layout guides. Feed your own sketch, then tell the model to keep the contour and swap internal texture.
- Control value spread explicitly, like “70 percent midtone, 20 percent shadow, 10 percent highlight.” It prevents muddy mid-heavy designs.
QA checklist and export specs for the studio
Finish strong with a consistent delivery package. Your future self, or your client’s artist, will thank you. I keep a standard that covers stencil, reference, and working files. Tools like Procreate, Adobe Illustrator, Affinity Designer help with cleanup and vectorization (non-sponsored examples).
- Export a high-res PNG (3000 to 5000 px on the long side) for reference, and a pure black stencil PNG with transparent background.
- Vectorize final linework to SVG when possible. It scales cleanly for different placements and supports quick lineweight edits in Illustrator.
- Provide a value plate in grayscale showing planned packing of black, midtone, and skin, so the tattooer can translate shading methods.
- Include negative prompt notes and lineweight legend. Example, outer 0.8 mm, mid 0.5 mm, micro 0.25 mm. Make the micro optional.
- Name files clearly, like client-initials_subject_seed####_v3. Keep seeds and prompt blocks in a text file inside the folder.
For health-informed decisions, keep citations handy. The AAD outlines reactions and aftercare basics, useful when clients ask for risky details, see the AAD. The Cleveland Clinic explains practical healing windows and care steps at the Cleveland Clinic. Both help you justify prompt choices that reduce trauma without compromising design intent.
Ready to turn a structured idea into a tattoo you can actually stencil and wear? Use AI for Tattoo to build prompt blocks, generate variations, and preview placement in minutes. Start a controlled iteration in Create, then test scale and flow with Try On. You can also browse style baselines in Styles before your first pass.
Try AI for Tattoo Free