
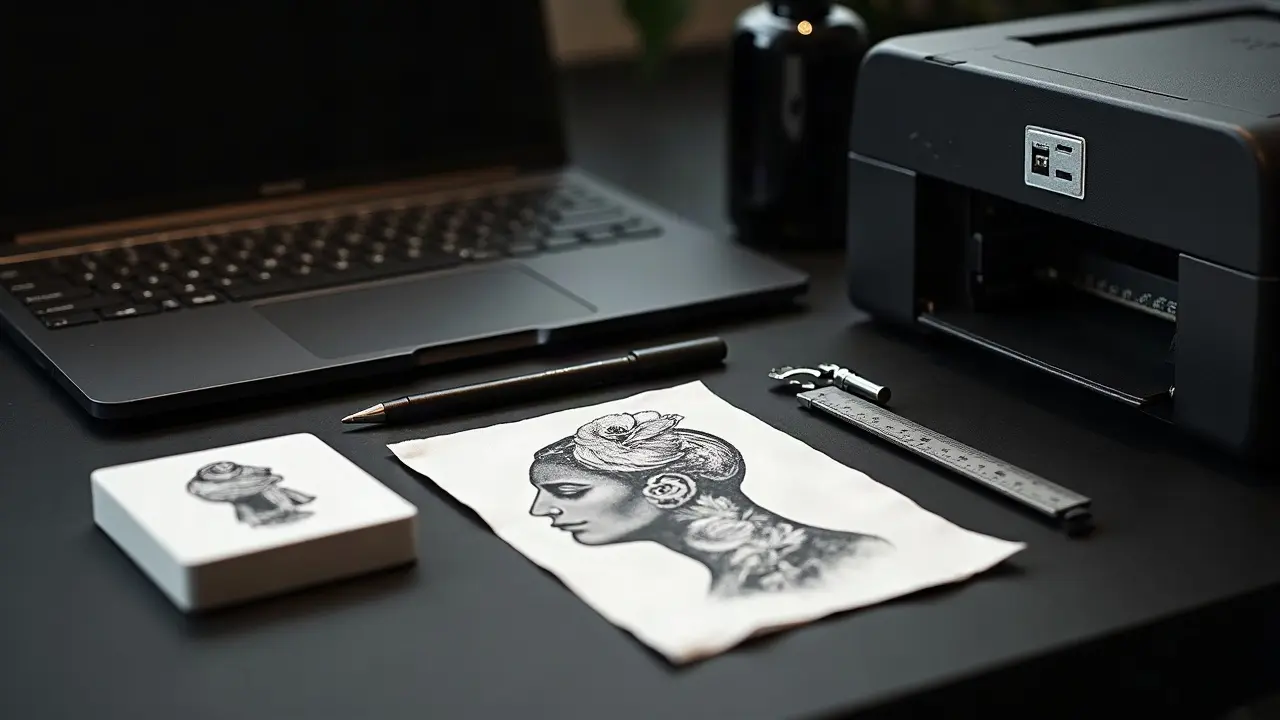
The AI tattoo prompt that prints cleanest on skin is the one that respects anatomy, ink physics, and culture. Most failed AI-to-stencil handoffs happen because of fuzzy line weights, poor contrast planning, or ignoring skin tone limits, not because the idea was bad. A smart prompt solves those upstream so your artist spends less time redrawing and more time refining. Dermatology sources note that tattoos can trigger complications, from allergic reactions to infections, although these events are relatively uncommon. Planning for ink choice, placement, and healing windows 14–30 days makes your AI concept more realistic and safer to execute. For medical background on risks and skin behavior, see the American Academy of Dermatology, Cleveland Clinic, and Mayo Clinic.
What AI tattoo prompts do best in real studios
AI excels at rapid composition exploration, controlled style studies, and cover-up planning. It is not a substitute for your artist’s eye or your consent on cultural symbols, but it can compress days of sketching into an afternoon. Use AI to frame constraints early, then hand your artist a tighter brief. You will feel the difference when the first stencil already hugs your anatomy and the blacks sit where they will heal solid.
- Flash ideation with clear constraints, for example neo-traditional wolf, 12 cm, outer forearm, heavy black, 2 color accents, no background.
- Cover-up overlays that test black saturation, negative space traps, and readable silhouettes over existing shapes.
- Colorway previews across Fitzpatrick I–VI, checking contrast and avoiding undersaturated pastels on deeper tones.
- Lettering layouts with x-height, baseline arcs, and kerning approximations for curved placements.
- Motif synthesis, for example chrysanthemum plus oni mask, consistent line weight 0.3–0.5 mm, dotwork shading only.
- Backpiece and sleeve flow mapping that respects shoulder rotation, spine line, and rib expansion.
- Stencil-ready vector line art export after AI cleans up edges, saving time in Procreate or Illustrator.
- Flash page building, unified by palette, stroke family, and motif rules so a set reads like one hand.
Prompt frameworks for different body art applications
Most people write vibes. Studios need parameters. Build prompts around eight anchors: subject, style, line weight, shading method, palette, size, placement, background rule. Those eight push the model to generate art that can be tattooed, not just admired on a screen. Keep outputs flat-lit and front-facing unless you are designing for a wrap with deliberate foreshortening. If you are bridging to a sleeve or backpiece, chain prompts with shared rules, for example the same stroke family and black distribution 60–70 percent. That coherence carries through when your artist comps the panels.
- Small symbol, fine line: "Minimal olive branch, single needle look, line 0.2–0.25 mm, no fill, 3 cm, inner wrist, no background, white canvas."
- Neo-trad forearm: "Neo-traditional fox, bold contour 0.4–0.5 mm, black and gray with two spot colors, 12 cm, outer forearm, no floating gradients."
- Dotwork sternum: "Sacred geometry, dotwork only, stipple density 15–30 percent, 16 cm, sternum center, mirror symmetry, negative space highlights, no color."
- Japanese backpiece study: "Irezumi koi and peony, full back map, large black fields, hatching only, no photoreal, 60 percent black coverage, flow around shoulder blades and spine."
For more structured phrasing that nudges the model toward human legibility, see our color grading prompt guide and our linework and contrast techniques. These pair visual constraints with the kind of tonal math that reads well on skin.
Skin types, tones, and AI color accuracy
Skin is not a white canvas. Melanin filters light, so low-contrast pastels that pop on screens can heal muddy on deeper tones. When prompting, state the Fitzpatrick type you are designing for and bias toward contrast-first palettes. On Fitzpatrick IV–VI, prioritize black linework, warm reds, yellows, and opaque whites used sparingly for edge pop. On Fitzpatrick I–III, more cool blues and muted greens can survive if your black anchors are strong. The American Academy of Dermatology provides baseline education on skin types. For practical color expectations and melanin’s impact on ink appearance, see Healthline’s tattoo color guidance. Always remember that ink sits in the dermis, not on top, so contrast beats chroma for long term readability.
- State Fitzpatrick I–VI in the prompt, then request a palette tuned for that tone.
- Ask for high-contrast mockups with neutral lighting, no HDR, to avoid false saturation.
- Specify black distribution 50–70 percent for dark-skin designs to keep edges crisp.
- Avoid low-opacity pastels and narrow midtones on deeper tones, lean on bold contour and textured shading.
Healing can take 2–4 weeks for the epidermis, longer for deeper settling, according to sources like Cleveland Clinic. Overly dense saturation passes and huge color fields compound trauma, so prompt for moderate pack-in, ink breaks, and negative space to protect skin and shorten total session time.
Cultural and ethical considerations in AI prompting
AI will happily remix sacred symbols without context. You should not. If a motif belongs to a living culture or lineage, prompt for inspired structural qualities, not literal protected iconography. Commission a culture bearer or consult your artist to avoid appropriation and to get the story right. At minimum, add a rule to your prompt, for example no sacred Maori moko patterns, no Navajo textile motifs, or no Ashanti Adinkra glyphs unless you have permission. If you want informed context, read our cultural primers like Inked in Immortality or explore specific traditions such as Celtic tattoo meanings and pattern techniques. Your future self will be glad you asked first.
Placement tactics, sizing, and anatomy in prompts
Bodies bend, twist, and breathe. Good prompts account for flow lines and landmarks. On the forearm, follow the brachioradialis line for movement. On the ribs, leave breathing breaks and avoid tiny script that will warp. For knees and elbows, design for hinge clearance and budget more touch-up risk. Always state exact size in cm and a line weight range, because a 0.2 mm look on a 20 cm thigh piece is unrealistic. Ask the model for a flat stencil view plus a wrapped mockup. The flat view helps your artist cut a clean stencil. The wrap preview catches tangents that would collide with tendons or bones.
- Arms and calves, prompt for tapered flow that narrows toward wrists and ankles.
- Chest and back, align with sternum and spine as your A-axis, then echo ribs or scapula for secondary arcs.
- Hands and feet, specify heavy black anchors and simple silhouettes for longevity.
- Hinges, keep high-traffic zones simple, solid, and readable at 2–3 meters.
Linework, shading, and style constraints the model will respect
Prompts that specify stroke families and shading types produce art that can actually be tattooed. Call out single-weight contour, variable-weight contour, hatching, crosshatching, stipple gradients, or solid pack. Ban soft airbrush unless your artist specializes in micro-smooth black and gray. Ask for no floating gradients, no fine white outlines beyond 0.2 mm, and a maximum detail frequency so micro-textures do not clump. If you are pushing realism, cap the detail per cm and request posterized values 3–5 steps to keep the stencil printable. For line-first styles, include acceptable needle lookalikes in the prompt, for example single needle, 3RL, or 7M mag shading, as style descriptors. This does not bind your artist to those needles, it just keeps the AI within tattoo logic.
For handoff-ready contrast maps and edge discipline, bookmark our linework and contrast techniques. It shows why black placement and edge hierarchy are the two levers that outlast time and sun.
From prompt to stencil, handoff workflow and revisions
Do not dump a 4K glossy render in your artist’s inbox and expect magic. Deliver flat, high-contrast art, ideally 3,000–6,000 px on the long edge. Your artist will refine in Procreate, Adobe Fresco, or Illustrator. Ask AI for clean vector linework or export to vector with live trace settings tuned for 0.3–0.5 mm lines, then simplify. Agree on two to three revision rounds focused on anatomy fit and black placement. Keep color experiments separate so line edits are not lost. For cover-ups, include a multiply-layer overlay of the existing tattoo under your AI mockup. For practical revision workflows, see our tattoo design revisions guide.
- Export a flat stencil pass plus a value study at 3–5 tones.
- Include scale markers in cm on your mockups to prevent size drift.
- Call out do-not-change elements versus flex zones in your notes.
- Share aftercare plan and expected session count to pace saturation.
Aftercare planning belongs in the design brief too. Pack a recovery kit named in your notes so expectations are aligned: Saniderm, Bepanthen, Hustle Butter, Aquaphor, Mad Rabbit (non-sponsored examples). Healing advice from clinical sources like Mayo Clinic can help set timelines and reduce surprises.
Preview, pain, and budget planning with AI try-on
Your prompt is only as good as its fit on your body. Use a realistic try-on to see how the silhouette reads from 2–3 meters. Print, tape, or use a phone-based overlay so you can live with the concept for a few days. Budget wise, most custom work lands around $150–$300 per hour, with sleeves spanning 15–30 hours split into sessions. Pain varies by placement, but forearms are usually 3–5 out of 10, ribs 7–9 out of 10. Healing typically runs 2–4 weeks to settle the top layers, per Cleveland Clinic. If you plan to use a topical anesthetic, prompt lighter saturation passes and longer sessions. Read safety guidance from the U.S. FDA on over-the-counter anesthetics and follow label instructions. Popular numbing gels like TKTX exist, but always clear products with your artist and your own clinician if you have sensitivities.
Before you book, generate and test-fit your concept. You can generate a first-pass design with constraints and then try the tattoo on your body. Tight prompts plus realistic previews save redraw time and reduce day-of stress.
Ready to see your prompt turn into a wearable concept? Use AI for Tattoo to create a constrained design, then try it on in seconds. Iterate fast, lock your line weights, contrast, and size, and walk into your consult with a pro-ready brief.
Try AI for Tattoo Free