
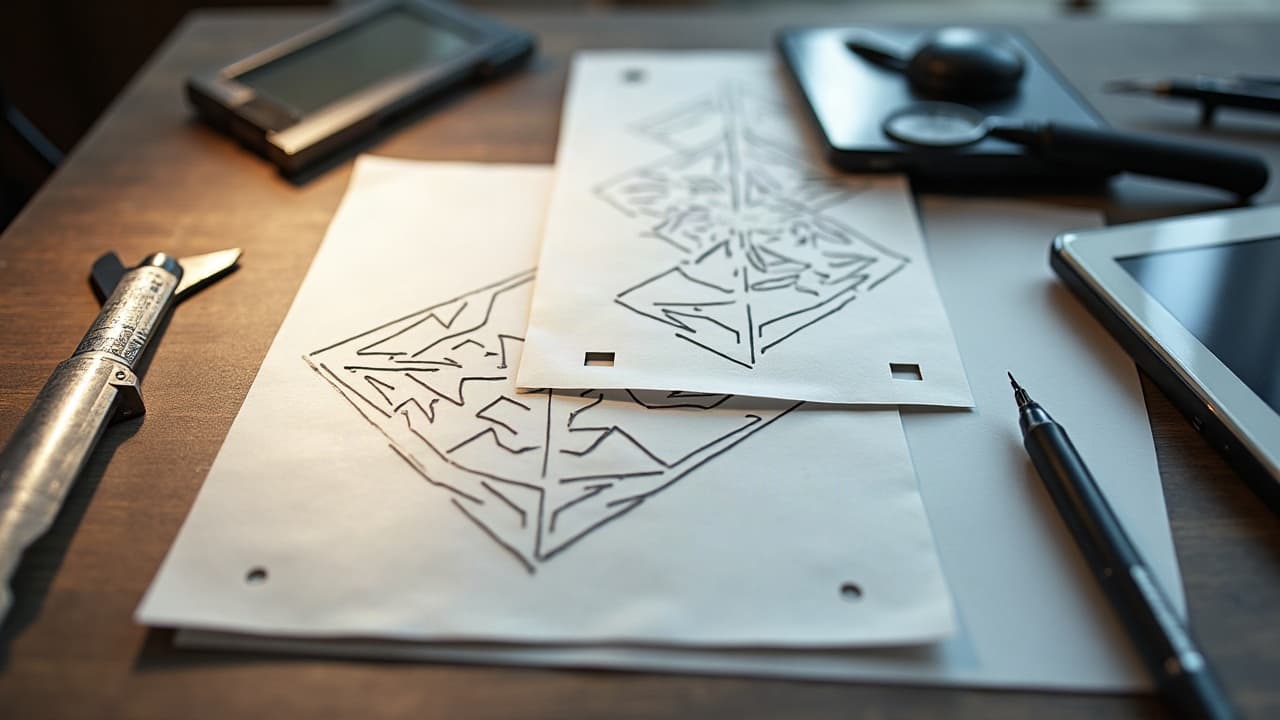
Most tattoo resizing fails are not about image resolution, they are about line weight versus viewing distance. A design that reads crisply on a 6.5 inch phone screen can collapse on a 2 inch wrist or look empty on a 9 inch forearm if you do not adjust structure, spacing, and value. AI can help, but only if you ask it for the right things. Roughly a third of U.S. adults have tattoos, so scale mistakes are common and costly, as surveys from Pew Research Center show. On skin, pigments spread microscopically and lines blur over time, a reality dermatology sources like the American Academy of Dermatology and the U.S. FDA note. Treat resizing as design surgery, not a button press.
Tattoos resize differently than pixels
On paper, scaling is arithmetic. On skin, scaling is physiology. Ink diffusion, skin texture, and motion change how lines hold. Shrink a dense mandala to fit under 50 mm and fine spokes merge. Enlarge a minimal symbol to 200 mm and it may look too sparse. AI tools like Midjourney, Stable Diffusion, and Adobe Photoshop will happily upscale or downscale, but they do not understand dermal realities unless you tell them in the prompt. Health sources flag the same forces we fight in the studio: blowouts, pigment migration, and scar behavior over time. See Healthline’s overview of tattoo blowouts and the FDA’s information on tattoo inks for why edges soften.
Resizing also changes viewing distance. A micro tattoo on the wrist is viewed at 20–30 cm, while a shoulder cap is read at 60–100 cm. The farther the viewing distance, the bolder the line weight and wider the negative space you need for clarity. When covering scars or keloid-prone areas, added boldness can backfire, so keep scale and placement medical-aware. For background on scar behavior, review the Cleveland Clinic’s scar care guidance.
Core prompt anatomy for clean resizing
AI does not intuit tattoo physics, so bake constraints into your wording. Explicitly define target size, aspect ratio, line weight, minimum gap widths, and value range. Add a placement cue so the model composes for curvature and viewing distance. Then require vector-like edges or crisp inking so the output can survive stencil transfer and healing. Tools that respond well to this structure include Midjourney, Adobe Firefly, Stable Diffusion img2img, and Photoshop Generative Fill.
- Prompt skeleton: “Resize to 120%, maintain 3:4 aspect, enforce 1.5–2.0 mm line weight, keep 1.8–2.5 mm negative space, limit shading to 20–40% gray, placement cue outer forearm.”
- For micro work: “Downscale to 40 mm width, upscale line weight to 0.9–1.2 mm, simplify filigree by 30%, preserve silhouette, no halftone, output 600 dpi PNG.”
- For sleeves: “Enlarge motif to 180 mm height, introduce bridging elements every 40–60 mm, preserve focal at rule-of-thirds, increase midtone contrast by 15%, placement cue upper arm wrap.”
- For symmetry: “Centered alignment, mirror-safe geometry, avoid 0.5–1.0 mm micro-details, prefer bold outlines with light stipple interior, maintain clean overlaps.”
- Production-ready: “High-contrast edges, no JPEG artifacts, vector-style clean-up, deliver SVG + 600 dpi PNG, white background, black ink simulation only.”
Shrinking designs without losing clarity
Smaller tattoos need fewer shapes, thicker strokes, and more air between elements. Your prompts should instruct the AI to perform detail triage. Ask it to preserve the silhouette, boost primary contours, and cull tertiary textures. In apps like Procreate, Clip Studio Paint, or Photoshop, you can post-edit by grouping micro elements into simplified clusters. This keeps the read at arm’s length crisp rather than noisy.
- Use: “Reduce ornamental density by 25–40%, convert hairline filigree to 1.0 mm, widen whitespace between repeats to 2.0 mm, maintain outer silhouette fidelity at 95%.”
- Flatten rendering: “Replace soft shading with stipple or hatch, cap maximum gray at 35%, avoid gradients that look muddy at <50 mm width.”
- Preserve anchors: “Keep only 3–5 primary landmarks, remove micro-notches, unify micro-dot arrays to even halftone.”
- Test readability: “Design must be legible at 25% zoom, silhouette check on black and skin-tone backgrounds.”
- Export with margin: “Add 3–5 mm clear margin for stencil, output 600 dpi, mono ink simulation, no color.”
If you need to rescue a shrunken line set, use Topaz Gigapixel or Photoshop’s Preserve Details 2.0 to upscale temporarily, clean edges, then downscale again. This keeps aliasing out of your stencil. For concept proofing on-body, the AI for Tattoo try-on preview is faster than guessing. See how your downsized option reads in context using our virtual try-on.
Enlarging designs that still look intentional
Scaling up does not mean inflating empty space. Big placements need rhythm and anchor points so the eye has somewhere to rest. When you enlarge, ask the AI to introduce bridging motifs, secondary textures, or flow lines that match the style. Photoshop Generative Fill, Stable Diffusion ControlNet, and img2img can extend motifs cleanly if you specify symmetry, flow, and line weight consistency in your prompt.
- Flow prompts: “Add S-curve connectors, maintain 2–3 focal beats over 150–220 mm, integrate negative space bands at 8–12 mm width.”
- Edge discipline: “No fuzzy edges, outlines remain 1.8–2.4 mm, internal texture 0.6–1.0 mm, avoid isolated micro-details smaller than 1.0 mm.”
- Contrast map: “Push focal contrast by 15–20%, soften periphery by 10%, maintain silhouette thickness at +0.3 mm over base.”
- Compositional glue: “Introduce light background stipple or clouding between islands, density 10–15%, keep skin breaks intentional.”
- Sleeve planning: “Repeatable motifs every 50–70 mm, leave hinge zones free near elbow and wrist flexion.”
When expanding a minimal mark, consider converting hairline outlines to bold keylines and adding value mass so the piece does not look like a sticker on a wall. Our primer on structure helps if you are building depth as you scale, see tattoo dimensions and depth for compositional anchors.
Line weight, value, and spacing you can quantify
Line weight is the backbone of readability. For blackwork, a common studio target is 1.1–1.3 mm visible line at small scale, 1.6–2.2 mm at medium, and 2.4–3.0 mm at large. In prompts, ask for exact millimeter equivalents or pixel widths at 600 dpi. For shading, cap maximum fill at 40–50% on small pieces to avoid blotchiness, and allow 60–70% in larger areas where viewing distance is greater. Space elements so minimum skin breaks are 1.8–2.5 mm when small and 6–10 mm when large.
Translate those numbers into AI-friendly language: “simulate healed line at 1.2 mm, maintain minimum gap 2.0 mm, cap gray at 35%.” If you build in Procreate, load Tattoo Smart Brush Sets, and set Canvas to 600 dpi for stencil clarity. For file delivery, request SVG when you need scale-proof vectors and PNG 600 dpi for raster stencils. These targets align with long term legibility issues described by the American Academy of Dermatology, which highlights how time and skin movement soften edges.
Placement-aware prompts for curved anatomy
Curved surfaces compress and stretch motifs. That ring of petals that looks perfect on a flat canvas may bunch on the inner forearm. Bake placement into your prompts, and ask AI to bias shapes for wrap, taper, and foreshortening. If you are composing landscapes or extended scenes, map your horizon and focal shifts around anatomical bends, then prompt AI to protect those landmarks. For a deeper primer on shaping scenes to bodies, see our design mapping guide for landscapes.
- Outer forearm: “Bias flow distal to proximal, preserve 8–12 mm negative bands near wrist crease, taper line weight by -0.2 mm toward the wrist.”
- Shoulder cap: “Radial layout, focal at acromion, spread petals for 60–80° wrap, avoid crowding near deltoid seam.”
- Ribs: “Elongate motifs vertically +10–15%, add flexible connectors, avoid dense fill over intercostal spaces for comfort and movement.”
- Calf: “Taper along gastrocnemius, mirror-safe geometry, allow S-curve flow to counter bulge, anchor at midline.”
- Spine: “Symmetry locked, protect midline negative space at 10–14 mm, progressive value from center out.”
Proofing scale with try-on and print tests
Proofs catch 90 percent of resizing regrets before ink ever touches skin. Generate final candidates, then preview them at true scale on your body. Use the AI for Tattoo preview to test multiple sizes on your exact placement, lighting, and skin tone with our virtual try-on. If you are between sizes, test 5% increments. For printer proofs, output a 600 dpi stencil-sized PNG. A reliable setup is Epson EcoTank or Canon Pixma, Spirit Thermal Paper, and transfer aids like Stencil Stuff or Hectograph gel (non-sponsored examples).
- Create size ladders: print or preview at 95%, 100%, 105%, 110% to see where detail lands and where emptiness creeps in.
- Silhouette test: tape a black cutout at scale to check read from 2–3 meters, then compare to shaded version at 1 meter.
- Motion test: flex the joint, breathe, twist. If forms collide, prompt for wider negative bands or staggered overlaps.
- Hand-off pack: include SVG, 600 dpi PNG, and a note of line weight targets and gap widths for your artist.
- Session planning: if scaling up into a multi-panel piece, include bridging elements plan and wrap notes per section.
Pitfalls to avoid and quick fixes
AI will follow you into common traps if you do not steer it. Watch for microline tangles, over-smoothing, and gradient mush at small sizes. At large sizes, look for dead zones, pattern tiling, and unrelated textures that creep in during outpainting. The fix is almost always to demand precise numerical constraints and to restate style anchors. If you are collaborating with a human artist, share your constraints and why they matter. If you want to sharpen your prompting in a live setting, join our prompt workshops.
- Lines too thin after shrink: “Rebuild outlines to 1.0–1.2 mm, delete tertiary filigree, increase gap to 2.0 mm, convert soft gray to stipple.”
- Mud at small scale: “Cap gray at 35%, no gradients, emphasize edge lighting or hatch only.”
- Dead space after enlarge: “Add flow bands and connector motifs every 50–70 mm, raise midtone density by 10–15%.”
- Tiling artifacts from outpainting: “Randomize texture seed, request non-repeating patterns, align connectors to rule-of-thirds grid.”
- Placement squeeze at joints: “Introduce hinge zones with 8–12 mm negative space, stagger overlaps across the flexion line.”
Ready to see your resized design at true scale on real skin before you book? Use AI for Tattoo to generate prompt-driven variants, then preview them live with our creator and virtual try-on. Dial in line weight, spacing, and placement in minutes, not weeks.
Try AI for Tattoo Free