
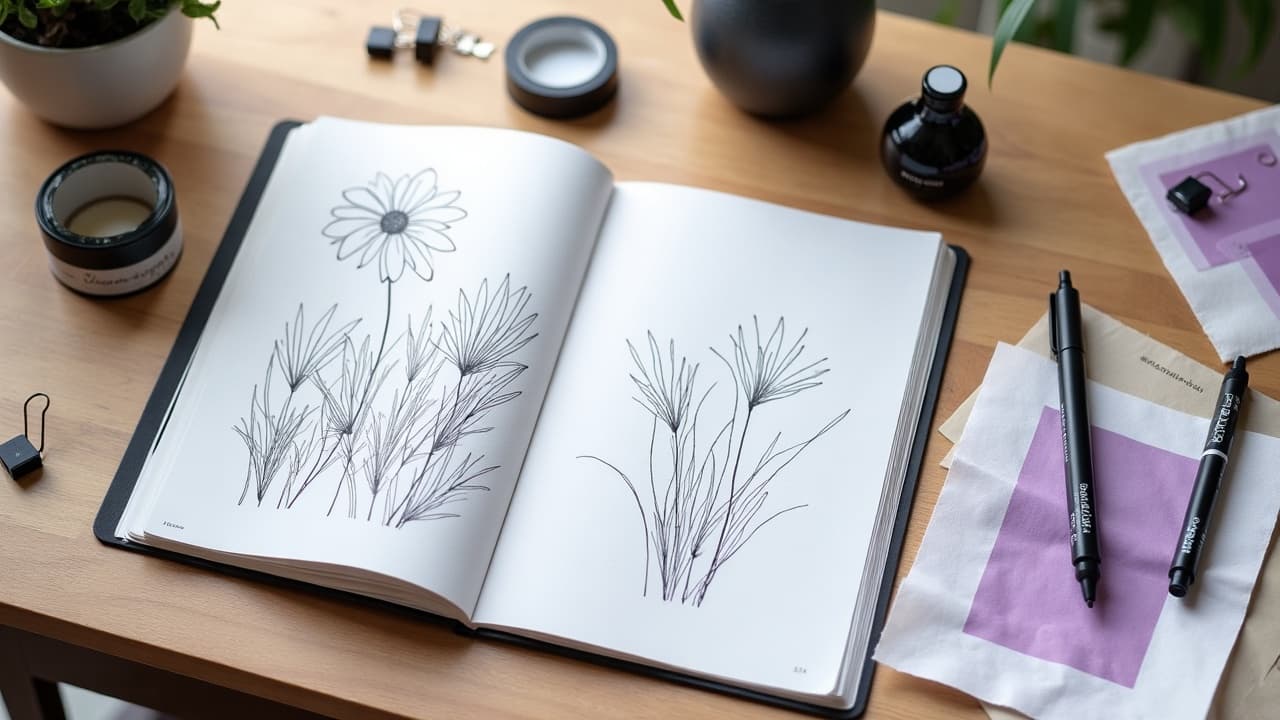
A tight consult often takes 20 to 40 minutes and can save 1 to 3 hours of revisions on tattoo day. The goal is not a final stencil, it is a shared plan on style, placement, size, budget, and any skin or health notes that influence the design.
Know What a Consultation Covers, And What It Does Not
A solid consultation confirms the project’s style direction, where it will sit, how big it should be, and what it might cost. Expect a high-level sketch or rough composition notes, not a finished drawing you can take home that day. Many artists will draw closer to appointment week to keep the idea fresh and aligned with your latest feedback.
Clarify whether the meeting is in-person or virtual, and whether there is a consult fee that rolls into your booking. Ask how your artist handles redraws and minor vs major changes. For multi-session work, request an estimated session count and healing window between sittings, usually 10 to 14 days before new passes on the same area, per common aftercare timelines reported by sources like Healthline.
Arrive With Visuals, But Also With Constraints
References are your best translator. Bring 5 to 10 images that show style, line weight, contrast, and subject. Include at least two “not this” examples to mark boundaries. This keeps your artist from guessing and helps avoid rework.
If you are still shaping style, skim our existing guide to finding your style and save images that mirror specific traits, for example fine-line florals, bold neo-traditional, or blackwork geometry. You can also generate consistent test references with clear prompts. For prompt building that artists actually appreciate, read our prompt strategies for consistent style.
- Label each image with what you like, such as “leaf texture,” “looser shading,” or “no color.” Specifics beat general praise and shorten the feedback loop during the 30-minute consult window.
- Show your actual body placement in photos. Mark approximate size with a ruler or tape. Real-scale context prevents the most common mismatch, too much detail for too little skin.
- Bring your constraints too, such as “no heavy black on inner forearm,” “cover 5-inch scar,” or “works with short-sleeve cuff.” Constraints shape smarter composition choices early.
Placement, Scale, Pain, And How They Interlock
Design lives or dies by placement and size. A micro script that reads fine on paper can blur on a calf. Expect your artist to push for larger scale in high-motion zones and to simplify curves where skin stretches. Use mirror photos to show your posture so the stencil follows real anatomy, not just a flat photo.
Be candid about pain tolerance. Inner bicep or ribs can feel 7 to 9 out of 10 for many, outer upper arm or calf might be 3 to 5 out of 10. If you are deciding where to place a first piece, scan low to moderate pain options and how contrast reads on them in our piece on unique placements and personalization. If you plan multiple sessions, build in 2 to 4 weeks between bigger passes, which aligns with typical epidermal healing noted by the American Academy of Dermatology.
Skin Prep Before the Meeting, Not Just Before Tattoo Day
Healthy skin makes for better stencils and faster healing. In the 3 to 5 days before your consult, moisturize the area twice daily and avoid sunburn. Dry or peeling skin obscures texture and can mislead the conversation about line weight or shading.
Skip alcohol for 24 hours before the consult and session planning, since it can increase bleeding once you tattoo, a point widely echoed in clinical advice like Cleveland Clinic resources. Do not shave over acne or rashes. Show your natural texture so the artist can plan around moles, scars, or stretch patterns. If you have inflammatory skin conditions, bring notes on flare patterns and active treatments. For general dermatology considerations, Mayo Clinic has patient-friendly overviews that help you frame accurate disclosures.
Health Disclosures, Allergies, And Numbing Cream Talk
Tell your artist about allergies, especially to adhesives, nickel, or topical anesthetics. Some inks and equipment can contain trace metals, and some aftercare films contain adhesives. The FDA maintains consumer pages on tattoo safety and reactions, including how to report issues, which is worth a skim before you commit. See the FDA’s overview on tattoos and permanent makeup.
If you plan to use a numbing cream like TKTX, discuss timing and ingredients ahead of time. Some artists prefer to apply in-studio so they can control layer thickness and occlusion time. People can develop allergic contact dermatitis to anesthetics or ointments, as the AAD notes. Patch test a day before on a small area. If you have diabetes, clotting issues, or take blood thinners, bring documentation from your clinician, and expect conservative sizing or session counts.
Budget, Deposits, And Timeline You Can Live With
Most reputable studios require a deposit to book, commonly $50 to $200 for small work or $200 to $500 for day sessions. Typical hourly rates land around $150 to $250 per hour for experienced artists in major cities, with half-day and day rates clearly quoted. Ask whether color or large-scale blackwork affects cost, and whether re-stenciling counts against time.
- Confirm what the deposit covers. Many shops credit it to your session, but they may keep it if you reschedule inside 48 hours or make major design changes.
- Get a rough session map for multi-session pieces. For example, lining day 1, black shading day 2, color in 2 to 3 weeks once top layers settle.
- Ask about touch-up policy. Some artists offer free touch-ups within 90 days, others charge a minimum. Capture this in your receipt or email thread.
Smart Questions To Ask Your Artist
Good questions show respect for the craft and unlock better decisions. Keep a short list in your notes app so you do not forget them in the moment.
- Which style decisions make this design age better on my skin type, for example thicker lines or simplified textures in high-motion zones?
- What needle groupings and techniques do you plan, for example whip shading vs smooth packing, and how does that affect session length?
- Do you recommend any aftercare method for this placement, for example Saniderm wraps versus traditional wash and ointment, and when should I switch to unscented lotion?
- How do you prefer to receive feedback between consult and tattoo day, for example email mockups or a single 24-hour revision window?
- If we need to reschedule, what is your lead time and how long do designs stay on hold before a redraw fee applies?
What To Bring, What To Wear, And What To Leave Home
Bring legible references, a charged phone with body photos, and clothing that exposes the area cleanly. For ribs or sternum, a zip hoodie or button-up gives privacy without dragging fabric over the stencil. For thighs, wear loose shorts you can roll. Minimal jewelry keeps lines of sight clear.
- Bring a small kit: fragrance-free wipes, hydrating lotion, and water. Clean, hydrated skin photographs better for placement tests.
- Ask about aftercare stock so you know what to budget. Many studios sell Saniderm, Bepanthen, Aquaphor, Hustle Butter, or Mad Rabbit (non-sponsored examples).
- Leave self-tanners and heavy makeup at home. They change how stencils transfer and can gum up skin texture, which makes fine line work riskier.
Plan The Paper Trail So Nothing Gets Lost
Treat the consultation like a small project. Keep one email thread with your artist, attach references in a single folder or shared link, and summarize decisions after the meeting. This reduces crossed wires and protects your deposit if policies are disputed. Ask for an invoice that lists rate, deposit credit, and cancellation window in writing.
If you are iterating on motifs or color symbolism, save your notes. Our primer on contrast techniques in tattoo design helps you talk confidently about value range and readability so your feedback is more actionable than “make it pop.”
Remote Consults And Previews That Actually Help
Virtual consults work best when you add scale and context. Shoot straight-on photos in good light, include a ruler for size, and send two or three Try-On mockups so the artist sees your intent in place. If you are new to clear prompts, bookmark our tutorial linked above so your results stay style-consistent.
Use previews to discuss longevity, not just looks. Watercolor washes or ultra-fine scripts can age fast on high-friction zones. Mayo Clinic and Healthline both note that tattoo healing takes 2 to 4 weeks for surface layers, but true settling continues longer, so plan color packing and touch-ups with patience. If you are prone to rashes or adhesive reactions, discuss alternatives to wraps and review allergic risks via the AAD. If an ink or topical reaction occurs, the FDA site above outlines reporting steps and what symptoms warrant medical care.
Previewing your idea on your own body before the consult keeps the meeting efficient. Generate references in minutes with AI for Tattoo, then share them with your artist. Create your custom mockups at Create, and see placements instantly with Try-On. Your future stencil will thank you.
Try AI for Tattoo Free