
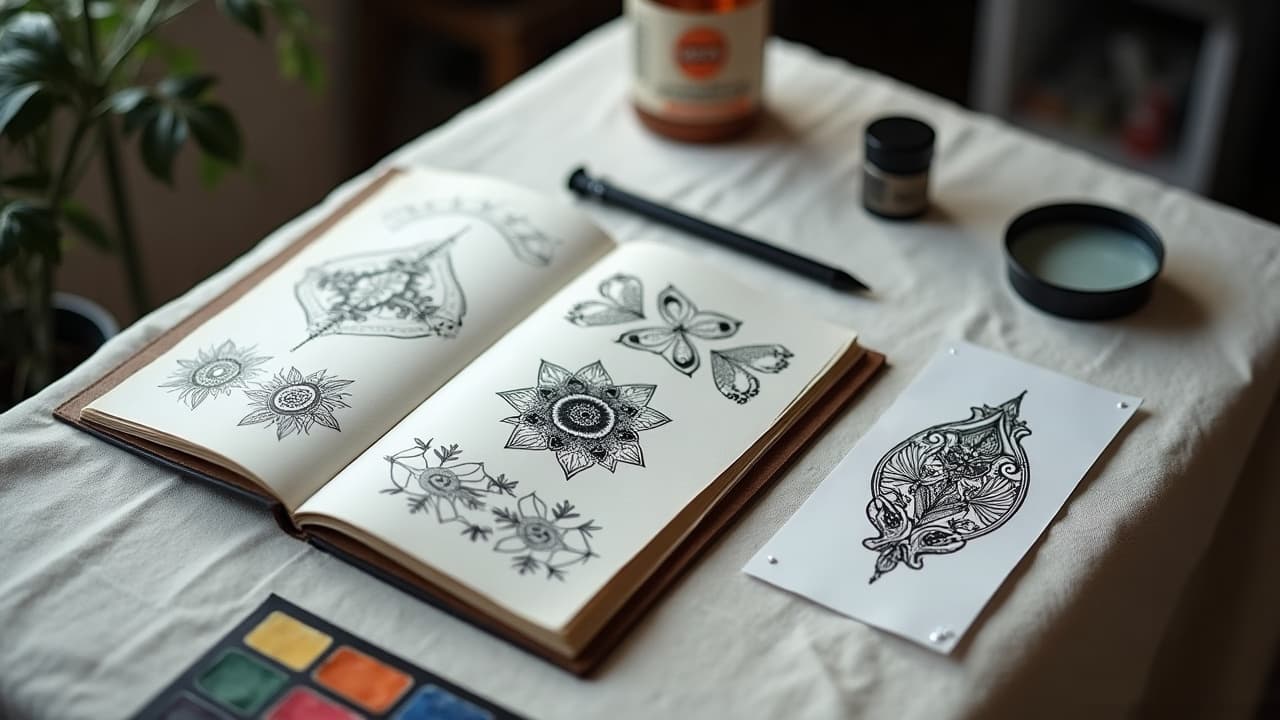
Roughly one third of U.S. adults now have at least one tattoo, according to Pew Research Center. The happiest clients I see have one thing in common, they used the tattoo consultation to match their design preferences to an artist’s style strengths, not the other way around. If you can explain what you like in clear, visual terms, then choose a pro who already excels in that lane, your healed result has a much higher chance of matching your mental picture.
Translate your idea into style families
Before you message anyone, map your concept to established style families. This gives you a shared language in the consult. If you say “I want a rose,” that is wide open. If you say “I want a rose in black and grey realism with soft value transitions and no outlines,” your search narrows to the right portfolios fast. A few quick anchors help:
- American traditional, bold line weight, limited color palette, classic motifs. Great for longevity at small to medium scales.
- Japanese Irezumi, flowing body-suit composition, large scale, mythic creatures, strong negative space planning.
- Fine line or single-needle, delicate detail, minimal shading, best at small to medium sizes with lower contrast demands.
- Neo traditional or illustrative, graphic shapes, painterly shading, richer palettes than traditional.
- Realism or color realism, photographic detail, requires larger size and significant skin real estate for clarity.
- Geometric and ornamental, symmetry, dotwork, mandalas, requires precise placement over the body’s curves.
Names help too. If you love micro-detail like Dr. Woo’s fine line or portrait clarity like Nikko Hurtado, say that. Then browse Styles to see how those categories look on skin. Clarity at this step steers you to a style match, not a compromise.
Vet portfolios using healed proof, not just fresh photos
Fresh tattoos are shiny and forgiving. Healed results tell the truth. In the consultation, ask to see healed photos of similar pieces on similar skin tones and placements. Look for consistent saturation, smooth linework, and readable contrast at three feet. If an artist excels at soft black and grey portraits, their feed should show multiple examples of the same quality across different clients, not just one lucky hit. When you zoom in, check for wobble in curved lines, patchy blacks, or blown-out lines near thin skin areas like wrists and ankles.
- Red flags: only studio lighting, no healed images, filters that skew color, or a mix of unrelated styles without depth in any one lane.
- Green flags: healed and in-sun photos, different body types shown, clear value range, and repeat excellence in the exact style you want.
Skin safety matters too. Reputable studios post their sanitation standards and aftercare philosophy. The American Academy of Dermatology notes that tattoos carry risks like allergic reactions and infection, with red pigments more often implicated in reactions, so informed aftercare is crucial (AAD). If an artist is reluctant to discuss how their work heals, keep looking.
Build a focused design brief the artist can work with
Bring a tight design brief to your tattoo consultation. Three to five reference images are ideal, labeled “I like the line weight here,” “this contrast,” and “this flow around the joint.” Include one anti-reference, what to avoid. Add a phone photo of your body area in good light, straight on and at angle, plus your maximum width and height in inches or centimeters. List any skin considerations, scars, or keloid history, and your openness to scale. The clearer your constraints, the freer a good artist can design. If you are using AI concepts to ideate, keep them consistent so the vision does not drift. Our guide on prompting for visual consistency shows how to lock style and palette so your mockups translate.
- Brief checklist: 3–5 “like” references, 1 “avoid” reference, placement photos, size limits, color or black-and-grey choice, meaning notes, timeline, budget range, and flexibility on elements.
If you plan color, add a note about your everyday environment. Do you work outdoors, under bright sun, or in sleeves year round. That changes palette and contrast decisions. For mockups, use our color contrast primer to preview how designs read on your skin tone.
Speak the same language in the consult
Artists think in shapes, contrast, and flow. You do not need jargon, but a few design terms speed clarity. Use line weight for thickness of outlines, value for light to dark range, negative space for the skin left open, and flow for how the design wraps anatomy. Replace “make it pop” with “increase mid-tone contrast” or “use thicker outer lines, thin inner texture.” Ask open questions like, “What size keeps this readable in 5 years,” and “Where would you place negative space to help this bend the elbow.”
- Sample script: “I’m after black and grey realism, no hard outlines, high value contrast in the focal flower, softer background leaves for depth. Comfortable at 7–8 inches tall if that helps read.”
- Clarify revisions policy: “How many tweaks are covered,” “When will I see the draft,” “What is the deposit and reschedule window.” Get these answers in writing.
Budget, timeline, and sizing reality checks
Honest math prevents regret. In many U.S. cities, custom work runs $150–$300 per hour, with deposits of $50–$300 applied to the final session. Complex realism or large color pieces take several sessions. If your target is a forearm wrap in color realism, expect 2–4 sessions at 3–5 hours each to keep skin healthy. Healing between sessions is usually 10–20 days for surface recovery, though full settling takes longer. The Cleveland Clinic notes that tattoo wounds need careful hygiene to prevent infection and that soreness is normal in the first week (Cleveland Clinic). If your budget caps at a single sitting, scale and simplicity must adjust. A small confident traditional piece often beats a too-small realism idea that will blur.
Be realistic about discomfort. Inner bicep and ribs run hotter, often pain 7–9/10 for many clients, while outer forearm or calf can feel more like pain 3–6/10. Plan breaks and hydration. For timing, add padded buffers around life events since even a well-healing tattoo can flake and look dull during week 1–2. The American Academy of Dermatology and Healthline both place typical surface healing around two to three weeks for many people (AAD, Healthline).
Color, contrast, and longevity on your skin
Color choices are not just taste, they are physics and melanin. Darker skin can absolutely carry stunning color, but designers must push contrast and choose hues that stay readable against your undertone. On any skin tone, high-contrast pairings like black plus saturated jewel tones hold better from distance than mid-tone on mid-tone. The AAD highlights that certain pigments, especially reds, are more prone to allergic reactions and may require extra caution or testing (AAD). Ask the artist to show healed color on clients with similar tones and to explain their palette strategy. Indoors, cool lighting can trick you, so preview under daylight if possible.
If you are on the fence between black and grey and color, ask for two mockups with identical value structure. Many clients choose the one that reads crisply at phone-screen size. Our deep dive on color and contrast is a quick way to pre-test your idea before the meeting.
Placement and flow with your body shape
Great tattoos fit the body like tailored clothing. Over joints and curves, the design needs planned negative space so it does not pinch when you bend. Straight lines look straight only if placed with the body’s natural axes, not the floor in a mirror selfie. For larger work, ask the artist to sketch the flow arrows on your photo so you understand why a motif rotates or stretches. We cover this more in our guide to customizing designs for your body shape.
- Bony spots like ankles need bolder line weight for longevity. Fleshy areas tolerate smoother blends and soft shading.
- Wraps across moving parts need breathable negative space so details do not collide when the joint flexes.
- Small scale plus high detail is a trap. Keep iconography simple below 2 inches or it turns to mush over time.
Consent, safety, and allergy screening
A solid consult includes safety. Ask about sterile technique, single-use needles, and ink handling. The U.S. FDA monitors safety signals related to tattoo inks and reminds consumers that pigments are not FDA approved for injection, so choose studios that track their suppliers and batch numbers (FDA). If you have a history of reactions, request a small test spot with the planned red or yellow before committing. Aftercare clarity matters too. The Cleveland Clinic outlines basics like gentle washing, thin ointment, and avoiding submersion until healed to reduce infection risk (Cleveland Clinic).
Discuss aftercare products in advance so you can shop early. Typical options include Saniderm or Tegaderm wraps for the first days, then light moisturizers like Bepanthen, Aquaphor, Hustle Butter, or Mad Rabbit (non-sponsored examples). Agree on the regimen so you are not guessing on day one. If you are considering numbing creams like TKTX, confirm ingredients and timing with your artist, since improper use can change skin texture and affect how ink sets.
Your week-before checklist
A calm start beats a heroic rescue. One week out, switch to fragrance-free lotion twice daily on the target area so the skin is supple. Skip tanning and avoid sunburn, since compromised skin can force rescheduling. Two to three days out, finalize clothing that gives the artist full access. Day before, hydrate and avoid alcohol, which can thin blood. On the day, eat a real meal and bring water and a light snack.
- Pack list: photo ID, printed or digital references, earphones, charger, easy-on layers, and payment method for the remaining balance.
- Confirm: appointment time, studio address, deposit terms, and whether the design will be sized on stencil day or pre-approved via email.
- Mental prep: be open to scale changes that protect readability and longevity. Good artists push size to save your future self.
Finally, remember that tattoos are a collaboration. You bring meaning and preferences, your artist brings craft and style. When those overlap, regret plummets. If you are still honing your visual, build variations quickly using AI concepting, then book the consult with confidence.
Previewing beats guessing. Use AI for Tattoo to generate focused concepts that match your preferred style family, then virtually place them before your consult. Spin multiple color and scale options in minutes in Create and check placement realism with the Try-On. When your mockup already reads well on your skin tone and body area, your artist can spend the consult refining, not decoding.
Try AI for Tattoo Free