Symmetry is one of the quickest cues your brain reads, which is why a well balanced tattoo looks crisp from 10 feet away. Vision science backs this, and you can thank fast pattern processing for that snap-to-focus effect NIH on visual symmetry research. The trick is doing it on skin, not paper, where everything stretches, breathes, and shifts.
Bodies are not mirror images. Shoulders ride at different heights, ribs flare unevenly, and a neutral stance looks different standing versus seated. That is normal, and it is exactly why great symmetrical work starts with planning for asymmetry. Medical sources agree that some asymmetry is common and harmless Cleveland Clinic on normal body asymmetry.
The Perception Case for Symmetry
Your eye latches onto bilateral symmetry and radial symmetry faster than nearly any other visual structure. That makes symmetrical tattoos feel stable and intentional, even when the motif is complex. Designers rely on Gestalt cues like closure, continuity, and figure-ground to create that instant legibility, and it works just as well in ink as in print.
On skin, symmetry does one more job, it reduces visual noise. Balanced anchors at the sternum, spine, or navel help the viewer parse a busy composition. Think of it like adding a rhythm section under a guitar solo, the beat makes the flourishes read cleanly. Digital tools such as Procreate Symmetry and Adobe Fresco mirror guides help test readability before stencil, especially for mandalas and pattern-heavy pieces (non-sponsored examples).
Your Body Is Not Symmetrical, Plan for It
Perfect mirror placement rarely works because the left and right side of the torso or limbs are built differently. Collarbones sit at different angles, dominant arms carry more muscle, and postural rotation shifts landmarks. This is why I begin every symmetrical project with bony landmarks first, not skin margins. The sternum, clavicles, navel, patella, and C7 vertebra are reliable reference points.
Keep the client relaxed, feet hip width, arms loose. Mark a centerline with a cosmetic skin marker, then measure from bone to motif edges using a tailor’s tape or lightweight digital calipers. Take photos from three angles and check a mirror shot. Small alignment tweaks here prevent big headaches later. For peace of mind, remember the medical consensus that mild asymmetry is normal Cleveland Clinic on normal body asymmetry.
Types of Symmetry You Can Use
Symmetry is not just left-right mirroring. Different structures read differently on curved surfaces, so pick the framework that suits your placement and subject. When in doubt, sketch each type over a photo of the body area to see which one lands the cleanest. Use grid overlays in Procreate or Wacom tablet software to keep proportions honest (non-sponsored examples).
- Bilateral symmetry, mirror across a vertical axis. Great for chestpieces, sternum work, and forearm pairs. Keep the axis on bone to reduce drift when the client moves or breathes.
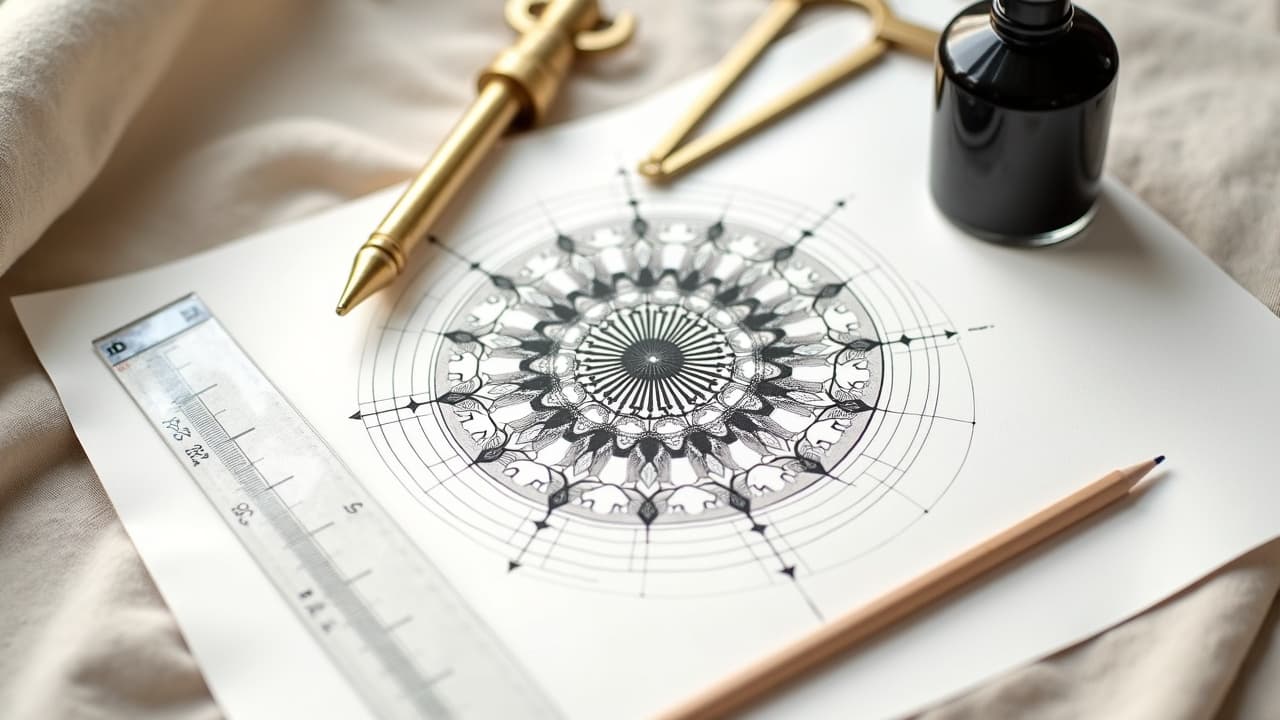
- Radial symmetry, rotation around a center point. Ideal for mandalas over spine, knees, or elbows. Use bony centers so expansion from flexion does not skew the pattern.
- Rotational symmetry, repeat a motif at set degrees, like 120 or 180. Works for shoulder cap patterns and circular crests. Test rotation tightness against arm mobility.
- Translational symmetry, a motif repeats along a line. Good for band work and tessellations on forearms or calves. Align start and end points on landmarks to keep loops even.
- Reflective plus offset, mirror with a planned mismatch. Useful across uneven anatomy like ribs. Intentionally adjust one side 2 to 5 mm to compensate for left-right differences.
Digital Planning and Mirroring Techniques
I prototype symmetrical work digitally. On an iPad, set Procreate canvas guides to 0.25 inch grid and enable vertical symmetry for mirrors or radial for mandalas. Import a body photo, drop opacity to 30 percent, then design on top. Flip the canvas often, your eye catches crooked alignments faster in reverse. Save versions so you can A-B test spacing and negative space.
For vector crispness, build outlines in Adobe Illustrator, then export to a stencil-friendly format. If you work analog, print on Spirit Classic Thermal paper and mirror pairs by folding along the axis line. Stencil adhesives like Electrum, Stencil Stuff, and Hustle Butter Deluxe stencil gel hold cleaner edges on high motion zones like ribs and hips (non-sponsored examples).
Stencils, Landmarks, and On-Skin Alignment
Stencils love to lie if you apply them seated or twisted. Place symmetry while the client stands neutral, knees soft. Mark a crosshair at your axis intersection, like sternum to navel. Apply the first half, then dry-fit the second without committing. Step back 6 to 8 feet and check. Photograph front, 45 degree, and profile. Only then press the second half fully.
- Use Spirit stencil paper with Electrum or Stencil Stuff for sharp transfer. Let the skin dry tacky 5 to 10 minutes so edges do not blur.
- Stretch skin evenly with both hands while laying the stencil. Asymmetrical stretch equals asymmetrical result, especially on ribs and hips where skin elasticity varies.
- Ask for a deep inhale and exhale before setting vertical alignment. Breathing changes torso length by several millimeters, which can throw off midline motifs.
- Dot in registration marks across the axis, tiny paired dots you can connect with a thin line once the stencil is on. They save you if an edge lifts.
- Keep a water spray bottle and paper towels ready. If you need to lift and reset, do it immediately rather than nudging a crooked transfer into place.
Build-in Longevity: Motion, Aging, and Drift
Skin changes. Collagen and elastin decline about 1 percent per year after your 20s, and sun exposure speeds that up AAD on skin aging and elasticity. The practical takeaway, avoid making critical alignments across soft tissue only. Anchor the axis to bone whenever possible and let flourishes float over softer zones so the core stays true as the body evolves.
Movement also matters. Elbows, knees, and ribs expand and contract, which can spread lines and tilt geometry. Design band work with minor gaps at the underside to prevent a visual pinch. Keep fine details out of crease lines. For clients planning weight changes or pregnancy, consider motifs that tolerate scale shifts like dotwork mandalas rather than razor tight lattices Mayo Clinic on skin changes with age and sun. If a line spreads a little, remember most blowouts are manageable with careful technique Healthline on tattoo blowouts and line spread.
Line Weight, Shading, and Optical Balance
Even when the stencil is perfect, the machine decides how the symmetry reads. Use consistent needle groupings on mirrored elements, like 7RL for outlines and 9M for shading, and match passes count. Ink choice also influences clarity. Dense blacks like Dynamic Black or Solid Ink Black hold edges, then glaze color with Eternal or Fusion tones to keep contrast legible long term (non-sponsored examples).
- Use weighted lines to visually square tiny mismatches. A 0.2 mm thicker line on the short side can even out a perceived tilt without redrawing the whole motif.
- Balance with negative space. If one side sits closer to a rib edge, opening a sliver of background can re-center the composition to the viewer’s eye.
- Shade from the axis outward. Symmetrical whip shading or pepper shading builds an even gradient that reads balanced even if skin texture varies left to right.
- Hide micro-fixes in ornamental filigree. A curled leaf or dot cluster can absorb a 1 to 2 mm design nudge without anyone noticing.
- When in doubt, break the line. A tiny intentional gap near a joint softens distortion during flexion and makes the design look deliberate when the limb moves.
Placement Playbook: Symmetry by Body Area
Some placements are forgiving, others are merciless. Use the body’s midlines and circles to your advantage. Pair this with our deep dive on layout in our composition landmarks guide and color placement in our color theory primer. For geometry specifics, see our guide to geometric tattoos.
- Chest and sternum, high reward, medium difficulty. Align to sternum and clavicles. Expect pain 6 to 8/10, especially near the xiphoid. Keep center dense, let edges breathe toward armpits.
- Forearm bands, moderate difficulty. Use the ulna as a rail. Leave a 2 to 3 mm gap on the underside to avoid a pinch illusion. Pain 3 to 5/10 for most clients.
- Spine mandala, visually strong. Lock center on C7 or the sacrum. Expect motion with bending. Keep outer petals flexible. Pain 5 to 7/10 depending on bony sensitivity.
- Knees and elbows, tricky. Radial or rotational symmetry works better than pure mirrors. Place the hub on the patella or olecranon. Pain 7 to 9/10, plan shorter sittings.
- Rib pairs, high movement. Mirror with micro-offsets to match breathing expansion. Apply stencils standing. Pain 7 to 9/10 and slower healing when clothes rub.
Knowing When to Break Symmetry
Great symmetry often includes small, intentional imperfections. The Japanese concept of wabi-sabi is a helpful mindset, especially over asymmetrical anatomy like ribs or hips. If you force perfect mirrors on uneven scaffolding, the result can look off to the viewer even when the ruler says it is equal. A planned 2 to 5 mm offset sometimes reads straighter than a strict copy.
Also consider hierarchical symmetry, where the main motif is mirrored, but secondary details vary. A pair of mirrored snakes with slightly different scale patterns feels alive without losing structure. When a client brings a perfectly mirrored Pinterest design, show quick mockups with small organic variations so they can see how balanced asymmetry can add aesthetic appeal without visual tension.
Quality Check Before You Ink
Before you tattoo, treat the skin like a print proof. Photograph at eye level, waist level, and slightly above. Flip each photo horizontally on your phone, mirror-view reveals tilts instantly. Have the client twist, breathe, sit, and raise arms. If the axis drifts more than 3 mm under common motions, adjust now rather than later. A minute of tape-and-measure beats an hour of cover-up talk.
Keep a small kit for symmetry work. A tailor’s tape, alcohol prep pads, cosmetic skin marker, Spirit paper, Electrum or Stencil Stuff, and a neutral lotion for glide will handle most placements. For post-session protection on high-friction zones, a Saniderm style bandage prevents rub that can distort scabs and lines in the first 3 to 5 days (non-sponsored examples). For risks and skin types, cross-reference credible medical sources like AAD and Mayo Clinic.
Citations on perception and skin health help you design with reality in mind. For broader health guidance, check out Cleveland Clinic and practical tattoo complications coverage at Healthline. Use science to inform art, then trust your eye on the final two-degree tweaks that make a piece feel balanced on a living body.
Ready to preview perfect balance on your own body? Use AI for Tattoo to generate mirrored, radial, or band designs fast, then place them with our virtual try-on to proof symmetry before you book. Start a design at [Create](/create) or test placement with [Try-On](/try-on).
Try AI for Tattoo Free