
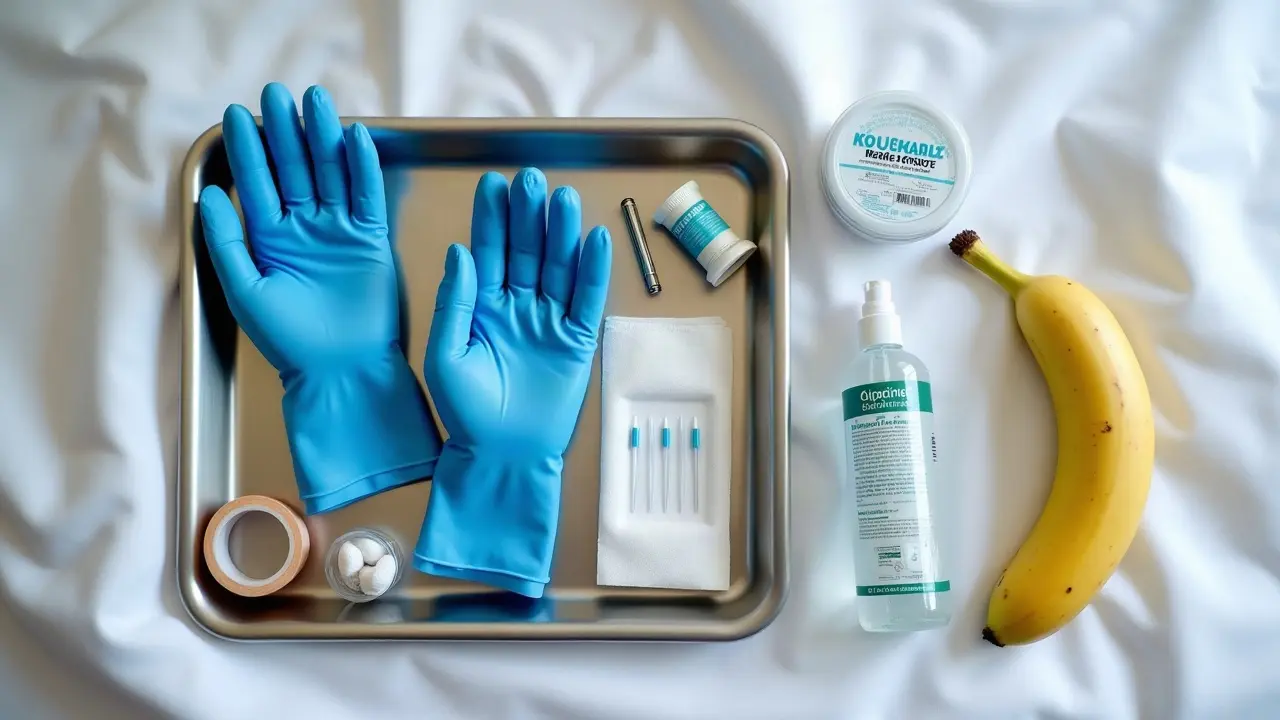
Your first tattoo is less about pain tolerance and more about safeguards. A clean studio, a stable blood sugar, and a plan for aftercare prevent the issues most people fear. Here is how pros prep clients so the first session feels controlled, not chaotic.
Health Green Lights and Red Flags Before You Book
Start with your health. If you have a history of keloids, active eczema or psoriasis on the target area, recent Accutane use, are pregnant or breastfeeding, or have poorly controlled diabetes, talk to a clinician before you book. Trusted resources like the Mayo Clinic tattoo risks guidance and the American Academy of Dermatology on tattoo reactions outline who should pause or modify plans. If you are on blood thinners or have an immune system condition, get written clearance. A quick consult now saves you a reschedule later.
- Pause if you have sunburn, active infections, or open cuts on the site. Skin must be intact to tattoo safely.
- Stop alcohol for 24–48 hours and avoid NSAIDs unless medically needed. Both can increase bleeding.
- If prone to allergies, request a pigment spot test or adhesive patch test for Saniderm style wraps.
- Bring any dermatology notes or medication lists to your consult. Your artist is not guessing, they are planning.
If you use topical anesthetics for other procedures or have a history of reactions to lidocaine, discuss it. The Cleveland Clinic lidocaine overview is a good primer on who should avoid certain numbing formulas.
Studio and Artist Selection, With Safety Built In
Pick the artist first, not the date. Your result depends on consistent lineweight, healed portfolios, and hygiene. A solid shop will walk you through single-use needles, barrier film, machine bagging, and autoclave or sterilization protocols. Ask to see spore test logs. If that sounds overkill, remember the FDA’s tattoo safety page flags infection risk from poor technique and contaminated inks. You deserve clarity.
- Green flags: sealed needles, dated sterilization logs, lined trash and sharps containers, and handwashing before gloving.
- Red flags: reused razors, uncovered rinse cups, carpeted stations, and artists who dismiss aftercare questions.
- Pricing reality: solid beginners’ work $100–$250, experienced specialists $200–$300 per hour. Too-cheap often means cut corners.
- Portfolio check: ask to see healed pics, not just fresh. Blown lines and oversaturation show up after 14–30 days.
Still deciding on composition or scale? Use our tattoo design revisions guide to tighten the brief you send to your artist. Clear references reduce redraws and session stress.
Design and Placement That Age Well
Great first tattoos are sized for readability and placed where they heal predictably. Fine script at 7–8 pt on the side of the finger will blur. A modest forearm piece with clean linework and high contrast has a better track record. Expect higher fade in zones with friction or UV, like hands and feet. If you are unsure, ask your artist to mock up two sizes and step back 6–8 feet. Your eye should read it instantly.
- Lower pain, beginner-friendly zones: outer forearm, calf, upper arm, rated around 3–5/10 for most clients.
- Higher movement zones: ribs, knees, elbows, ankles, often 7–9/10 and slower to heal.
- Plan for sunscreen. Daily SPF 30+ like La Roche-Posay Anthelios helps keep blacks crisp.
- Commit to contrast. If your skin is richly melanated, prioritize bold shapes and negative space for legibility.
If your design has delicate line stacks or micro-text, preview how small details hold by testing scale on-screen and on-skin. Our linework and contrast tactics break down what stays readable long term.
Skin Prep Timeline, 7 Days to 24 Hours Out
Healthy skin takes ink better. One week out, hydrate and moisturize lightly. Avoid sunburns, peels, and heavy exfoliation. Two days out, stop alcohol and prioritize sleep. The day before, shave once carefully if your artist requests it, or leave it to them to avoid micro-nicks. You want skin that is calm, not over-prepped.
- 7 days: daily lotion, light and fragrance-free. CeraVe Daily Moisturizing Lotion or Aveeno Daily Moisturizing are solid (non-sponsored examples).
- 48 hours: no tanning, peels, or intense workouts that chafe the area. Keep it cool and covered.
- 24 hours: hydrate hard and eat balanced meals with protein and carbs. Aim for 2–3 liters of water across the day.
- Shaving: if you do it, use a new razor like Gillette SkinGuard and shave with the grain to prevent razor burn.
If you have reactive skin or a history of adhesive irritation, patch test a small square of Saniderm or Tegaderm on your forearm for 24 hours before the appointment.
What to Bring and Wear on Tattoo Day
Arrive fed, hydrated, and early. Wear soft layers that allow your artist to access the zone without stretching or rubbing the fresh piece after. Dark colors hide ink smudges. Bring ID and be ready to fill out consent forms. Expect a $50–$300 deposit to be applied to your total.
- Snacks that do not crumble or smear, like protein bars or gummy chews. Low mess, quick sugar when you dip.
- A water bottle with electrolytes. Stable blood sugar keeps you steady during long lines or shading.
- Headphones and a clean power bank. Your focus helps the artist’s flow.
- A clean hoodie or blanket for longer sits. Your body cools down when stationary.
For long sessions, ask about breaks every 60–90 minutes. Your artist wants you stable, not shivering. If you feel lightheaded, say it early so they can adjust pacing or posture.
Pain Management and Numbing Creams, Used Wisely
Pain is individual, but good tactics help. Eat before you arrive, breathe steadily, and focus on the rhythm of the machine. For numbing, many shops allow topical lidocaine 4 percent creams if applied correctly, others ban them due to skin texture changes. Always ask your artist first. Read labels for lidocaine percentage and inactive ingredients. People with certain cardiac or dermatologic conditions should avoid strong anesthetics, another reason to check the Cleveland Clinic lidocaine overview.
- Popular options: Emla 5%, Dr. Numb 4%, TKTX creams, applied 45–60 minutes prior then wrapped lightly (non-sponsored examples).
- Avoid benzocaine if you have known sensitivities. Watch for whitening or rubbery skin that can affect ink flow.
- Ask for breaks during heavy shading. Micro-pauses and repositioning can drop perceived pain by 1–2 points.
Do not combine alcohol with numbing creams. Keep caffeine moderate to prevent jitters. If your artist declines numbing for technical reasons, trust their read and focus on breathwork and steady fueling.
In-Chair Safety: What You Should See and Ask
You are allowed to ask safety questions. Your artist should open needles in front of you, wear new gloves, and bag machines and clip cords with barrier film. Rinse cups should be fresh, and bottles should be covered with protective bags. If anything looks off, speak up respectfully. Pros welcome engaged clients.
- Confirm ink pours are into disposable caps. No double dipping between clients.
- Watch for handwashing before gloving and after phone use. Phones should be bagged at the station.
- Ask where the sharps container is located. If there is none, you are not in a safe studio.
Regulators echo this approach. The FDA tattoo inks and safety guidance cautions about contamination and stresses hygienic technique. If your gut says the setup is sloppy, you can walk out and reschedule. Your deposit is not worth a skin infection.
Aftercare That Prevents Problems, Not Just Promotes Healing
Plan aftercare before the session. Your artist may use a breathable adhesive film like Saniderm or a non-adhesive wrap for the first hours. Clean hands, gentle washes, and thin moisturizers are the backbone. The first 72 hours set the tone for the whole heal. AAD and Healthline both outline normal healing vs warning signs. See the American Academy of Dermatology and general overviews at Healthline if you want extra reading.
- First wash at 2–6 hours or as instructed, using fragrance-free soap like Dial Gold or Dr. Bronner’s Baby Unscented.
- Apply a very thin layer of Aquaphor, Bepanthen, or switch to a light balm like Hustle Butter or Mad Rabbit after day 2 (non-sponsored examples).
- No soaking, pools, or hot tubs for 14 days. Showers are fine, quick and lukewarm.
- Watch for spreading redness, bad odor, fever, or pus. That is not normal irritation, seek care promptly.
Expect a heal of 14–30 days depending on placement and aftercare. For targeted tactics by scale, save our guide to aftercare by tattoo size and, if you have reactive skin, our inflamed skin aftercare guide.
Scheduling, Budget, and Timing Safeguards
Deposits protect both artist and client, typically $50–$300 and nonrefundable with 48–72 hours reschedule windows. Hourly rates vary by city and specialty. Expect $120–$250 per hour in most mid-sized markets, higher for niche realism or scar cover-ups. Bring cash for tips if your studio adds card fees.
- Do not stack a first tattoo before flights or beach trips. You need 2 weeks free from soaking and sun.
- Book touch-ups if offered, often complimentary within 60–90 days for small fixes.
- Confirm studio policies on redraws and additional references. Organized briefs save drawing time and cost.
Final safeguard, pace yourself. Starting with a small to medium piece lets you learn your body’s response, your artist’s cadence, and your aftercare style before committing to day-long sessions.
Make your first tattoo feel planned, not risky. Generate concepts and preview scale on your own body with AI for Tattoo. Start with a test drive in the creator Generate a design, then see it on your skin instantly with the virtual Try-On. Walk into your consult with visuals that answer sizing, placement, and contrast questions up front.
Try AI for Tattoo Free