Roughly 1 in 4 adults report a fear of needles, according to major medical sources, but a well-planned first tattoo usually lands around 3 to 6 out of 10 on the pain scale for most people. The gap between fear and reality is big. With the right preparation, you can shorten sessions, control variables, and reduce the unknowns that amplify anxiety. You do not need a heroic pain tolerance, you need a strategy.
Name the fear so you can target it
Tattoo intimidation is rarely one fear. It is a stack of smaller worries, like pain, permanence, infection, regret, or judgment from others. Break them out on paper. When you see the list, you can address each item with a matching tactic. For example, if permanence is loud, emphasize stencil review and conservative sizing. If pain dominates, plan numbing and low‑pain placement. Normalizing matters too. Tattoos are now mainstream, with recent national polling showing that a large share of adults have at least one piece, which aligns with reporting by Pew Research.
- Use a simple fear column: write the fear, its trigger, and the smallest action to reduce it. Small actions beat vague motivation.
- Pair each fear with a tool, like box breathing for panic, numbing cream for pain, or consultation photos for permanence concerns.
- Bookmark reputable sources for facts, not doomscrolling: the Cleveland Clinic for needle phobia guidance and the FDA for tattoo ink safety updates.
If your fear includes needles specifically, know that medical sources estimate needle phobia is common but treatable with breathing, gradual exposure, and control of the environment. See Cleveland Clinic for plain‑language explanations, and use their framing to build a plan you can follow.
Pick the right first session, not the bravest
First tattoos feel least intimidating when the scope is contained. Choose a low‑to‑moderate pain zone, a clean design with minimal solid fill, and a session under 90 minutes. The point is to rack up a calm win, not to prove anything. If you like the artist and process, you can scale up later.
- Placements most beginners tolerate well (3–5/10 pain): outer upper arm, outer calf, upper thigh, and forearm. Bony ribs, sternum, and ankles are high‑pain, save them for round two.
- Design size sweet spot: around 2–4 inches, enough detail to look intentional without shading marathons. See ideas in our medium‑size design guide.
- Budget a starter session at roughly $150–$300 in many cities, plus 15–20% tip, then set that cash aside so money stress does not stack with anxiety.
- Ask your artist for stencil sizing options on the day, then pick the smallest size that still reads clearly from an arm’s length away.
Evidence-backed calming tools you can use today
Your nervous system is trainable. Practice one breathing pattern daily for a week before your appointment. The goal is automatic recall when nerves spike. Medical resources like the Mayo Clinic outline techniques that downshift sympathetic arousal without drugs. Combine breath work with controllable comforts like music and temperature. If you consider numbing, loop in your artist first so there are no surprises with skin texture or timing.
- Breath protocols: box breathing (4‑4‑4‑4), 4‑7‑8 breathing, or paced breathing at ~6 breaths/min. Practice 5 minutes morning and night.
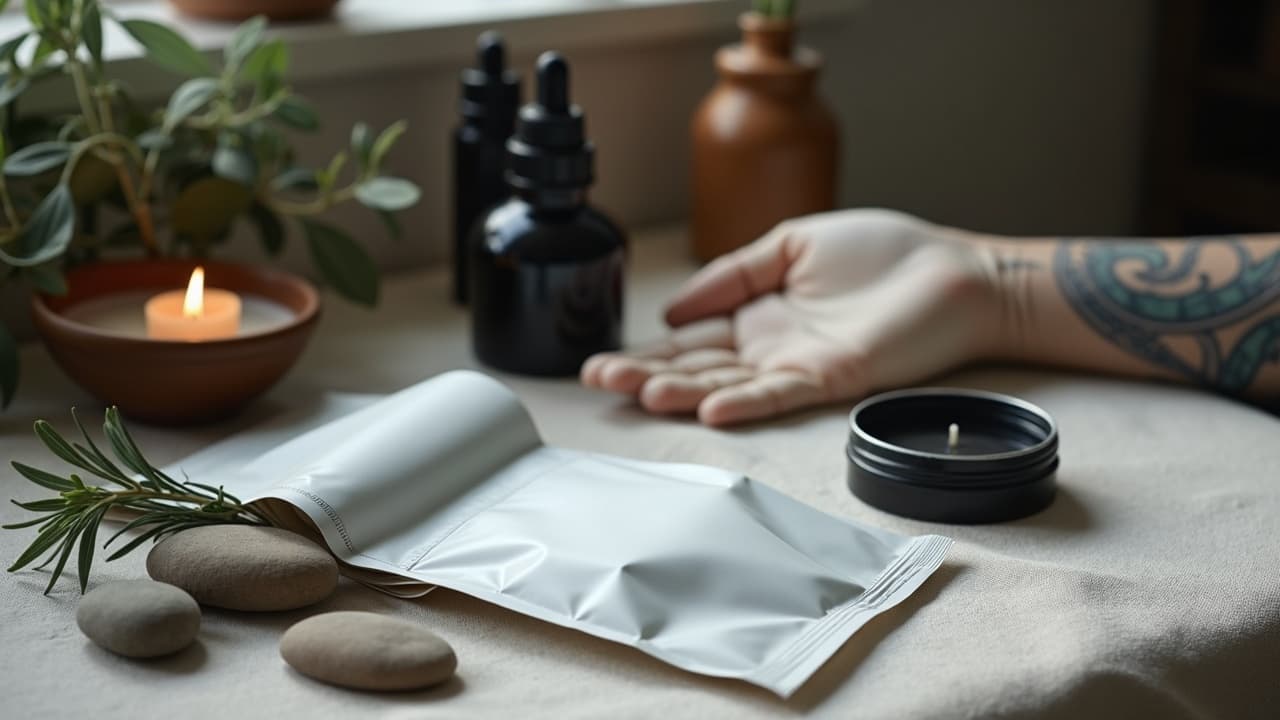
- Numbing creams: Zensa 5% lidocaine, Dr. Numb, TKTX. Patch test 24 hours in advance, apply per label, and confirm with your artist. See the FDA for topical anesthetic safety basics.
- Comfort stack: noise‑canceling headphones, a familiar playlist, and a light hoodie you can remove if you overheat. Temperature comfort cuts perceived pain.
Set a simple rule for yourself: when anxiety spikes, you switch to counted exhales until your heart rate drops. It is mechanical and it works. If you want a non‑sedating supplement conversation, talk to your doctor. Do not self‑medicate with alcohol on tattoo day, a caution echoed by the American Academy of Dermatology.
Practice exposure before ink day
Gradual exposure builds familiarity and kills the mystery that powers fear. Simulate elements you can control. You do not need a tattoo to practice the feeling of a session. Combine design certainty, shop familiarity, and sensory rehearsal so your brain sees the appointment as a known routine, not a threat.
- Preview the exact design on your body using our virtual try‑on. Use Create to generate designs and Try‑On to see scale and placement in real time.
- Visit for a consultation first. Sit in the chair for a few minutes while you chat. Read our consultation prep guide so you know what to bring and ask.
- Sound exposure: play a clip of a tattoo machine at low volume for 5–10 minutes while breathing slowly. You are training calm to pair with the sound.
- Vibration proxy: an electric toothbrush on the forearm for 2 minutes while box breathing. Not the same, but it reduces novelty.
Choose an artist who lowers anxiety, not just one who draws well
Skill matters, but so does bedside manner. A calm, communicative artist can cut your fear in half. Audit portfolios for healed work, text the studio to see how they answer questions, and ask about breaks, numbing policies, and sterilization. Our guide to reading portfolios explains how to evaluate consistency and technical range without guesswork.
- Study healed photos in highlights, not just fresh. See our artist portfolio analysis guide for red flags and green lights.
- Ask about single‑use needles, barrier film, and autoclave logs. Infection prevention basics align with AAD recommendations.
- Clarify break policy up front, like 5‑minute breaks every 20–30 minutes for first‑timers. Predictable breaks reduce anticipatory anxiety.
- Confirm numbing policy and timeline. Some artists prefer applying in‑shop after stencil approval, others are fine with at‑home application.
Plan the day like an athlete, not a passenger
Your body handles stress better when it is fueled and rested. Treat the session like a short event. Eat a balanced meal 60 to 90 minutes prior, hydrate, and time caffeine so you are alert but not jittery. Pack a simple kit so you do not scramble right before the appointment.
- Sleep 7–9 hours the night before. Poor sleep heightens pain perception by a noticeable margin.
- Pre‑session fuel: a normal breakfast or lunch with 30–60 g carbs and 20–30 g protein. Bring a snack like a Kind Bar and an electrolyte drink like Liquid I.V. or Gatorade Zero.
- Avoid alcohol for 24 hours before and after, and be cautious with NSAIDs that can increase bleeding. See the American Academy of Dermatology for procedure safety basics.
- Wear easy‑access clothing, like a loose tee or shorts, and bring Saniderm or film wrap if your artist recommends it.
In‑studio tactics when panic hits
Even with prep, a wave of adrenaline can land in the first minutes. That is normal. Having a script beats winging it. Pair a short breathing cycle with a gesture and a time box. Most spikes pass within a minute when you anchor attention and slow exhalation. Your artist wants you comfortable, so speak up early.
- Agree on a simple cue, like raising your left hand for a pause. Micro‑breaks of 30–60 seconds let you reset without losing momentum.
- Switch to box breathing or 4‑7‑8 the second the machine starts. Count the exhale out loud if it helps. Longer exhales signal safety to your body.
- Progressive muscle relaxation, feet to forehead, for 90 seconds. Tension on inhale, release on exhale. It lowers overall tone so needle sensation is less sharp.
- Distraction stack: noise‑canceling headphones like the Sony WH‑1000XM5, a familiar playlist, and a tactile fidget. Comfort is not cheating, it is strategy.
Safety, allergies, and when to reschedule
Your safety net reduces fear. Know what is normal and what calls for a delay. If you wake up sick, dehydrated, or shaky from low blood sugar, move the appointment. If you have a history of fainting during needles, tell your artist and schedule morning sessions when you are freshest. Be upfront about skin conditions, medications, and allergies. The FDA maintains public information on tattoo inks and recalls, and the AAD highlights that allergic reactions are more common with certain red pigments.
- Reschedule if you have a fever, a new rash near the placement, a sunburn, or you are under‑recovered from travel or heavy training.
- If you have contact allergies or sensitive skin, request a spot test of ink, or avoid large blocks of red until you know how you respond.
- Bring a list of medications and supplements. Mention any blood thinners or acne treatments like isotretinoin, which can affect healing timelines.
- Ask to see the sterile packs opened, fresh barriers applied, and inks poured into disposable caps. Clarity shrinks fear.
Aftercare confidence closes the loop
A lot of tattoo fear lives in the 24 hours after the appointment. Having a simple plan helps you relax in the chair because you know what comes next. Decide up front whether you will use a breathable film wrap or open aftercare. Stock a thin ointment and unscented soap. Read a trustworthy aftercare resource in advance so you are not doom‑searching at 2 a.m.
- Film wrap method: artist‑applied Saniderm for 24–72 hours as directed, then gentle wash and a thin moisturizer for 7–14 days.
- Open method: wash hands, lather with unscented soap, pat dry, then apply a very thin layer of Aquaphor, Bepanthen, or Hustle Butter. Switch to a light lotion after day 3–4 (non‑sponsored examples).
- Avoid gyms, pools, and sun until the top layer is finished peeling, usually 10–14 days for small pieces. See our active lifestyle aftercare guide.
- For reassurance about healing textures and timelines, bookmark our style‑specific aftercare guide and scarring prevention tips.
Ready to turn calm prep into a design you love? Use AI for Tattoo to generate concepts with [Create](/create), iterate smarter with [our prompt techniques](/blog/ai-tattoo-prompt-iteration-techniques), and preview placement instantly with [Try‑On](/try-on). When the image feels right on your body, intimidation drops fast.
Try AI for Tattoo Free