
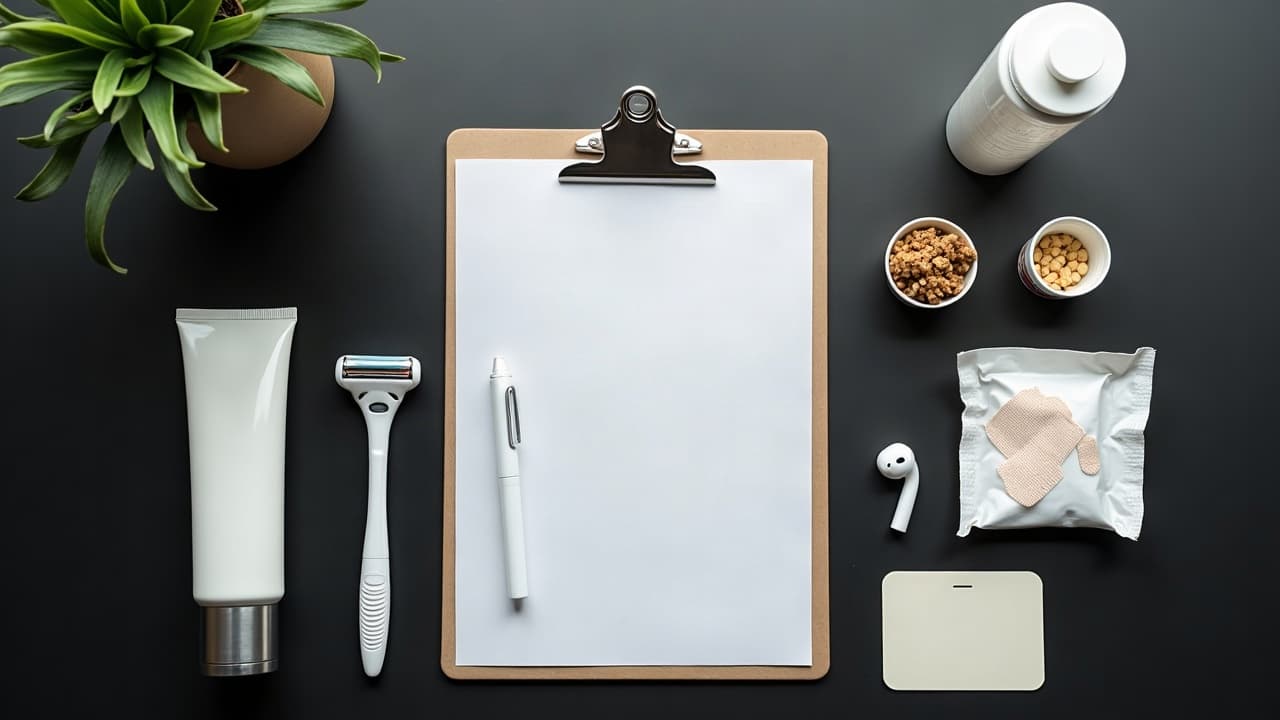
Good prep does more for your tattoo than raw pain tolerance. Hydrated skin takes pigment more evenly, stable blood sugar helps you sit longer, and clear logistics keep your artist focused on the line, not paperwork. Infection from professional tattooing is uncommon when sterile technique is followed, but reactions can still happen, especially to pigments and aftercare products, as noted by the American Academy of Dermatology. A simple checklist the week of your appointment protects your time, your wallet, and your skin, then sets you up for a smooth healing window of 2–4 weeks.
Lock the Logistics 48 Hours Before
Two days out is the time to remove surprises. Confirm your appointment time, studio address, and parking details. Recheck your deposit and the reschedule window, which is often 24 to 72 hours. Many studios charge $50 to $200 if you miss the cutoff. Bring a government ID that matches your booking name. If you are under 18, follow your local law to the letter, including notarized consent if required. For health-related forms, list medications and allergies honestly. Blood thinners, recent antibiotics, and immune conditions are not automatic no-go’s, but your artist needs to know in advance. When in doubt, consult your clinician, and remember that reputable studios defer to medical safety over speed.
Prep Your Skin the Smart Way
Think of your skin as the canvas. Moisturize lightly twice daily for 2–3 days before, skip heavy oils on the day of. Drink 2–3 liters of water in the 24 hours prior if that is normal for you. Avoid tanning, sunburn, or peels for at least 1–2 weeks before the appointment. If you shave, do it 12–24 hours before with a clean razor, gentle strokes, and an unscented moisturizer afterward, not right before you sit. Fresh razor burn can complicate stenciling and increase irritation. The Cleveland Clinic emphasizes gentle skin care and avoiding irritants leading up to procedures, which tracks perfectly with tattoo prep. If you are prone to contact dermatitis, patch test your lotion a few days early on the inner arm.
Skip alcohol for 24 hours and recreational stimulants entirely, both can raise heart rate and bleeding. Avoid aspirin the day before unless prescribed, and never stop a medication without talking to your clinician. The FDA reminds consumers that tattooing breaks the skin, which is a pathway for infection and irritation. Reducing avoidable skin stress ahead of time, like sunburn or exfoliation, gives you a cleaner session and better saturation.
The Night-Before Routine That Matters
Sleep 7–9 hours so your nervous system is calm and your pain floor is higher. Eat a balanced dinner with protein, complex carbs, and some fat, then prepare a hearty breakfast. Low blood sugar can turn a pain 4–6/10 session into 7–8/10 fast. Lay out loose, dark clothing that gives easy access to the area. For forearm work, a short sleeve or loose hoodie. For thigh work, athletic shorts. For ribs, a button-up or zip hoodie beats pulling fabric over a fresh wrap. Pack backup layers, studios can be cool to keep artists comfortable and reduce swelling in clients.
What to Bring to the Studio
If you have to think about it on the way out the door, it probably belongs in your bag. Dial in your kit so you can focus on the experience.
- Valid photo ID, payment method, and any required paperwork. Many shops are cash-preferred for tips, so carry small bills to avoid ATM runs.
- Water bottle and snacks with protein or sugar, like nuts and granola bars, for longer sits. Stable energy keeps your body calm and lines steady.
- Headphones with an offline playlist or podcast. Background audio helps you breathe through spicy moments without needing full conversation.
- Comfortable, access-friendly clothing and a backup layer. Dark fabrics hide ink smudges, zip or button tops prevent pulling clothing over a fresh wrap.
- A small clean blanket or shawl if you tend to get cold. Comfort matters when you are holding one position for an hour or more.
- Optional dermal film or wrap if you prefer a specific brand like Saniderm or Derm Shield, ask your artist first if they stock it.
- A printed reference or a single, organized folder on your phone. 3–5 strong references are better than 50 screenshots. Keep edits handy.
Hygiene and Etiquette When You Arrive
Shower the morning of with a fragrance-free cleanser. Skip perfume, heavy deodorant near the area, and body oils that can fight stencil adhesion. Arrive 10–15 minutes early to handle consent forms without cutting into your booked time. Keep the area free of fresh lotions so the stencil grabs clean. If you have a cough or are feeling unwell, reschedule for everyone’s safety. During the session, stillness is your superpower. Tell your artist before you move, sneeze, or need a break, and they will pause the machine. This keeps lines crisp and prevents blowouts.
When you wash a fresh tattoo later, use lukewarm water and clean hands only. Harsh scrubbing, loofahs, and hot water can strip protective oils and irritate the wound. See practical washing steps aligned with medical basics in Healthline’s skin care guidance. Also keep pets, gym gear, and unwashed bedding away from the fresh tattoo for the first 3–5 days as your skin seals.
Pain, Numbing, and Stamina During the Session
Pain depends on placement, needle configuration, and time-on-skin. Outer forearm and calf are often 3–5/10, ribs, ankles, and ditch areas trend 6–8/10. Breathe into the line, unclench your jaw, and ask for micro breaks every 45–60 minutes on longer sessions. Small sips of water and a few bites of a snack can blunt adrenaline spikes. If you are considering numbing creams like TKTX, Emla, or Zensa, get written approval from your artist first and test a pea-size amount the week before for sensitivity. Overuse or improper occlusion can cause skin blanching that affects ink flow. See general safety considerations in Healthline’s overview of topical anesthetics.
More important than toughness is pacing. Big pieces benefit from multi-session plans, especially if you are guarding against swelling or fatigue. Communicate early about a break budget and stopping points so your artist can sequence the work without compromising the healed look.
Key Questions to Ask Your Artist Before Needle Down
A five minute conversation can prevent five hours of regret. Ask specific, practical questions so expectations match execution.
- What is the plan for size, placement, and negative space, and how will it flow with nearby anatomy or future pieces?
- Which needles and techniques will you use for lines versus shading, and how does that affect session length and expected pain range?
- What is your wrap preference for this area, traditional pad and tape or dermal film like Saniderm, and how long should the first wrap stay on?
- What aftercare products do you recommend, and which should I avoid, for example heavy petroleum in the first 3–5 days?
- How do you sterilize and set up, and what is single-use versus autoclaved? The FDA’s tattoo safety page explains why this matters.
- If a touch up is needed, what is your policy and healed photo timeline, usually 6–8 weeks depending on placement and skin.
Leave With a Clear Aftercare Plan
Before you pay, clarify day one, days 2–7, and weeks 2–4. A common plan is a gentle wash, pat dry, then a rice-grain layer of ointment for 3–5 days, switching to a lighter lotion when flaking starts. Stock products you actually like so you will use them. Proven staples include Bepanthen, Aquaphor, Hustle Butter, Mad Rabbit, and Saniderm films, all non-sponsored examples (non-sponsored examples). If you are highly reactive or have a fragrance sensitivity, go unscented and patch test first. Our pro tips for busy schedules in our advanced aftercare guide can help you automate the routine without skipping the important parts.
Expect light redness and warmth for the first 24–48 hours, mild peeling by days 3–7, and a dull, waxy look into weeks 2–3 as deeper layers settle. Keep it clean, avoid soaking, and skip the gym or contact sports until the top layer seals, usually 5–7 days. The CDC’s wound-care basics apply here too, especially keeping a fresh wound out of pools, hot tubs, and lakes until fully closed.
Special Situations: Skin Tone, Health, Travel, and Workouts
If you are prone to keloids or pigment reactions, speak up early. The AAD highlights that allergic reactions to red pigments are more common than others, and raised scarring can occur in susceptible individuals. Placement, needle choice, and aftercare can be adjusted to respect your risk factors. If you are flying soon, avoid booking within 48–72 hours of long flights, pressurized cabins and swelling are bad company for fresh work.
Training or swimming soon after? Plan your calendar around healing. Heavy sweating, mats, and pools are high contact or high microbe environments. Block at least 7–10 days before intense workouts, and wait until the skin is fully closed before swimming. If you are optimizing color reads on deeper skin tones, see placement and palette strategies in our guide to different skin tones. For exact design and scale decisions before you book, use AI for Tattoo to preview placement and size against your own body with our try on tool so day-of changes stay minimal.
One last planning note. Some blood donation services require a short deferral after new tattoos, commonly 3 months depending on local rules. Check your provider’s policy ahead of time. Reputable studios should be able to document their sterile, single-use setup. When in doubt about safety standards, you can also review consumer guidance from the Cleveland Clinic and the regulatory perspective at the FDA.
Lock the design before you lock the date. Use AI for Tattoo to generate options that fit your anatomy, then preview size and placement with the virtual try on. Ready to iterate with your artist in mind? Start by creating a design you can confidently bring to the studio.
Try AI for Tattoo Free