Most AI tattoo drafts look perfect in 2D, then collapse on real skin once you change scale, contrast, and angle. The fix is not more random prompting. It is treating the AI image like a tattooable blueprint, with the same constraints your artist will face on session day.
If you optimize for fit, line weight, and readability at size, you can keep the soul of an AI concept and make it tattoo ready. Below is the exact, shop-tested approach I use to convert AI art into clean, healable stencils and placements that still look crisp a year later.
Why screen‑perfect breaks on skin
Screens are backlit, flat, and consistent. Skin is curved, mobile, and textured. Tiny grey micro-shading that looks silky on your monitor turns into muddy midtones at 3 feet and risks blowout in thin areas. Hair follicles, pores, and sun exposure also shift contrast over time. The American Academy of Dermatology notes that tattoos can fade with UV and that some pigments behave differently in skin compared to paper or pixels AAD guidance.
Medical sources also flag real risks. The Cleveland Clinic highlights allergic reactions, especially to certain reds, and the importance of design choices that do not force overworking the skin Cleveland Clinic. The FDA reminds clients and artists that tattoo inks are not FDA approved, and pigment particle sizes, carriers, and impurities vary by brand, which can affect both saturation and longevity FDA information. Build your design with these realities in mind, not just what looks good in a feed.
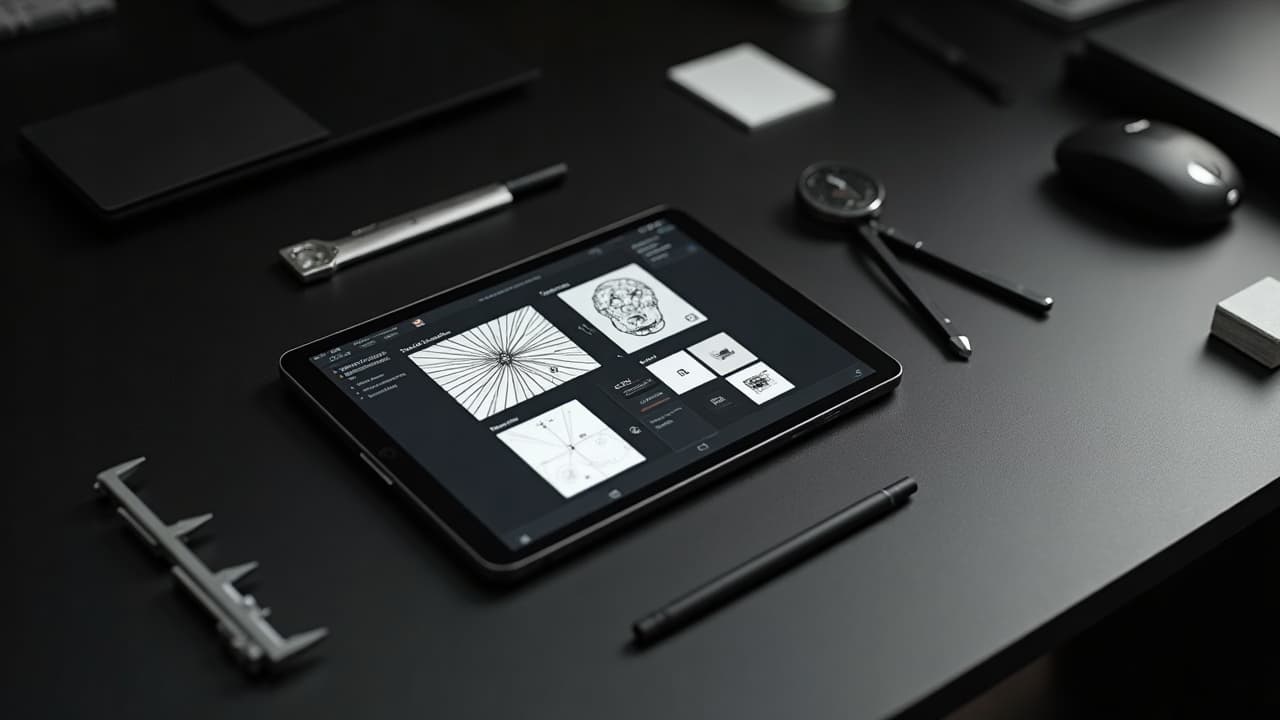
Write a smarter brief the AI actually understands
Great output starts with a precise brief. Before you open a generator, define three constraints: the exact placement, the final size, and the dominant technique. Then tell the model what to avoid. This narrows outputs to tattooable geometry instead of poster art. For style intent, study how models interpret line, shade, and texture in our AI tattoo style evolution breakdown.
- Placement: name the body, side, and orientation, for example, upper left forearm, radial side, vertical flow, 16 cm tall.
- Technique: specify blackwork, fine line, illustrative, or whip shading, and state “no photoreal hair, no soft midtone gradients” if needed.
- Readability: set a minimum line weight in mm and a maximum detail density per square inch to avoid grey mush.
- Negative space: request “generous, clean negative space around edges” so the stencil breathes at size.
- Session limits: note 1-2 sessions, 3-4 hours each, which encourages simpler, bolder forms at generation time.
Generate several angles, then move to a try-on. Use the AI for Tattoo creator to lock placement intent early and reduce later rework start a design.
Map fit and flow to the body, not the canvas
Designs that fight anatomy always look off. Before finalizing details, map the primary axis of the art to a muscle line or bone landmark and build shapes that flow with flexion instead of across it. For forearms, align vertical motifs with the radius. For thighs, arc with the vastus lateralis. For ribs, follow the oblique lines instead of crossing them perpendicularly.
- Wrap, do not warp: bend motifs around cylindrical areas but keep recognizable elements, like eyes or type, on the most flat-visible planes.
- Anchor points: place high-contrast anchors at low-stretch zones, for example, outer forearm or scapula flat, and let softer textures live where skin moves.
- Edge planning: build tapered edges and breathing room at joints so nothing crowds the elbow crease or wrist fold.
- Negative space: carve channels that echo tendons and bone. If you are new to this, skim our negative space guide.
Line weight and detail the needle can actually hold
Tattoo machines are not plotters. A typical 3RL needle lays down roughly 0.25-0.35 mm lines, depending on stroke, speed, and skin. Lines thinner than that often look great at 200 percent zoom, then melt together at life size. Overpacked micro-stippling in tight areas can raise blowout risk, especially on wrists and ankles where skin is thinner. Health resources explain how ink migration happens when trauma or too-deep passes push pigment into surrounding tissue Healthline overview.
- Set a minimum line weight for your stencil, for example, no lines under 0.3 mm for fine line or 0.4 mm for illustrative.
- Use line hierarchy: outlines thicker than inner detail improves legibility and makes cleanup easier during healing.
- Convert micro textures into suggested forms. Swap tiny crosshatching for single-direction whip shading so light reads cleanly.
- Test scale early: print at 100 percent on paper and step back 2 meters. If a detail vanishes, it will vanish on skin.
Contrast planning for different skin tones and distances
Grey stacks that read at size on pale, low-melanin skin can disappear on deeper tones. Push a clear value hierarchy: true black for shadows, mid greys only where you can afford softness, and generous negative space to keep edges crisp. The AAD encourages realistic planning for how tattoos present on different complexions and how sun exposure impacts contrast over time AAD guidance.
Design for viewing distance too. At arm’s length, your viewer needs to understand the silhouette. At 3-5 meters, major shapes should still communicate. Reserve micro-detail for zones people will examine up close, like the forearm, and keep chest pieces readable across a room.
Color strategy, pigment risks, and longevity
Color can sing or complicate. If the piece lives mostly in shade or under clothing, you can carry more subtle chroma. For high-UV areas, rely on black saturation and deliberate pops of color instead of full gradients. Medical sources frequently report that red pigments trigger the most allergic reactions, so plan contingencies like swapping to brown-black accents if you are sensitivity prone Cleveland Clinic.
Ask your artist what brands they trust and whether they have patch-tested sensitive clients. The FDA reminds the public that inks and their additives are not formally approved, and batch variability exists. That means smart design hedges with strong linework and readable shapes so even partial color fade stays legible FDA information.
File prep that tattoos clean: resolution, vectors, and layers
Your artist will love you for delivering a print-ready stencil. Keep a high-resolution raster for shading references and an SVG/PDF vector for linework. Export at 600 dpi at final size so the stencil lines remain sharp. Maintain layers for line hierarchy, shading suggestions, and placement notes.
- Tools that work: Procreate, Adobe Illustrator, Affinity Designer (non-sponsored examples).
- Export recipe: vector linework as SVG or PDF, raster shading as 600 dpi PNG, plus a flattened black-on-white stencil version.
- Mark measurements on art: height and width in cm, plus a 5 cm scale bar to catch printer scaling errors.
- Stencil paper and print: use Spirit Thermal Paper and a thermal or eco-solvent printer for crisp transfers. Confirm mirror flips before printing.
Virtual try-on and iteration without guesswork
Do not trust flat comps for curved placements. Drop your file into a realistic try-on, check in different lighting, and correct distortions before you book time. The AI for Tattoo try-on handles perspective and occlusion so you can evaluate shape flow and edge clarity on your own body. Start with the most honest angles, not just the flattering ones try your design on.
- Pose set: capture neutral, flexed, and stretched positions so you see how the art moves across skin.
- Edge watch: zoom in on edges near joints. If thin grey fades into skin tone, convert that edge to solid black or a hard cut.
- Distance test: screenshot at life size on your phone, then view at 1 m and 3 m. If the silhouette collapses, simplify shapes.
- Variant compare: keep 3-5 versions with different line weights and black-to-grey ratios and A/B them on your body photos.
Partner with your artist like a product designer
AI is your ideation engine, your artist is your manufacturer. Treat handoff like a production spec. Share the vector linework, shading references, and annotated photos from try-ons. Most studios charge $200-$350 per hour. Tight files and clear constraints often cut a session off large projects, which saves real money and reduces skin trauma.
- Deliverables checklist: SVG/PDF lines, 600 dpi PNG shade ref, placement photos with notes, size callouts, and a list of non-negotiables.
- Feedback rules: ask for one fit pass and one detail pass. Avoid endless micro-tweaks that only you can see at 400 percent zoom.
- Session plan: split large concepts into 1-3 sessions with clear stops, so linework heals before heavy shading.
- Resources: if you collaborate remotely, point your artist to our piece on tooling for hybrid workflows best AI tattoo tools for collaboration.
Stress test the design for healing and age
Fresh tattoos look crisper than healed ones. Lines will soften slightly. Greys will lighten. Sun and exfoliation change contrast year by year. Bake this in. Thicken critical outlines by 10-20 percent, widen tiny gaps, and consolidate texture into shapes. Health sources underline how UV and skin biology alter tattoos over time, so design for the long game AAD guidance and Healthline overview.
Do a final print at 100 percent, tape it on, and photograph in sunlight and shade. If the silhouette is compelling and the anchor details read in both, your AI tattoo design optimization is working. You are no longer guessing from a glossy mockup. You are pressure testing the exact thing that will live in skin.
Ready to turn a smart AI concept into a skin-ready tattoo? Use AI for Tattoo to generate variants with real **line weights**, test contrast on your body with **virtual try-on**, and hand your artist a **print-ready stencil**. Start your build in minutes [create your design](/create) or preview placements now [try on your art](/try-on).
Try AI for Tattoo Free