Most unusable AI tattoo outputs start with a vague prompt like “wolf tattoo.” Add subject, style, placement, and constraints, and your hit rate jumps from a maybe to a reliable yes. The goal is not pretty images, it is tattooable blueprints that fit your body, budget, and skin. Planning with AI is cheaper than fixing with lasers, and removal often needs 6 to 10 sessions spaced 6 to 8 weeks apart according to the Cleveland Clinic. Build the prompt well and you avoid redraw cycles, overworked skin, and regret.
The Core Recipe: 8 Building Blocks Every Prompt Needs
Think of your prompt as a stencil note to a very literal apprentice. Hit these eight beats and you will get cleaner, more tattooable designs:
- Subject and symbolism: define the main subject plus 1 to 2 meanings. Example, “heron for resilience and calm.” Cut filler like “awesome” or “cool.”
- Style family and line language: pick one style with 1 modifier, like “fine line blackwork” or “neo-traditional color.” Avoid mixing 3 to 4 styles in one prompt.
- Placement and size: say the body location and a size range in inches or centimeters. Example, “inner forearm, 6 to 7 inches tall, vertical.”
- Composition: name framing and balance. Example, “asymmetrical, off-center subject with negative space.”
- Technical tattoo cues: specify line weight, shading method (stippling, whip shading), and contrast targets like “high contrast central focal point.”
- Palette and pigments: state black and gray or limited color. If color, cap it at 2 to 4 hues to keep it tattooable.
- Constraints and avoid list: add negative prompts for what you do not want, like “no photo-real skin texture, no background gradients, no tiny text.”
- Reference handling: mention “use attached reference image for pose only” or “inspired by Alphonse Mucha flow, not a copy.”
Starter template you can paste into any generator: “Heron standing in reeds, symbolizes perseverance, fine line blackwork, inner forearm 6 to 7 inches, vertical composition with negative space, medium line weight, stippling, high contrast focal point, no watercolor bleeds, no background gradients, no photoreal skin, inspired by Mucha flow not a copy.”
Style and Line Language That Models Understand
Models respond best to common tattoo vocabulary paired with art-historical cues. You are not writing poetry. You are feeding a search engine with taste. Keep the style stack shallow and specific.
- Good pairs: fine line blackwork, single-needle minimal, American traditional bold color, neo-traditional with “thick outlines,” Japanese irezumi with “traditional wave forms.”
- Texture words: whip shading, dotwork, pepper shading, hatching, stippling. Ask for “clean negative space” to avoid muddy fills.
- Flow and motion: S-curve flow, diagonal composition, “wrap-friendly arc” for sleeves and ribs, “reads from 3 feet” to boost clarity.
- Named references: “Mucha flow,” “Hokusai wave forms,” “Art Nouveau floral,” “Bauhaus geometry.” Use “inspired by” to avoid lookalike copies.
If you want to see how different models interpret tattoo styles over time, skim our style evolution explainer. Then lock one style per prompt so the model does not average conflicting aesthetics into mush. For visual editing later, tools like Procreate, Adobe Fresco, and Clip Studio Paint help you mark changes on top of the output (non-sponsored examples).
Size, Placement, and Skin Reality
Posters can be dense, skin cannot. Prompt for the body, not a portfolio page. On small placements, micro-detail turns into blur within 12 to 24 months as lines settle. State a size and budget detail to keep complexity in check.
- Small areas, 2 to 3 inches: ask for low-detail silhouettes, single focal point, 1 to 2 textures max.
- Medium, 4 to 7 inches: permit a secondary element and a simple background motif. Keep line weights 0.25 to 0.35 mm equivalent.
- Large, 8 inches plus or sleeves: request macro composition, flowing connectors, and 3 to 5 linked motifs that read at distance.
- Placement realities: ribs and feet stretch, elbows and knees distort. Say “designed to avoid high-fold creases.” Use wrap-aware or “contours follow forearm.”
If you are unsure where to place it, preview scale and flow with our virtual try-on and live resize. Start on our try-on page and confirm that the composition reads well from a meter away.
Negative Prompts: Cutting Noise Before It Prints to Skin
Negative prompts are not pessimism, they are quality control. Removing un-tattooable artifacts early saves redraw time and the risk of overworked skin. Include a short, high-impact avoid list in every prompt.
- Common removals: no photoreal skin pores, no drop shadows, no background gradients, no tiny text, no watercolor bleeds unless you want watercolor.
- Detail policing: “limit micro-line density,” “avoid hair-thin filigree,” “no overlapping semi-transparent layers.”
- Anatomy sanity: “hands with 5 fingers,” “wings with correct jointing,” “no impossible overlaps,” and “clear silhouette at 3 feet.”
- Finish words: “crisp linework,” “solid blacks,” “consistent hatch direction,” “clean negative space around focal.”
Use a crisp list of 5 to 8 negatives. Too long and the model starts ignoring parts. We keep a living checklist inside our design optimization guide that you can borrow verbatim.
References, Weights, and Aspect Ratios
If your generator supports images and parameters, use them. References aim the pose and flow without locking you into plagiarism. Parameters make the model predictable enough to iterate like a pro.
- Reference image: attach 1 to 2 max and state scope, like “pose only” or “leaf vein structure only.”
- Aspect ratio: match placement shape. Vertical for forearm 2:3, square for chest 1:1, long for spine 9:16.
- Weighting and guidance: set moderate guidance like CFG 6 to 9 to balance creativity and control. Too high kills nuance.
- Seeds and versioning: reuse the same seed to refine a design in small steps. Keep a file with seed, prompt, and date for handoff to your artist.
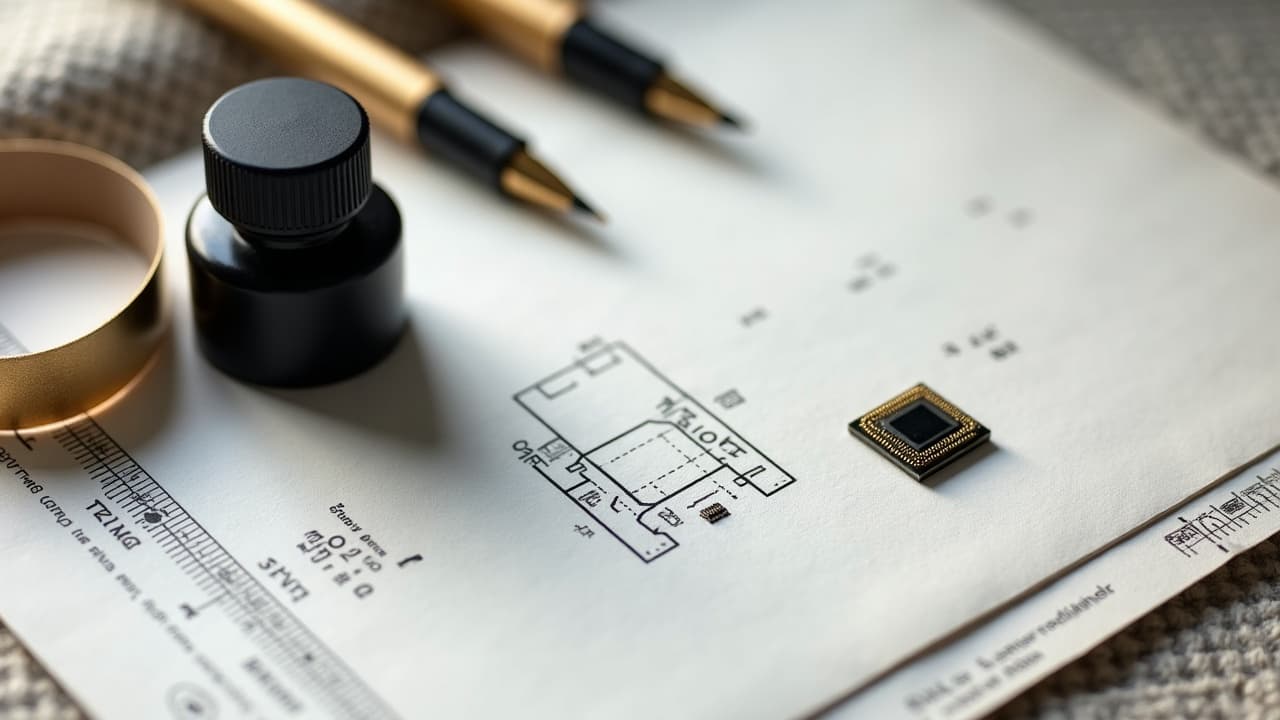
Example technical line: “reference pose image 1 for bird’s stance only, 2:3 vertical, CFG 7.5, seed 1123, single-needle look, crisp linework, no halftone noise.” You can adjust similar knobs in many tools including Stable Diffusion, Adobe Firefly, and Midjourney (non-sponsored examples).
Safety and Longevity: Color, Allergies, and Aftercare Notes
Prompting is not medical advice, but smart prompts avoid known problem zones. Red pigments are a common trigger for allergic reactions, and inks are not FDA approved for injection into the skin. Keep color choices deliberate and discuss them with your artist.
- Color clarity: ask for limited palette with named hues, like “black, muted teal, desaturated marigold.” Avoid 8 to 10 colors in small pieces.
- Allergy flag: add “avoid heavy red saturation” if you have a history of reactions. The American Academy of Dermatology notes tattoo reactions, especially to red, are common.
- Regulatory reality: the FDA states tattoo inks are not approved for injection and contamination can occur. Choose reputable artists who source inks transparently.
- Healing window: plan schedules around 2 to 4 weeks of initial healing. Resources like Healthline and the AAD outline typical aftercare timelines.
If you must pivot later, remember removal takes time, often 6 to 10 sessions with spacing to protect skin, per the Cleveland Clinic. Getting the concept right upfront is the cheapest form of aftercare.
Iteration Workflow: From First Draft to Artist-Ready
Treat generation like sketching. You will not nail it in one try. Iterate in controlled steps so you do not lose what worked.
- Pass 1, composition only: short prompt, clear subject, placement, aspect ratio, and negative prompts. No fine details yet.
- Pass 2, line and texture: add line weight, shading method, and one style tag. Keep color off unless it is core to the idea.
- Pass 3, color test (optional): if using color, run grayscale vs limited color side by side. Pick the read that holds from a meter away.
- Markup and annotate: in Procreate or similar, circle issues and write 1 to 2 word notes like “thicker line,” “remove leaf,” then revise the prompt accordingly.
- Lock the winner: save the prompt, seed, and exact image file to share with your artist for final drafting on your body map.
By pass three you should have a design that reads from both phone size and arm’s length. Test it on your body with our virtual try-on to confirm wrap and scale before booking time.
Price, Time, and File Handover to Your Artist
Good prompts save you money in redraws. Artists still need to adapt AI art to skin, which takes time. Arrive prepared, and you will spend the appointment making art, not fixing chaos.
- Budget clarity: state a target like $200 to $400 for small blackwork or $600 plus for color sessions. Prices vary by city and artist.
- Booking reality: expect a $50 to $200 deposit and 2 to 4 hours for small to medium pieces. Sleeves are multi-session projects.
- File pack: bring a high-res PNG, the prompt text, seed, aspect ratio, and 2 to 3 reference images. Label what to keep and what to change.
- Tattooability check: ask the artist to adjust line weights, simplify micro-detail, and set contrast for your skin tone and placement.
Hand the final AI image off as a starting point, not a finished stencil. If you want deeper tactics on improving model outputs before handoff, read our optimization techniques.
Common Prompt Mistakes and Clean Fixes
- Too many ideas in one: split concepts. Run the heron and the compass separately, then combine in a later pass.
- No size or placement: add exact body location and inches. The model cannot guess your forearm circumference.
- Vague style: “modern” means nothing. Choose one named style and one modifier, like “neo-traditional, thick outline.”
- Over-detailed for scale: on 2 to 3 inches, remove micro-filagree and request single focal point.
- No negatives: add no photo skin, no gradients, no tiny text to reduce artifacts the machine loves but tattooers avoid.
- Copy risk: write “inspired by [artist or movement] not a copy” to protect originality and keep your artist comfortable.
If you want subject matter ideas that still read clearly after simplification, browse our style map and idea galleries on styles and explore. Use those references to inform, not to clone.
Three Prompt Walkthroughs You Can Reuse
Use these as copy-paste bases, then swap the nouns. Each is tuned for tattooability and clarity on skin.
- Fine line floral ankle, small: “single peony with 2 leaves, symbolizes resilience, fine line blackwork, inner ankle 2.5 inches, vertical, medium-thin line, light stippling, strong negative space, no gradients, no watercolor, no tiny text, reads from 3 feet.”
- Neo-traditional fox, forearm: “fox portrait with oak leaves, courage theme, neo-traditional bold color, inner forearm 6 inches, 3-color palette (burnt orange, forest green, black), thick outline, controlled whip shading, no photoreal fur, no soft glow backgrounds.”
- Geometric band, upper arm: “two interlocking triangles forming a band, black and gray, upper arm 8.5 inch wrap, 2:1 horizontal layout, bold outer lines, fine inner dotwork, clear negative space, no halftone noise, designed to avoid high-fold creases.”
Once you have a shortlist, preview position with our body camera and live scale. Generate on create, then test your winners on try-on before you message a studio.
Ready to turn a tight prompt into a tattoo you can wear test? Use AI for Tattoo to generate with structure on [create](/create), then preview wrap, size, and flow on [try-on](/try-on). Nail the concept now, save hours in the chair later.
Try AI for Tattoo Free