
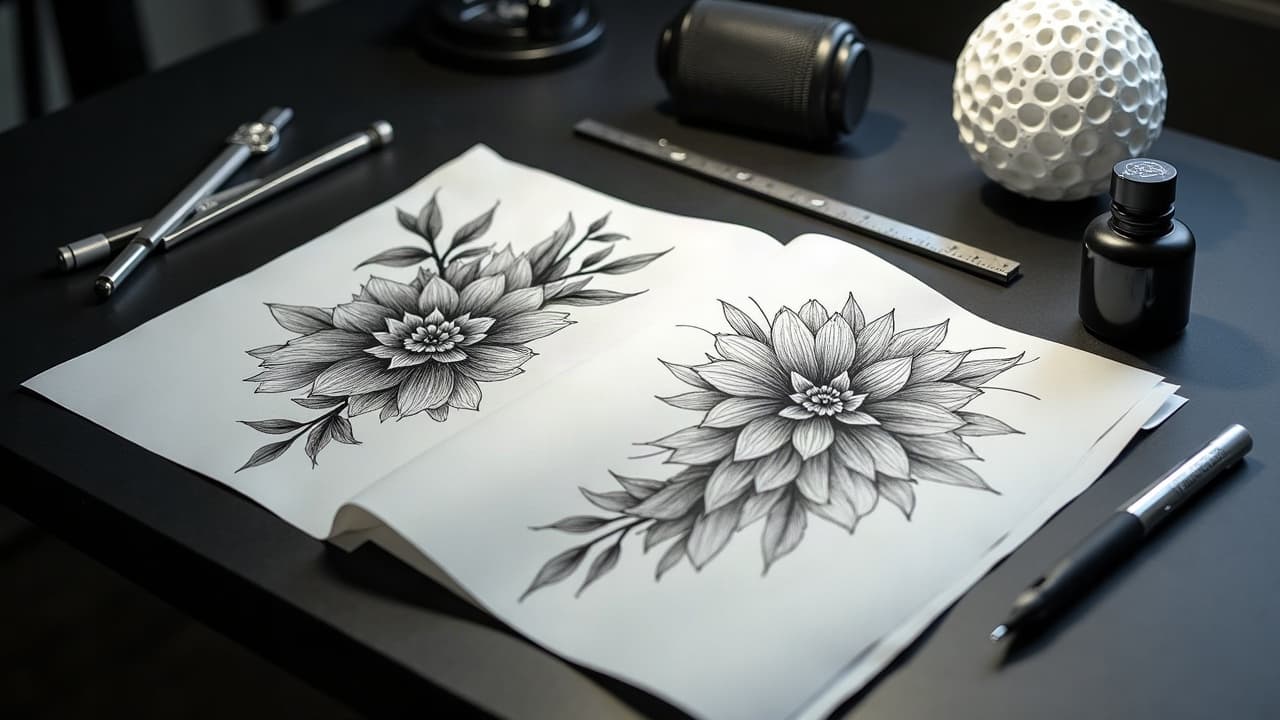
In tattoo concepting, I see 80 percent of image quality come from the prompt, not the model. When prompts are structured for skin readability and iterated with intent, you get designs clients say yes to on the first consult. Below is the exact system I use to generate and refine AI tattoo prompts, adapt them to feedback, and export files artists can stencil the same day.
The 80/20 of AI tattoo prompts
Strong prompts remove guesswork. They specify subject, style, composition, and constraints that matter on skin. You do not need to be a poet, you need a checklist. The result is consistent output you can meaningfully compare across iterations.
Two reminders keep teams aligned. First, prioritize skin readability over digital prettiness, meaning clear silhouettes, decisive line weights, and printable contrast. Second, change one variable per round so you actually learn which detail moved the image forward.
Build a bulletproof base prompt structure
Every good session starts with a reusable scaffold. I keep a short template with five parts. Fill it quickly, then refine. Name constraints in plain language and include numbers where helpful.
- Subject and symbol: who or what, plus the meaning drivers. Example: "snow leopard with alpine edelweiss, symbolizes resilience" helps tie motifs to story.
- Style and technique: "blackwork, single-needle line weight, minimal dot shading, high contrast" or "neo-traditional, bold outlines, limited palette" for clear style anchors.
- Composition and placement: "three-quarter view, left forearm, 18 cm tall, vertical flow" bakes in body-fit from the first render.
- Finish and legibility: "printable stencil, no micro-text, avoid photo-real pores, clean negative space" tells the model what not to waste detail on.
- Technical controls: "seed 12345, aspect ratio 9:16, high CFG for style adherence" keeps runs comparable and skin-framed.
Named tools help you operationalize this. Midjourney, Stable Diffusion with Automatic1111 or ComfyUI, DALL·E, and Adobe Firefly are all viable (non-sponsored examples). Keep your base prompt under 220 words. The goal is clarity, not a novel.
Iteration loops that actually improve results
Iteration is where average prompts become custom tattoos. Work in small batches, score each image against the brief, and change a single dial. This cuts noise and makes wins repeatable.
- Batch small: generate 4–8 images per round, not 40. Overproduction hides learnings and burns time.
- Score tightly: rate each on silhouette, contrast, placement fit, and meaning. Keep a 1–5 scale so clients can weigh in easily.
- Change one variable: adjust palette, line weight, or motif count, not all three. Lock seed when testing micro-tweaks.
- Promote winners: carry forward top 1–2 images, then branch from those. Archive near-misses with notes for later reuse.
- Timebox rounds: set 15–20 minute sprints per loop. Iteration flows when you have deadlines, even self-imposed ones.
When a round stalls, use controlled chaos. Duplicate the winner, nudge composition by 10–15 percent, and swap a single element, like replacing lilies with edelweiss. The aim is evolution, not a reset.
Reference control, pose, and image-to-image
Text alone struggles with anatomy fidelity and client likeness. This is where image-to-image and reference control shine. Feed a clean sketch, a client photo for proportions, or a pose reference to keep structure stable while style evolves.
Stable Diffusion with ControlNet for pose, depth, or edge maps is the workhorse. Midjourney’s Vary and Pan are useful for composition nudges. Photoshop Generative Fill and inpainting tools help fix problem areas without restarting the entire frame (non-sponsored examples). Keep denoise low when you want faithful adherence.
Negative prompts and guardrails for skin readability
Negative prompts are a gift. They remove the digital flourishes that turn into tattoo headaches. Use them to block micro-text, hair-thin stray lines, muddled backgrounds, and shading that will heal as mush.
Start a small library of hard no’s: “no tiny gradients at edges, no low-contrast backgrounds, no micro-lettering under 8 pt, no photoreal skin texture, no glass reflections overlapping outlines.” Pair this with design that breathes. If you need a primer on carving space, bookmark our negative space design guide.
Muddy edges do not just look sloppy. They can amplify blowout risk on high-motion skin. See consumer-friendly explanations of blowout and placement caution from Healthline’s editorial team. Treat that as a reminder to keep edges clean and bold.
Feedback loops with clients, scored iterations
Set a shared rubric so clients critique the design, not the vibe. I ask them to rate four lanes: story accuracy, silhouette clarity, placement fit, and emotional tone. Tie every edit to one of those scores to avoid taste ping-pong.
Practical workflow: show 3 finalists, request 2 changes max per round, and explain tradeoffs. If they want more detail in a 6 cm wrist piece, explain why line-weight simplicity wins for longevity. For visual comparison tricks, see our prompt visualization techniques.
Client comfort with AI varies. If you need a neutral explainer, point them to broad coverage like Pew Research on public understanding of generative AI. A quick, credible briefing builds trust in the process.
Style, not theft: ethical influence mapping
Artists deserve respect. Build prompts around style attributes, not a single living artist’s name. Words like "bold outlines, creamy color packing, ornamental filigree, geometric symmetry" guide the output without parroting someone’s signature.
Create a mood board of adjacent influences. Layer historic movements, materials, and regional craft. For example: "woodblock print texture, Art Nouveau curves, Tibetan cloud motifs, Pacific Northwest formline" beats name-dropping. PureRef and Pinterest are fine for boards, no tracing. Use "in the style of vintage ukiyo-e" instead of living artists where possible.
Color, contrast, and longevity baked into prompts
Ink lives in skin, not an OLED screen. Favor limited palettes and high local contrast so the design reads from 1 meter after healing. On small pieces, pick two hues plus black or gray. On large work, three to five well-separated values are plenty.
Allergy patterns matter. Red pigments are the most frequent culprits in reactions according to the American Academy of Dermatology. If a client is worried, keep prompts flexible with "monochrome blackwork" or "earthy ochres, avoid bright cadmium reds" and document choices in notes.
If permanence or pigment content comes up, the U.S. FDA provides tattoo ink basics. While we are designing, respect the biology by favoring bold outlines, clean negative space, and contrasts that survive the 4–8 week healing window you already educate clients on. For client skin prep that supports healing, share our skincare prior to ink guide.
Placement realism inside the prompt
Write the body into your prompt. Phrases like “wraparound 220 degrees, outer forearm, avoids elbow ditch, 18 cm tall” direct composition to flow with joints. On ankles, axilla, or fingers, specify simplified detail and stronger line weight to hedge against movement and wear.
For curved placements, render a flat guide and a curved mockup. Many tools fake curvature. Use a real arm photo and overlay the design to check warping. If the model insists on busy backgrounds, hard-block them with negative prompts and add a clean halation or border for lift.
From pixels to stencil, exporting and scaling cleanly
Before a real appointment, you need crisp lines and true size. Export a high-res render, then refine edgework in Procreate, Clip Studio Paint, or Photoshop. For vector stencils, pass lines through Illustrator or Affinity Designer and set 0.25–0.35 mm line weights for print (non-sponsored examples).
- Print at scale: tape a paper mockup to the body. Aim for 16–22 cm for forearms, 6–9 cm for wrists, adjusting to limb length.
- Check flip: mirror designs that cross the midline so faces and text read correctly in a mirror or selfie.
- Simplify shading: convert soft airbrush to dotwork or whip shading notes so the artist has a plan.
- Name needles: add "7RL outline, 9M soft shade" to the handoff. Even AI images need human execution notes.
- Budget honestly: subscriptions for pro image tools run $10–$60 per month. Most projects land under $50–$300 for concept time.
Finally, archive your wins. Save the prompt, seed, and post-edits as a recipe card so you can recreate the look for follow-ups or matching pieces without guesswork.
Tool stack that pairs well with tattoo workflows
You do not need every shiny thing. Pick tools that match how you work with clients and how you draw. Build a lean stack that covers generation, control, edit, mockup, and try-on.
- Generators: Midjourney, Stable Diffusion, DALL·E, Firefly for base images, image-to-image, and style locks (non-sponsored examples).
- Control: ControlNet for pose and edges, inpainting for local fixes, seed locking for A/Bs.
- Edit: Procreate on iPad Pro or Photoshop on desktop for line cleanup and stencil prep.
- Mockup: body overlays with real photos. When you need speed, use our virtual try-on for quick client previews.
- Library: PureRef for mood boards, cloud notes for prompt versions, and consistent file naming for the handoff.
Keep your eye on reputable health sources as well. For skin reactions and aftercare science, start with the Cleveland Clinic and Mayo Clinic consumer libraries. They help you explain why certain design choices age better on real skin.
Ready to turn your next idea into a testable, client-ready concept in minutes? Use AI for Tattoo to write structured prompts, generate batches, and see designs on real skin with the virtual try-on. Start now in Create or preview placements in Try On. For more technique deep dives, browse our AI design challenges guide.
Try AI for Tattoo Free