
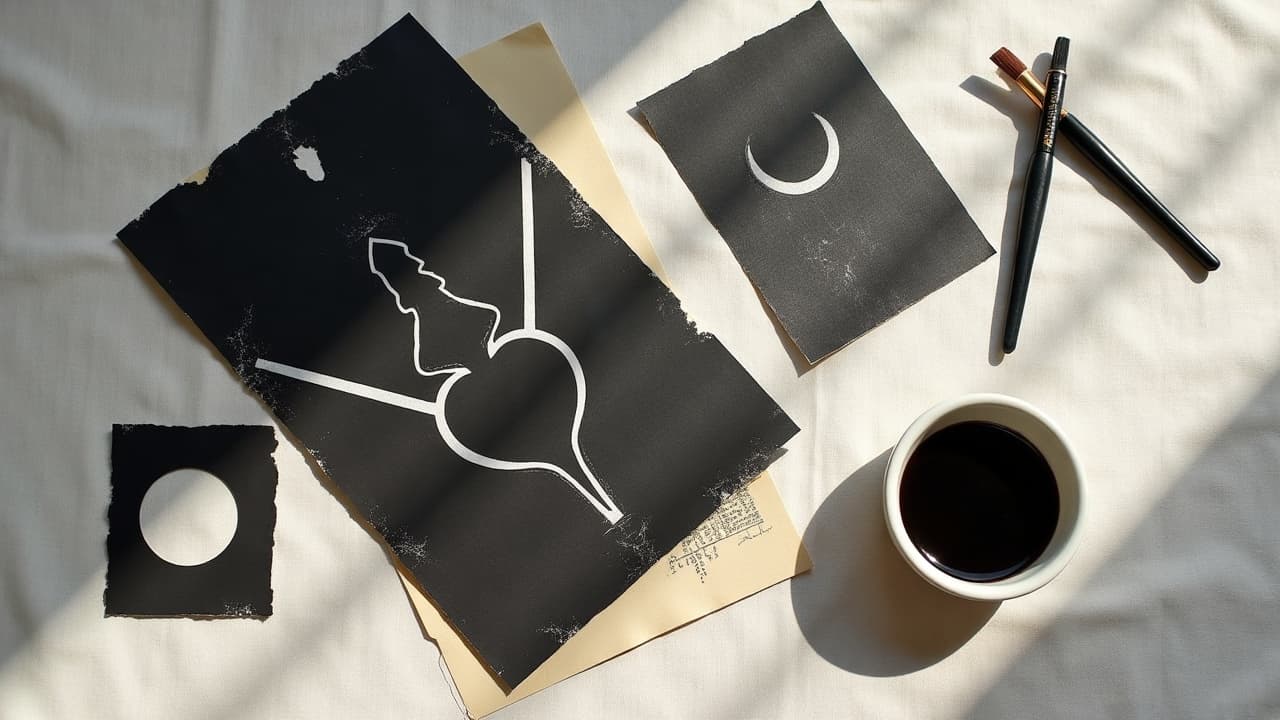
Negative space reads faster than detail. Human vision can snap to high‑contrast shapes in around a blink, which is why thoughtfully uninked skin can anchor a design before your eye even finds the linework. Artists turn that blankness into shape, light, and narrative, making negative space a primary tool for clarity and mood, not a leftover gap. For reference on how figure recognition works in visual research, see the National Library of Medicine. If you have ever admired a leaf silhouette cut from solid black or a face revealed only by its highlights, you have felt the power of what is not inked.
What Negative Space Actually Does On Skin
On skin, figure-ground decisions decide whether a tattoo reads clean from three feet or collapses into noise. Negative space sets the figure apart, gives the eye rest, and strengthens contrast without overworking the epidermis. A bold field of black that carves a white crane is not just high drama, it is strategic preservation of skin that will age better than overstuffed micro-detail. In darker complexions, controlled negative space with heavier outlines or adjacent black fields can still build readability without relying on low-contrast pastel fills.
Aging and healing matter too. As tattoos settle, edges soften and micro-gaps close slightly. Leaving deliberate breathing room keeps shapes legible after 4–6 weeks of healing and through the decade stretch. For care basics and risk awareness, the American Academy of Dermatology outlines infection signs, allergic reactions, and sun impacts that influence long-term contrast. If you are planning heavy black with preserved highlights, a breathable film like Saniderm or Derm Shield can protect those crisp edges in the first 3–5 days (non-sponsored examples).
Core Techniques That Make Negative Space Work
You do not need ornamental maximalism to tell a story. The smartest tattoo design techniques for using negative space rely on clear shapes and controlled shading. In studio, I sketch the light first, then the ink. Try these approaches during consults and stencil tests. If you are developing a narrative, pair these moves with our visual storytelling guide to tie form to meaning.
- Silhouette blocking: Fill a field with solid blackwork so the subject appears as a light cutout. Perfect for birds, botanicals, and masks where shape beats detail.
- Cutaway reliefs: Carve motifs out of mid-tone shading to avoid stark edges. Great for smoke, clouds, and underwater scenes that need softness without losing silhouette.
- Negative halos: Add a thin, uninked glow ring around a figure or script to pop it from a busy background and avoid muddy overlaps.
- Weaving overlaps: Interlock ribbons, branches, or snakes by alternating inked bands and clean skin gaps so the braid reads in 3D without heavy contour lines.
- Texture swaps: Pair dotwork or whip shading against untouched skin so the texture becomes the figure. Less saturation, more light.
- Reverse lettering: Use knockout type inside black panels for high-impact script that remains legible as it ages.
Blackwork, Dotwork, and Carving with Light
When you want maximum punch, blackwork and dotwork make negative space feel like light being carved into the body. A dense panel of black with a fox, tide, or mountain held out as skin reads from across the room. Dotwork gradients are surgical for soft transitions, letting you fade into negative space without a hard seam. Tooling varies by artist, but a controlled magnum for packing and a tight liner for perimeters keeps edges crisp while protecting the skin. Heavy fields are slower to heal, so consider a staged approach instead of marathon saturation in one go.
Expect more sensation when packing black. On the ribs or sternum this can feel like 7–9/10 on the pain scale, and forearms or calves more like 3–5/10. If you are anxious about tolerance, some clients use TKTX or Zensa topical numbing under guidance, though I always recommend a patch test first to avoid reactions. For evidence-based healing timelines and pain red flags, check the Cleveland Clinic.
Fine Line, Minimal, and Script Approaches
In fine line and script, negative space is the air between letters, the pause between strokes. Thin work can last if you pair line weight variation with planned white gaps that will not collapse during healing. A single-needle star map might blur if the dots crowd, but opening spacing and adding a faint drop shadow of stipple preserves the constellation for years. For micro florals, resist stacking petals too tight. Give the bloom a skin halo so it does not turn into a dot from ten feet away.
If your story hinges on subtlety, test scale and spacing first. Use printable transfers or digital previews, and lean on tools like our prompt visualization tips to prototype 1–3 sizes on your actual body map before booking. Pair minimal designs with low-grease healers like Hustle Butter or Mad Rabbit Repair Balm to keep flakes from sticking to the fine edges during week one (non-sponsored examples).
Placement and Body Flow
Placement is half the design. Negative space stretches and compresses with movement, so map your lines along muscle fibers and bone landmarks. A koi carved from black on a calf feels fast because the gastrocnemius curves carry the arc. A geometric cutout on a forearm reads like a window because the cylinder stays stable. Aim for readability from the most common viewing angle, not just straight on.
- Forearm, outer: Stable canvas with 3–5/10 pain. Great for windows, reverse script, and silhouette panels that need daily legibility.
- Calf and outer thigh: Broad surfaces with mild wrap. Perfect for blackwork with flowing negative shapes that use the curve for motion.
- Collarbone to shoulder cap: Dynamic arc for halo effects around florals or animals. Be mindful of shirt seams that can abrade healing film.
- Ribs and side torso: High movement and 7–9/10 pain. Negative space can stretch well here, but stage big black fills across sessions.
- Back, scapula region: Flat when protracted, great for cutaway reliefs. Ask your artist to stencil with your posture set for most exposure.
- Hands and fingers: High friction, quicker fade. Keep line weights heavier, use bolder gaps, and expect touch-ups sooner.
Edge Control, Healing, and Aftercare
Negative space depends on edge discipline. During the session, stretching the skin evenly, consistent depth, and buffer zones of 0.5–1.5 mm between fine lines keep micro-bleeding from closing gaps. After the session, film dressings like Saniderm, Recovery Derm Shield, or 3M Tegaderm help prevent scab lift that might blur delicate whites. Once the wrap comes off, a thin layer of Bepanthen, Aquaphor, or Hustle Butter twice daily keeps flakes soft without flooding pores for the first 5–7 days (non-sponsored examples).
Watch for infection or allergy signs that threaten crispness, like spreading redness, warmth, or rash under adhesives. The Cleveland Clinic outlines when to see a clinician, and the American Academy of Dermatology details allergic contact dermatitis that can be triggered by pigments or aftercare products. Good hygiene and avoiding gym friction, pools, and tanning in the first 2 weeks keep those edges intact.
Color, Skin Tone, and Sun Reality
Melanin and undertone shape how negative space behaves. On richly melanated skin, lean on bolder outlines and adjacency to solid blacks or saturated colors so the uninked figure reads. Avoid relying on delicate pastels for the figure itself. On lighter skin, you can get away with thinner halos, but do not starve the gap or it will close visually after healing. For sun care realities and why all pigments fade, see Healthline.
Sun is the slow eraser. Use a broad-spectrum SPF 30+ stick on exposed placements year round. Products like Mad Rabbit Defend SPF 30, Supergoop Play, or CeraVe Hydrating Mineral SPF work well on healed tattoos, helping preserve negative-space clarity by slowing UV-driven blur and pigment fade (non-sponsored examples). Reapply every 2 hours outdoors. Hydrated skin shows cleaner contrast, so moisturize even after the heal with light, fragrance-free lotions.
Budget, Sessions, and Long-Term Maintenance
Negative space can reduce ink time, but planning still takes care. Simple silhouette pieces land around $200–$500 in many cities, while large blackwork panels with carved highlights span $800–$1,800 depending on artist and shop rates. Complex sleeves often need 2–3 sessions to stage packing and protect skin integrity. If you ever plan to add to the piece, keep connector zones of open skin for future transitions rather than cramming every corner now.
- Touch-ups: Expect minor edge refreshers at 2–5 years if you are in sun or high-friction areas. Many shops discount small touch-ups.
- Pigment safety: For what is, and is not, regulated in inks and aftercare, review the U.S. FDA. Make decisions with that in mind, especially for whites and reds.
- Stencils and previews: Use body-map photos and digital comps to test ink-to-skin ratios before booking. Tools like on-skin AR help catch spacing issues early.
- Lifestyle fit: If you rock outdoor sports or manual work, choose placements where negative space will not abrade constantly against seams or tools.
If you like to workshop concepts before the consult, browse real styles and body maps on our styles page to see how artists balance ink fields with light. Then bring reference shots to your artist so you can iterate together with confidence.
Ready to test your balance of ink to light before you commit? Use AI for Tattoo to generate variations with mindful negative space, then preview them on your body with our on-skin try-on. Start creating at Create and check placement with Try On.
Try AI for Tattoo Free