
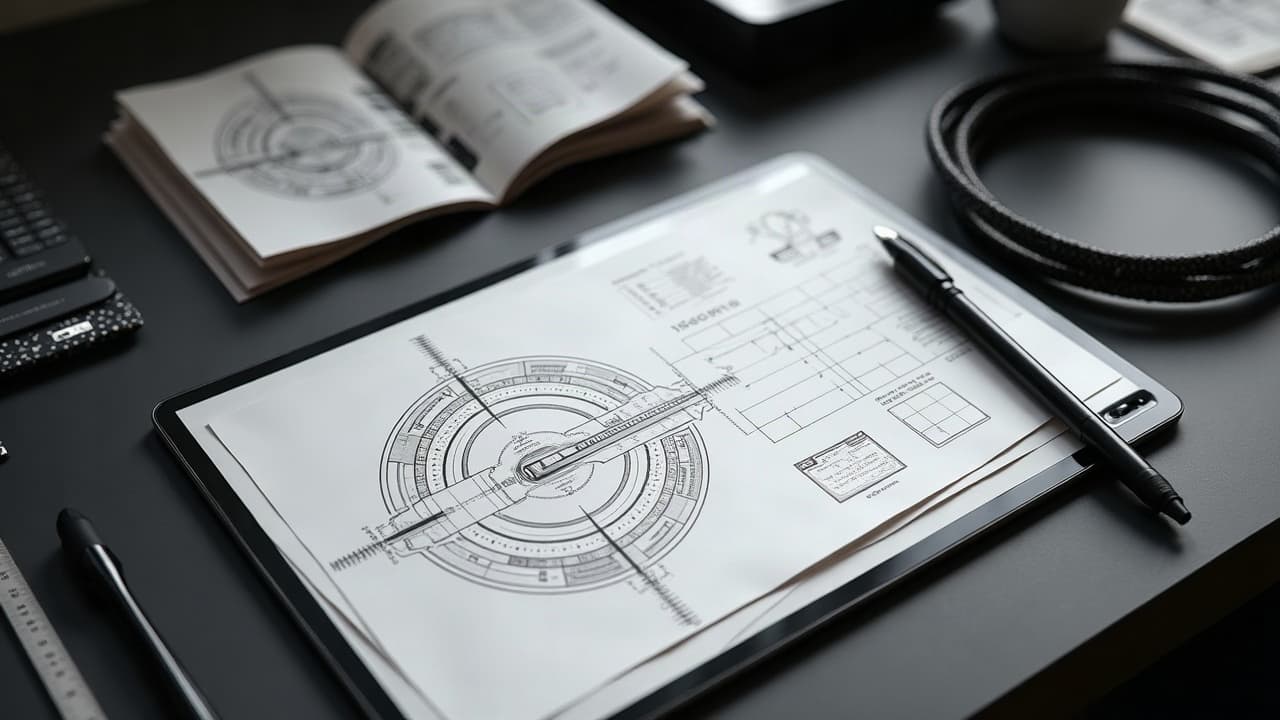
In my studio, about 70 percent of custom pieces begin with AI tattoo prompts, yet 100 percent are redrawn before they ever touch skin. The difference between a pretty render and a tattooable design is process, not luck. Done right, AI speeds ideation by 30 to 50 percent, while you keep full control of line weight, contrast, and storytelling. This guide lays out a practical pipeline artists and clients can share to turn AI concepts into work that looks like you.
The Integration Pipeline, End to End
Think of AI as your fast sketch assistant. You supply taste, constraints, and edits. The pipeline below keeps you from falling in love with pixels that will not translate to skin. Aim for 2 to 3 rounds of generation, then move offline to refine composition and lines.
- Define the brief with subject, placement, size, style, and story. Include personal motifs and a hard do-not-use list to avoid clichés or no-go symbols.
- Generate 6 to 12 concepts using style constraints and negative prompting. Save only the top 10 percent that match your voice and placement needs.
- Assemble a reference stack of anatomy photos, textures, and prior portfolio pieces. This grounds AI variance in your real-world style and technical habits.
- Redraw the winner at 300 dpi minimum, mapping line weights and value groups for readability. Simplify fussy detailing that would blur or blow out.
- Mock the design on a body photo, then share a 1 to 2-page proof with notes on line weight, shading plan, and color palette for client approval.
Prompting For Personal Style, Not Just Subject
A subject-only prompt leads to generic output. Tie prompts to your voice using constraint language. If you specialize in bold neo-traditional, say “neo-traditional, thick primary outlines, limited palette, simplified shading”. If you are minimalist, call for “single-needle look, negative space emphasis, high contrast, no textures”. Pair that with placement and size because a forearm 6-inch piece reads differently than a 2-inch wrist tattoo. For vocabulary and structure examples, see our prompt-language guide.
- Include a style tag, a palette rule, a line-weight rule, and a detail ceiling. Example, “no micro-textures smaller than 1.5 mm on skin.”
- Use negative prompts to exclude fragile elements, tiny filigree, ultra-thin hatching, busy backgrounds, overlapping focal points, or low-contrast gradients.
- Specify lighting and value groups. Example, “three-value read, 70 percent midtones, controlled highlights, deep shadow only behind focal.”
- Add placement cues such as wrap, taper, or flow. Example, “shoulder cap flow, curves follow deltoid, negative space toward chest for expansion.”
Reference Stacks and Style Tokens That Actually Help
AI is great at remixing, not at remembering your portfolio. A reference stack tells the model what to echo and tells you what to keep. Use three buckets, subject anatomy, your past lines and shading, and textures or symbols with personal meaning. Tag each item with must-have, nice-to-have, or avoid. Keep the stack short, 6 to 10 files max, to reduce drift.
- Subject anatomy, orthographic views or dynamic angles relevant to the placement, so pose and foreshortening remain tattooable at the target size.
- Portfolio excerpts that show your line hierarchy and contrast budget. Mark which lines are 3RL vs 9RL equivalents so AI outputs hint at real needles.
- Textures and symbols that matter to the client, florals, constellations, initials, dates, or cultural motifs, with a note on meaning and boundaries.
- One or two anti-examples that show what the client dislikes, ultra-realistic pores, watercolor bleed, or extreme noise, to keep outputs in bounds.
For the redraw and mockup stage, I use Procreate, Clip Studio Paint, Adobe Fresco, and Illustrator on iPad Pro or Wacom tablets (non-sponsored examples). For stencil transfer, Spirit Classic Thermal paper with Electrum Eco Stencil gel gives clean lines (non-sponsored examples).
Making AI Art Tattooable, Linework, Contrast, Simplification
Most AI images arrive overloaded. Your job is to preserve the idea while reducing fragility. Build a line-weight map with three tiers, primary contour, secondary form, detail accents. Then enforce a three-value structure for instant read at 3 meters. Keep saturated black to roughly 30 to 40 percent of the design so it ages gracefully and leaves room for touchups.
- Redraw at 300 to 600 dpi, minimum print size matching the skin size. Vectorize only if linework is graphic, avoid over-smoothing organic forms.
- Simplify micro-detail into larger shapes. Any feature below 1 mm on skin will likely blur within years, swap with texture suggestion or negative space.
- Check contrast in grayscale. If it fails a squint test at arm’s length, adjust value groups. See our contrast techniques guide.
- Plan needles on paper, for example 3RL/5RL for line weights, 7M/13M for shading, and bugpin vs standard choices that match your healed results.
Three Mini Case Studies, From Prompt to Stencil
Case 1, Neo-traditional wolf forearm, 6 inches. Prompt used “neo-traditional wolf portrait, bold contour, limited palette, three-value lighting, shoulder-to-wrist flow, no fur micro-detail, no photorealism.” After AI ideation, I redrew fur masses into leaf-like groupings, set 9RL primaries and 5RL secondaries, and anchored the gaze with a black wedge that follows forearm taper.
Case 2, Minimalist script wrist, 2 inches. Prompt used “monoline hand-lettered quote, high negative space, no flourishes, readable at 2 inches, gentle curve fit to wrist.” AI produced six options. I custom-lettered the winner to fix kerning, thickened thin strokes to a minimum 0.3 to 0.4 mm healed weight, and set a placement photo for approval.
Case 3, Japanese-inspired sleeve start, upper arm panel. Prompt used “koi with maple leaves, dynamic flow, thick tapering lines, no Western shading, open negative water, background suits expansion.” I maintained traditional line rhythm, removed AI’s soft gradients, and left expansion gutters between motifs to slot clouds later. See complementary prompt ideas in our body-art integration guide.
Client Collaboration, Versioning, and Approvals
AI only works when the client sees options without decision fatigue. I cap to two concept rounds and one fine-tune round. Each proof is a single page with the hero mockup, grayscale preview, line-weight map, and notes on needle plan and healing expectations. To avoid chasing novelty, archive earlier favorites but present only the current top choice. If you share WIPs online, watermark concepts and do not post private symbols until approved.
For clients, using a virtual try-on to preview scale and flow reduces placement mistakes. You can test a design on your photo and share feedback on wrap and tilt before stencil day. For fast experimentation, use our Try-On tool after you generate designs.
Technical Specs, Resolution, Apps, and Tooling
Aim for 300 dpi at print size, 600 dpi if you plan heavy resizing. Keep line art on a separate layer, export PNG and PDF, and archive the vector only if you are doing true graphic work. In Procreate, I use Selection + Liquify to nudge flow lines to match anatomy, then a 3-value threshold layer to audit readability.
- Apps and hardware I rely on, Procreate, Clip Studio Paint, Adobe Fresco, Illustrator, iPad Pro, Wacom Cintiq (non-sponsored examples).
- Stencil and transfer materials, Spirit Classic Thermal paper, S8 or Electrum stencil gels, and MadaCide for station prep (non-sponsored examples).
- File handoff checklist, final line art, grayscale plan, color swatches, placement mockups, and a one-page care brief tailored to size and coverage.
Ethics, Safety, and Ink Reality Checks
A few guardrails keep this modern workflow responsible. First, avoid copying living artists’ signature styles without consent, use influence language rather than direct name calls. Second, reality beats pixels, fine gradients and microtextures age poorly on skin. Skin health matters, allergies and infections are real. The American Academy of Dermatology outlines tattoo risks, including allergic reactions to pigments and keloid formation, useful context when choosing palettes and placements (AAD). The U.S. FDA tracks tattoo ink safety and periodic recalls, so use reputable inks and stay informed on pigment updates (FDA tattoos and permanent makeup). For aftercare and infection basics that influence design density and session planning, the Cleveland Clinic offers practical guidance on wound care and signs something is off (Cleveland Clinic). Finally, public comfort with AI in creative work is evolving. Surveys from Pew Research Center show mixed but growing familiarity with AI tools, a reminder to set expectations about authorship and originality during consults (Pew Research Center).
Pricing, Timelines, and Deliverables
AI saves time, but it is not free labor. I price an AI ideation package as a discrete service, $50 to $150 depending on scope, which usually saves 1 to 3 hours of sketching. Custom redraw, mockups, and stencil prep remain standard design fees. Clearly list what the client receives and how many revisions are included. Keep the calendar tight, one week from brief to first proof is typical for small to medium pieces.
- Deliverables I promise, one hero concept, one alt, placement mockups, a line-weight map, grayscale plan, and a final 300 dpi file for stencil.
- Revisions policy, up to two concept rounds and one fine-tune pass, changes after that bill hourly to prevent endless tinkering.
- Scope clarity, designs are bespoke to the client, no resale without consent, and AI prompts or seeds are archived in the project file.
Ready to turn your ideas into tattooable art with AI that still looks like you, not a template? Use AI for Tattoo to generate prompts that respect your style, then preview placement with our Create and Try-On tools. Want more stylistic references before you start, browse Styles or scan feature posts in our Library.
Try AI for Tattoo Free