
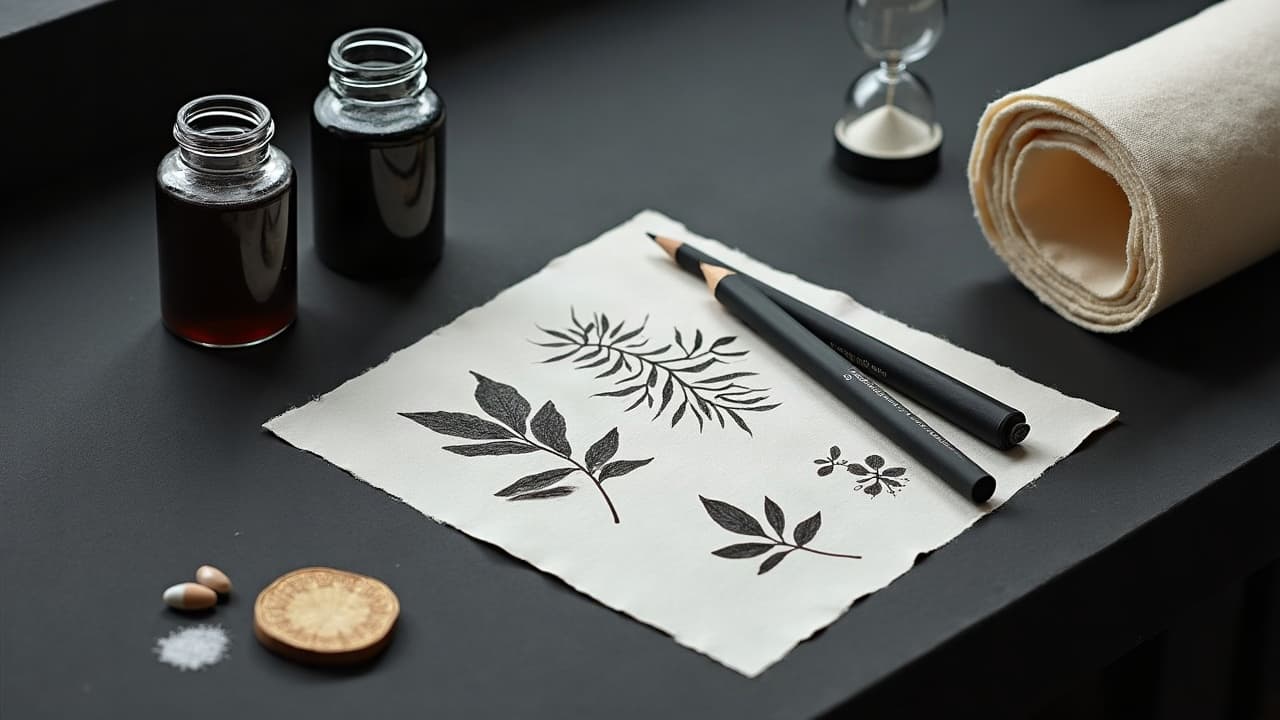
Most scars keep changing for 12 to 18 months, so rushing a cover-up usually hurts the final look. If you plan the design around the scar’s texture and tone, and wait for true maturation, you get cleaner lines, smoother shading, and a tattoo that ages better. The right cover-up does not just hide a mark, it integrates it into a design that feels intentional.
Know your scar: type, age, and texture
Your design starts with the skin under it. A flat surgical line behaves very differently than a raised hypertrophic scar, a keloid, an atrophic acne pit, or a grafted burn site. Texture changes how ink settles and how lines hold. Confirm your scar is fully matured, typically paler, softer, and less tender than it was at 6 months. Dermatology groups note that scar remodeling can extend past a year, so patience pays off. See basics at the American Academy of Dermatology and Mayo Clinic.
- Flat or surgical scars: Often linear, slightly paler. Usually accept fine line or illustrative work with careful line-weight planning.
- Hypertrophic scars: Raised but within the wound boundary. Favor textured shading and dotwork, avoid large areas of flat color that reveal height changes.
- Keloids: Raised and beyond the wound edge. Tattooing can aggravate growth, so medical clearance is essential and sometimes a hard no.
- Atrophic scars: Depressed areas, common after acne. Stippling, micro-shading, and organic motifs camouflage small pitting best.
- Burns or grafts: Variable thickness and sensitivity. Expect slower healing and plan multi-session builds with gentler passes.
Safe timing and medical considerations
Most artists prefer a minimum of 12 months on new scars, often 18 months for raised or grafted skin. The goal is to avoid tattooing over actively remodeling collagen. If you scar abnormally or have a history of keloids, consult a dermatologist first. Keloid-prone skin has a higher risk of overgrowth after any skin trauma, including tattooing, as noted by the Cleveland Clinic.
Allergic reactions to pigments are uncommon but real, especially with certain reds. The U.S. FDA tracks tattoo ink safety and highlights that inks are not FDA-approved for injection into the skin and may cause reactions. Read more at the U.S. FDA. For background on color reactions and aftercare outcomes, consumer health sources like Healthline and clinical overviews from the American Academy of Dermatology are useful starting points. When in doubt, ask your artist about a patch test on or near the site.
Design moves that make scars disappear in plain sight
A good cover-up does not force flat color over bumpy terrain. It uses texture, flow, and contrast to distract the eye. The trick is to route busy elements across the scar while keeping the crispest linework off the highest ridges. Avoid perfect circles across raised areas, tiny serif lettering over texture, and huge fields of uniform pastel that can look blotchy.
- Use organic motifs (botanicals, smoke, waves) to break up straight scar lines while hiding edges inside natural curves.
- Lean on stipple shading and whip shading to blend tonal transitions over uneven skin without obvious banding.
- Place the focal point on the smoothest neighboring skin, then bridge the scar with branches, ribbons, or shadow.
- Build negative space into the scar path, letting lighter gaps sit on top of higher ridges for a designed, not forced, look.
- Test line weights. Thicker lines tolerate texture better than hair-thin micro-lines that can wobble on raised collagen.
Color strategy on scar tissue
Fresh scars tend to be red or pink, then often heal lighter than surrounding skin. Because scar tissue lacks normal melanin, white ink and very pastel tones can turn chalky or barely show. Mid-value and darker tones with soft blends usually age better over texture. If you love color, anchor it with muted palettes and earth tones so slight inconsistencies read as intentional variation rather than patchiness.
Red pigments have a higher reputation for allergic reactions and granulomas. If your scar is sensitive or keloid-prone, be conservative with saturated reds and consider a small spot test months in advance. For more on color reactions, start with Healthline overviews and regulatory notes from the U.S. FDA. When building complex palettes, see our take on color layering techniques to keep hues legible over time.
Scale, placement, and budget reality
Plan to extend the design at least 1 to 2 inches past the scar in all directions. This gives your artist room to stage gradients and visual anchors on smoother skin, so the eye stops reading the scar as a boundary. On elbows, knees, and shoulders, expect more distortion from movement and commit to bolder contrasts that survive stretch.
Cover-ups cost more than same-size first tattoos because they are slower and more strategic. Typical ranges are $300 to $800 per session for reputable studios, with 2 to 4 sessions for complex or textured scars. Large pieces or realism can reach $1,500 to $3,000 in total. Budget guidance and saving tactics are in our tattoo budget planning guide.
Pain is very individual, but tattooing over raised or grafted skin can feel sharper. Expect 6 to 8 out of 10 in sensitive zones, especially during lining. On flatter, matured surgical scars, many clients report 4 to 6 out of 10. For biology-forward pain maps, see our pain chart guide if you are weighing placement options.
Techniques that excel on scar cover-ups
Some styles absorb irregular texture better than others. When lines may wobble, reduce reliance on perfect geometry and micro-details. When contrast is king, use it to your advantage with bold silhouettes and deliberate texture. Mix and match techniques to custom fit the skin you have.
- Blackwork and illustrative: Bold silhouettes, heavy blacks, and graphic fills hide edges and tolerate texture impressively.
- Dotwork and stippling: Tonal gradients disguise highs and lows and are forgiving on hypertrophic or atrophic areas.
- Realism and neo-traditional: Larger forms and shadows can float over uneven skin, provided linework avoids the highest ridges.
- Watercolor accents: Use as soft washes around structure, not as stand-alone floods across bumpy scars that can blotch.
- Pattern-heavy geometry: Reserve for smoother scars or break patterns around texture using negative space and line-weight shifts.
Choosing the right artist and consultation playbook
Scar cover-ups are a niche skill. Look for portfolios with clear before-and-afters labeled scar cover-up, not just general cover-ups. Study how the artist routes texture under shading, whether the focal points sit on smoother skin, and how the design reads healed. Ask if they have experience with your scar type specifically, and be honest about any history of raised scarring.
- Request a texture-aware sketch or digital mockup that shows how the design crosses the scar and where crisp lines will land.
- Ask about multi-session plans. Many pros build coverage in layers for better saturation and lower trauma to sensitive skin.
- Discuss ink choices and potential patch tests, especially if using lots of red or tattooing areas with past reactions.
- Clarify aftercare and longer healing expectations specific to scarred skin, including bandage type and lotion schedule.
- Align on budget and timeline. Get ranges for $ per hour and total sessions so you can pace healing and finances.
If you want to iterate visually before that meeting, see our guide to adapting prompts for skin conditions. It pairs well with a theme-driven approach, outlined in our piece on tattoo theme layering.
Pain, aftercare, and healing on scarred skin
Expect a slower, more reactive heal on scarred areas. Plan gentle washes twice daily during week one, then light hydrating through weeks two to four. Adhesive bandages like Saniderm can be helpful for many clients, but if you are sensitive or keloid-prone, confirm with your artist or dermatologist before using any occlusive film. General tattoo aftercare principles from the American Academy of Dermatology and Mayo Clinic still apply, just stretched over a longer 4 to 6 week window for many scar sites.
- Keep lotions light and fragrance-free. Aquaphor, Bepanthen, Hustle Butter, or Mad Rabbit are common picks (non-sponsored examples).
- Avoid gym friction, tight waistbands, and sun for 2 to 3 weeks. UV exaggerates contrast between scar and surrounding skin.
- If you use numbing creams like TKTX, patch test well ahead and tell your artist. Some formulas affect skin texture temporarily.
- Watch for excessive redness, heat, or swelling. Seek medical advice if symptoms escalate, per guidance from the Cleveland Clinic.
Preview the cover-up before you book
Getting the composition right before the needle touches skin saves money and revisions. Photograph your scar in good light, straight-on, and at a slight angle. Mock the design at real scale so you see how leaves, shadows, or geometry bridge the texture. Try variations that move focal points off the highest terrain and test colorways on your actual undertone.
Use AI for Tattoo to generate style variations and test placement on your own photo. Start in Create to spin concepts, browse style families in Styles for options that tolerate texture, then use Try On to preview alignment across the scar path. If you are processing the emotional side of covering a mark, our piece on tattoo culture and body positivity can help you approach the project with clarity.
Ready to see how your scar-cover design actually looks on you? Use AI for Tattoo to generate multiple variations, test color palettes, and align focal points before committing. Head to Create for concepts, then Try On to preview the fit. Bring your favorite mockups to your consultation so you and your artist start aligned.
Try AI for Tattoo Free