
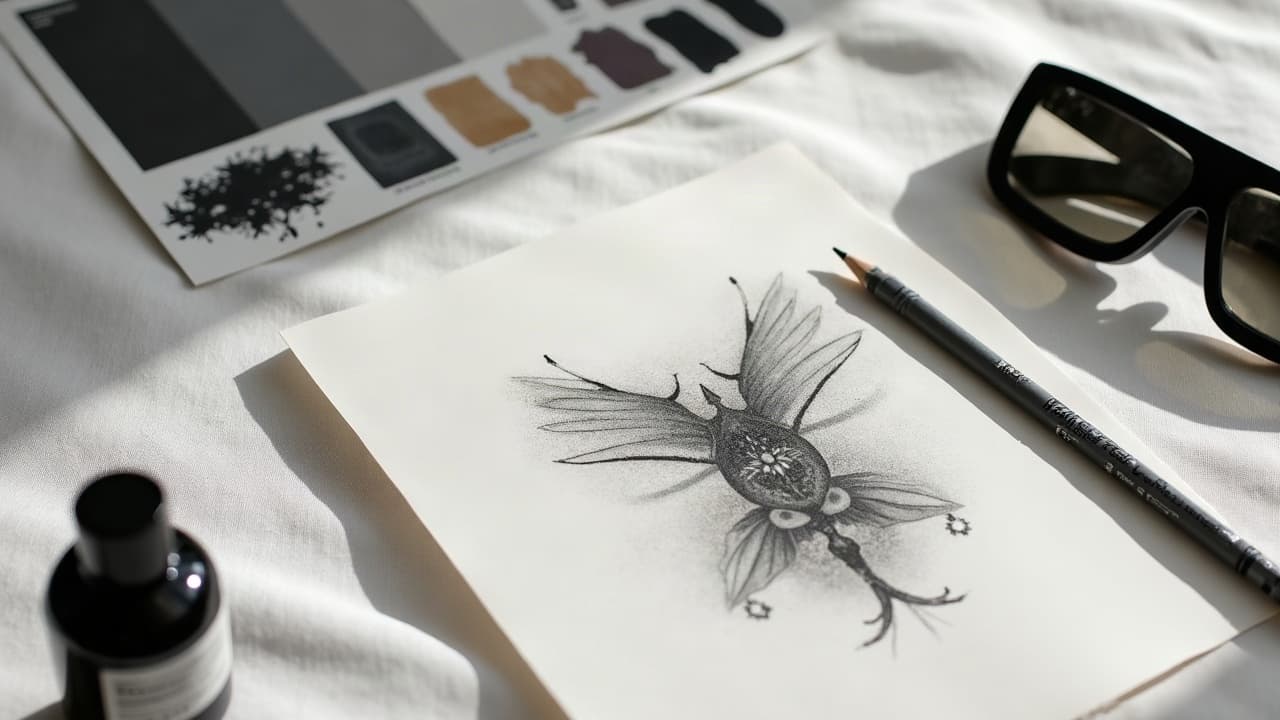
Roughly 32% of American adults have at least one tattoo, and a noticeable share later want a change, according to Pew Research Center. The good news is that most tattoos can be covered convincingly when you design around value, saturation, and scale, not just color. A strong cover-up starts by auditing what is on your skin, then choosing techniques that bend the eye to a new story. As a working artist, I build cover-ups with a value map first, then I select styles that weaponize contrast and texture to hide the old lines. This guide breaks down how to read your existing ink, match approaches to skin type, and plan sessions with realistic healing windows and budgets.
Start With the Canvas You Have: An Honest Audit
Before talking styles, assess your current tattoo like an art restorer would. Look at the line weight, how saturated the blacks are, whether there is scar tissue, and how much negative space you can still reclaim. A light, blown-out script is an easier solve than a solid tribal armband packed with high-saturation black. Use good daylight and take flat, straight-on photos. Note exact dimensions in centimeters and identify the darkest zones. If the existing piece has raised texture or keloid risk, flag it. The American Academy of Dermatology notes that darker skin tones and anyone with a history of keloids should discuss scarring risks with a dermatologist first, see AAD guidance.
- Map values: circle the truly dark areas, mark midtones, and any skin-tone gaps you can exploit as negative space.
- Check texture: run fingertips lightly. Raised or shiny areas indicate scar tissue that resists fine detail.
- Identify constraints: bony spots limit aggressive packing, joints stretch designs, and curvy anatomy needs scale shifts.
Skin Type and Tone Decide Your Palette
Melanin filters light. The darker your skin, the more a color’s top notes get muted, which changes cover-up math. On Fitzpatrick IV–VI, saturated cools like deep teal or burgundy often read better than pale pastels. On I–III, you can use a wider hue range but still need value superiority over the old piece. Undertone matters too. Olive skin tends to green-shift over time, so warm reds and neutral browns can balance it. Very fair skin can carry soft grays and desaturated palettes, but only if the underlying tattoo is light enough. Health sources like Healthline and Cleveland Clinic both emphasize individualized healing and pigment response, which is why a patch test or small test pass is smart.
- Fitzpatrick I–III: wider hue flexibility, use mid to dark values and crisp edges for cover-up authority.
- Fitzpatrick IV–VI: prioritize saturated warms and cools, heavier contrast, and larger shapes for legibility.
- All types: expect color to dull by 10–30% after healing. Build extra contrast in your stencil and plan.
Cover-Up Techniques That Actually Work
Not every technique fits every canvas. The trick is picking an approach that outperforms the old work in value and complexity exactly where you need it. When a tattoo is lightly saturated and small, illustrative rebuilds can do the job alone. For heavy black or strong geometry, you may need blackout with negative reveals or staged passes. A few field-tested options below. Many artists will combine two or more, for example a realism focal point anchored to a geometric tiling field that swallows the darkest zones.
- Overlay realism: use high-contrast realism to draw the eye. Works when old lines are dispersed or can sit in shadows.
- Illustrative rebuild: redraw motif with thicker line weights and textured fills to eclipse old outlines.
- Geometric tiling: tessellations and dotwork gradients confuse the viewer’s edge detection, great for older linework.
- Blackout with reveals: lay solid black fields, carve negative space motifs to retain interest.
- Blast-over: bold new lines blasted over old, then peppered with stipple shading. Best on aged, faded work.
- White shading pass: strategic white ink to veil lines, then color over. Use sparingly, white ages unpredictably.
When Laser Fading Is Worth It
If the existing tattoo is dense with carbon black or stacked outlines, a partial laser fade can open design possibilities. You do not need to erase it. Reducing the darkest 20 to 40 percent often lets a cover-up breathe. The Cleveland Clinic notes that removal or fading usually requires 3–10 sessions, spaced 6–8 weeks apart for skin recovery, see Cleveland Clinic overview. Know your numbers. Sessions commonly run $100–$500 per session, depending on size and market. Expect temporary frosting, redness, and swelling. The FDA cautions that tattoo inks and their breakdown products can trigger reactions, and pigments are not FDA approved for injection, see FDA on tattoo inks. If you have a history of reactions, consult a dermatologist first.
- Choose fading if blacks are near-solid or stacked outlines create unreadable tangles.
- Fade small zones only, clearing key shadows or highlights to restore value contrast.
- Budget for 2–4 sessions in most cover-up prep cases. Reassess design after each heal cycle.
Design Considerations That Sell the Illusion
The cover-up that fools people does four things well. It shifts scale, controls the focal point, exploits negative space, and stacks texture over the darkest history. That is why we build a value map first, then compose around the worst offenders. Give the eye a clear hero. A flower center, an animal eye, a geometric rosette, anything that earns the viewer’s attention away from old edges. Then push background values darker than those edges and keep the hero either brighter or sharper for separation. For style matching and language, see our guide to detecting an artist’s style and AI tattoo prompts on style contexts.
- Scale shift: upsize motifs by 150–300% to swallow old shapes inside new petals, leaves, or armor plates.
- Edge judo: put textured edges over crisp old lines, like fur, feathers, stone, or stipple clouds.
- Shadow routing: route your deepest shadows over the darkest existing ink, not the other way around.
Consultation Strategy: What Your Artist Needs
Bring flat, well-lit photos, measurements, and a flexible concept. The more you fixate on micro details, the less room we have to hide the old piece correctly. Ask to see healed cover-ups in your artist’s portfolio, not just day-of photos. Experienced artists will pitch ideas that look oversized on paper. That is normal. We are designing for real skin, not a blank page. Budget and session planning should be upfront. Cover-ups often need 2–3 passes. If you are sensitivity prone, discuss a patch test or a skin-safe numbing plan. Cleveland Clinic and AAD both note that topical anesthetics can help but must be used correctly. For prep conversations and style sourcing, bring references and write a short brief.
- Bring five to seven references that show style and mood, not exact compositions.
- Ask about a test pass on a small zone to see how your skin takes ink over the old work.
- Confirm policy on numbing creams like TKTX or Zensa and patch test first, non-sponsored examples.
Session Flow, Healing Windows, and Aftercare
Cover-ups run slower because we are packing over mixed terrain. Expect longer setups and frequent wipes to read the old work as we go. Typical pain sits around 5–7 out of 10 for medium placements, but can spike if we need to saturate over scars. Superficial healing usually takes 10–21 days, with full remodeling taking several months, per the American Academy of Dermatology and Healthline. Plan any second pass after a full heal, usually 6–8 weeks minimum. Use breathable protection if your artist recommends it, then gentle cleansing and a thin layer of aftercare. Keep it boring and consistent. Named products I trust include Saniderm, Bepanthen, Aquaphor, Hustle Butter, and Mad Rabbit (non-sponsored examples). For step by step routines tailored to skin, see our aftercare templates for every skin type and using essentials for your skincare routine.
Budget, Timeline, and Realistic Results
A strong cover-up costs more than a same-size first tattoo because composition is more complex and slower to execute. In most cities, plan $300–$1,500+ for a medium piece, more for large blackout or realism. If laser fading is needed, add $200–$1,000+ over several months. Schedule with breathing room so your skin can fully recover before the next pass. Set realistic expectations. We aim for 90–100% camouflage when conditions are favorable. On dense old black, the win might be 80–90% with the last 10 percent visible only at close inspection. The AAD and Cleveland Clinic both stress that individual healing and pigment behavior vary, so perfect cannot be promised, see AAD.
Preview the Outcome Before You Commit Ink
Seeing the proposed scale and value map on your actual skin saves redraws and regret. I like to comp designs at life size, then test placements with photos or AR. Your eye will instantly catch if the focal point sits in the right spot or if a dark leaf needs to slide over that stubborn outline. A quick on-skin preview is usually faster than arguing over line thickness on paper.
Generate and try on your cover-up concept before booking. Use AI for Tattoo to draft styles, test value contrast, and preview placement on your body with our virtual try-on. Start by sketching ideas in the create tool, then check scale on your real canvas. - Create your concept now: Generate with AI - See it on your skin: Virtual Try-On
Try AI for Tattoo Free