
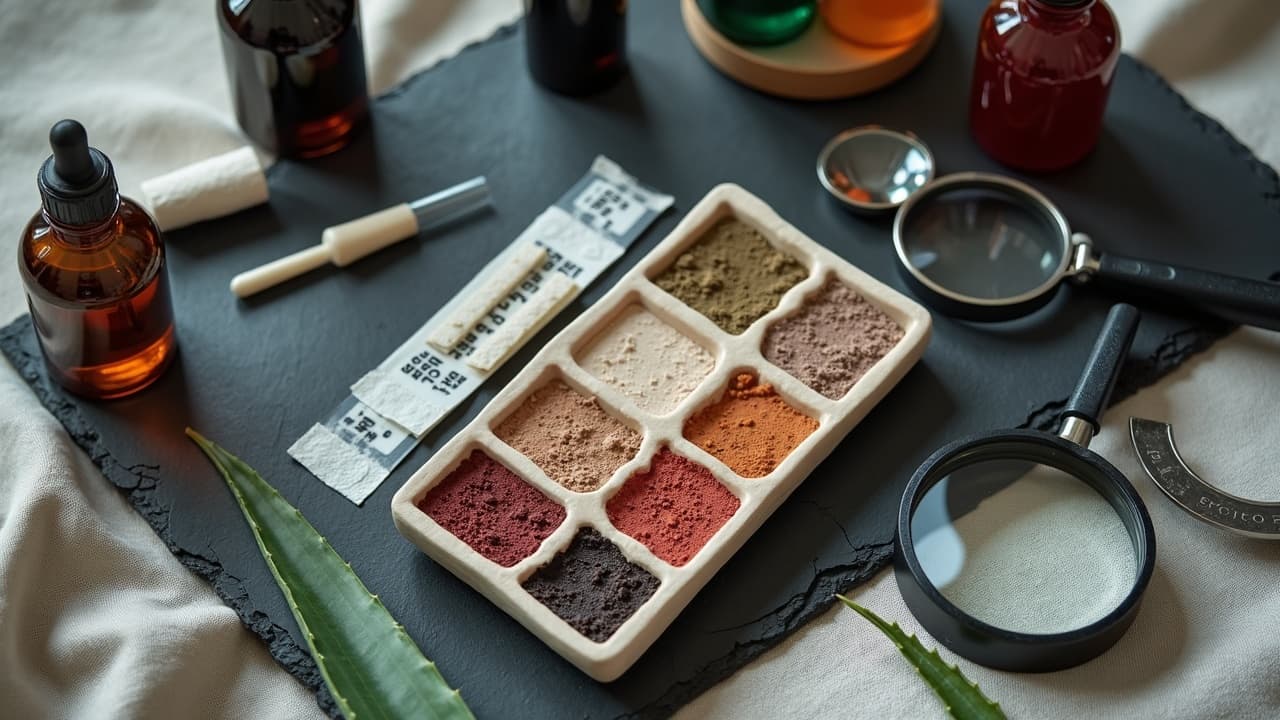
Most tattoo reactions start with the pigment color, not the machine. Reds trigger more issues than blacks or blues, which is why artists tailor ink choices to the client’s skin, not just the style. Matching ink safety and skin compatibility is how you get crisp lines, clean healing, and color that stays visible years later. For background on reactions and safety, the American Academy of Dermatology and Cleveland Clinic both note that allergies and infections are uncommon but real, and they are often preventable with the right prep.
The skin–ink handshake, why your type and tone decide the formula
Tattoo ink particles sit in your dermis, under the epidermal barrier. Oiliness, dryness, and underlying melanin all change how that layer accepts and shows pigment. Dry skin can over-exfoliate, leading to patchy loss during the healing window of 10 to 21 days. Oily skin can secrete more sebum, which makes fine lines blur unless the ink viscosity is matched well and aftercare is dialed in. On deeper tones, melanin filters lighter wavelengths, so muted pastels often lose visibility while saturated cool hues and rich blacks hold better contrast. Early healing is also about how you treat the barrier. Keep it moisturized, never over-wet. If you see increased heat, swelling, or drainage, those are red flags you should know from mainstream medical sources like Cleveland Clinic.
Ingredient labels that matter for ink safety
A bottle of ink is pigment plus a carrier like sterile water, ethanol, or glycerin. Quality inks are produced in clean facilities, are batch tested, and include an SDS. The U.S. FDA does not pre-approve tattoo pigments, but it does investigate and recall contaminated products, so your artist should be able to tell you what they use and why. Read more about oversight at the U.S. FDA. In Europe, REACH-compliant inks meet stricter limits for certain pigments and preservatives. That label can be a useful shorthand for sensitive clients. Finally, check for lot numbers, expiry dates, and tamper-evident seals. Old or decanted ink is a hard no in any studio I’d recommend.
- Look for sterile, sealed bottles with a printed lot number, expiry date, manufacturer address, and an SDS your artist can share on request.
- Ask about carrier base. Glycerin-heavy inks flow slower and can be gentler on dry or sensitive skin. Alcohol-heavy carriers can sting more on application.
- Check for compliance notes like REACH, cruelty-free, and vegan. Vegan labels remove shellac and animal glycerin but do not guarantee you will avoid allergies.
- Know common brands your artist trusts: Dynamic, Eternal, World Famous, Fusion, Solid Ink, Kuro Sumi, Panthera, Intenze (non-sponsored examples).
Match ink to sensitive, dry, oily, or combination skin
Skin type affects flow, needle choices, and how quickly you can safely saturate. There is no single “sensitive-skin ink,” but certain formulas behave more predictably on certain types. Pair that with conservative technique and smart aftercare and you reduce your odds of irritation and blowouts.
- Sensitive or reactive skin: Favor hypoallergenic-leaning palettes, avoid heavy reds at first, and use slower, thin-flow blacks like Dynamic or Panthera. Patch a tiny dot off-design if you have a big allergy history.
- Dry or dehydrated skin: Choose glycerin-balanced carriers that glide without overworking. Pack color in shorter passes and moisturize consistently during healing to prevent flaking that lifts pigment.
- Oily skin: Opt for inks with a slightly thicker viscosity to resist sebum spread. Keep lines single-pass where possible and blot often. Matte-finish aftercare helps reduce shine so you can spot problems early.
- Combination skin: Treat placement by micro-zone. Use flowy inks for smoother zones, thicker blacks for oilier zones, and split sessions to avoid overworking any patch.
Ask your artist which set they rely on for your skin type. Some studios stock multiple black formulas, for example lining black for crisp lines and triple black for heavy fill. Common go-tos include Eternal, Solid Ink, World Famous, and Fusion for rich saturations, and Panthera or Dynamic for crisp blacks (non-sponsored examples).
Color choices by Fitzpatrick tone for lasting vibrancy
Your natural tone, often described on the Fitzpatrick I to VI scale, changes how color reads. This is aesthetics plus physics. Ink sits under melanin, so hues with better optical contrast hold up longer. Lighter skin can show a full spectrum, but deeper tones reward high-contrast choices and bolder shapes. If you want delicacy on deep tones, we use larger negative space and stronger outlines to protect readability.
- Fitzpatrick I–II: Most palettes work. Pastels, white highlights, and yellows can pop, but be realistic about aging. UV exposure fades pale tones first, so sunscreen matters.
- Fitzpatrick III–IV: Best longevity with saturated blues, greens, violets, and warm browns. Whites can turn chalky. Use beige or muted ochres instead of pure yellow for stability.
- Fitzpatrick V–VI: Prioritize rich blacks, deep burgundy, forest green, and royal blue. Pastels and pure yellow wash out. Titanium dioxide whites rarely show and can look raised or ashy.
- All tones: Heavy red areas are the most reactive for many people. Test small accents before committing to large fields of bright red or orange.
If you are planning fine-line color or micro pieces, we talk placement carefully. Areas with less sun show color longer. For a refresher on placement tradeoffs, see how to choose the right placement for your tattoo. If you plan to refresh later, bookmark our ultimate guide to tattoo touch-ups.
Allergies, metals, and the smart way to avoid reactions
True pigment allergies are uncommon, but they happen, and they cluster by color family. Reds can contain compounds associated with higher reactivity. Greens and blues may include nickel or cobalt contamination in some pigments. Black is often carbon-based and comparatively quiet on skin. If you have a history of contact dermatitis, allergies, or keloids, discuss it well before booking. The AAD and Mayo Clinic both note that dermatitis and granulomatous reactions can occur and may be chronic, so prevention is better than treatment. Read more from the Mayo Clinic and a research overview from JAMA Dermatology.
- Avoid known triggers if you react to metals. Ask about pigment families and whether the studio carries alternatives to heavy red or certain greens.
- Do a supervised test dot in an inconspicuous area if you have a serious allergy history. Wait 4 to 8 weeks to declare it clear, since delayed reactions exist.
- Never use hair-dye or henna-adjacent products in a tattoo. PPD and black henna are different chemicals than pro tattoo inks and carry high reaction risks.
- If you develop itching, raised plaques, or oozing, stop aftercare actives and contact your artist and a clinician promptly. Keep the area clean and protected.
Healing and aftercare tweaks by color and ink load
Not all colors heal the same. Heavy-packed reds and bright whites can look angrier in week one, while black and grey often calm faster. Lining heals quicker than dense color fields. Expect a normal peel at days 3 to 7, then dullness, then clarity around day 14 to 21. Keep pressure off, avoid friction, and do not over-occlude if your skin runs oily. For signs of infection and when to seek care, see mainstream summaries at the Cleveland Clinic.
- Use a breathable film like Saniderm for the first 24 to 72 hours if your artist recommends it, then switch to a light lotion. Oily skin may skip extended wraps.
- Moisturizers I trust: Bepanthen, Aquaphor, Hustle Butter, Mad Rabbit. Start thin, 2 to 3 times daily, never greasy. If it shines, blot. Brands listed are examples only (non-sponsored examples).
- Avoid exfoliating acids and retinoids on the area for 4 weeks. Fragrance-free body wash, lukewarm water, and clean hands are your friends.
- Study common pitfalls in our aftercare mistakes guide and fixes for hot, over-irritated skin in how to soothe tattoo burns.
Technique matters, not just the bottle: lining, shading, packing
How we put ink in is as critical as what ink we pick. Lining uses tighter groupings to deposit small amounts cleanly, great for sensitive or dry skin that scars easily. Whip shading and brush shading create gradients with fewer passes, which reduces trauma. Color packing saturates densely, best for oily or resilient skin where we need power to hold hue. On pain, plan for 3 to 6 out of 10 for linework on fleshy areas and 6 to 8 out of 10 for dense color in bony zones. If you are sensitive, split large color pieces into sessions and avoid marathon packing in week one.
- Ask for single-needle or small-liner strategies for delicate skin. We can layer over time and still keep lines readable.
- Consider topical numbing like TKTX for long color sessions if your artist approves. Numbing is not a fix for bad technique, so use it sparingly and correctly.
- Watercolor looks need smart palettes. On mid to deep tones, build contrast with dark anchors and negative space rather than relying on pale washes that will fade fast.
Studio checklist, cost realities, and when to walk away
A good studio treats ink as a medical-adjacent product. You should see sealed bottles, dated inks, and clear surface sanitation. Artists should explain why a given vegan or REACH-compliant line fits your skin, or why they will avoid large red sections on your first color tattoo. Hourly rates vary by city, but in most U.S. shops expect $120 to $250 per hour. Ink choice rarely changes your price more than $10 to $20, so do not let anyone upsell you on a miracle pigment. Plan for an evaluation at 6 to 12 months to decide if a conservatively colored area needs a small refresh, and study our ultimate guide to tattoo touch-ups so you know what is normal.
- Ask to see SDS sheets and lot numbers for any ink going into your skin. That is a fair, professional question.
- Confirm the artist’s plan for your skin type and tone, including lining needle size, passes per area, and aftercare tailored to you.
- If the studio cannot explain their pigments or scoops ink from a communal cap, leave. You are not overreacting.
Struggling to picture which palette reads best on your tone and placement? Use AI for Tattoo to test-drive color choices before you book. Generate options with Create, then preview on your body with Try On. Bring the mockups to your consult and lock in a plan that fits your skin.
Try AI for Tattoo Free