
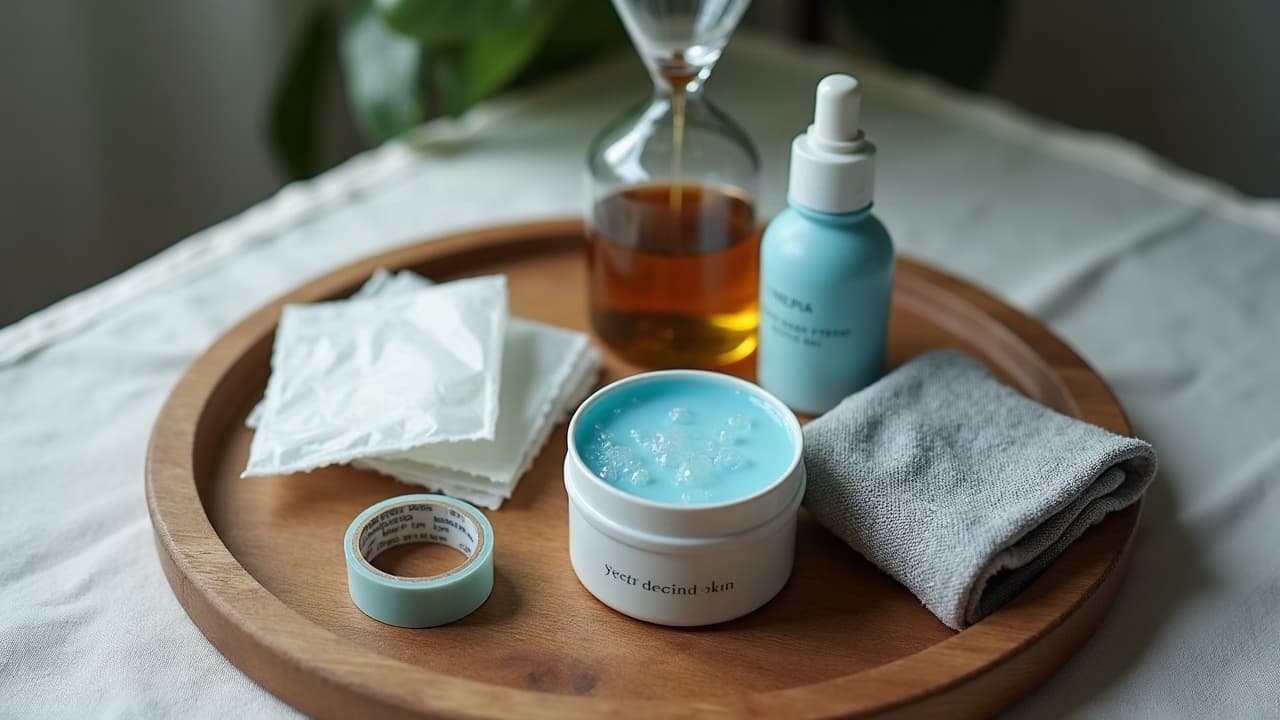
Chronic pain is common, not rare. The CDC reports that about 21 percent of adults live with chronic pain, and a significant share experience activity-limiting pain. That matters when you add a fresh tattoo, because your nervous system is already carrying extra load. Good news, you do not need to white-knuckle your way through healing. With a few targeted adjustments, you can lower discomfort, keep inflammation in check, and still get crisp results. The baseline tattoo aftercare from the first 72 hours through week 4 stays the same, but the pacing, wraps, and cooling change. This guide focuses on practical, studio-tested steps tailored for fibromyalgia, Ehlers-Danlos spectrum, CRPS, neuropathies, and other pain syndromes. It is general information, not medical advice. If you are on prescription pain meds or anticoagulants, coordinate with your clinician first.
Plan the session around your pain baseline
Booking is part of aftercare. Aim for a time of day when your symptoms are usually lowest. For many, that means a morning slot after 7 to 9 hours of sleep and a solid meal with 20 to 30 g protein. Keep sessions shorter, 1.5 to 3 hours, with 5 to 10 minute breaks every 30 to 45 minutes. Short sessions translate to easier aftercare because your nervous system never spikes as high. Discuss placement honestly. If your pain flares in a limb, consider starting on a calmer zone where typical tattoo pain is 3 to 4 out of 10. You can reference moderate placements from studio experience and our broader care tips in advanced aftercare for busy lifestyles. Splitting a large piece into 2 to 4 sittings prevents a single big immune surge that can trip a multi-day flare. Hydrate with 16 to 24 oz of water before and during your appointment, and skip alcohol for 24 to 48 hours pre and post. Alcohol thins blood and can increase oozing, which makes first-night care messier and more stimulating for sensitive systems.
Numbing, done smart: what helps and what to avoid
Topical anesthetics can be helpful for chronic pain, but they are not all equal. Ask your artist about policy, patch test the day before, and follow safety limits. 5 percent lidocaine creams can take the edge off linework and reduce anticipatory pain. If you use a pre-session cream, apply a thin layer 30 to 45 minutes before, do not over-occlude, and remove any residue before stencil. During-session sprays are artist-applied only. Safety note, the FDA warns that overuse of topical anesthetics or heavy occlusion can lead to systemic absorption and side effects. Keep total area modest and follow labeled maximums. If you take heart meds, SNRIs, or have liver issues, clear numbing with your clinician first.
- Common options: Aspercreme 4% lidocaine, LMX 5%, TKTX pre-numbing, Bactine Max in-session spray (non-sponsored examples). Verify ingredients and your artist’s policy first.
- Apply a thin, even layer to clean skin 30–45 minutes pre-appointment, then cover lightly. Avoid thick globs that heat the skin or soften it excessively.
- Do not occlude for more than 60 minutes. Excess heat and vasodilation can increase swelling and blur stencils on fragile skin.
- Skip heating pads with numbing creams. Heat increases absorption and can trigger dysautonomia flares.
- Stop immediately if you feel lightheaded, trembly, or numb beyond the application site. Tell your artist and wash off with mild soap and lukewarm water.
Pick the right wrap: film, breathable, or dry heal
For sensitive nervous systems, the first 24 to 48 hours are about calm, not just cleanliness. A medical-grade second-skin film like Saniderm or Tegaderm can reduce friction, keep plasma contained, and limit contact triggers. Many clients with fibromyalgia prefer the low-touch routine of a film for day one. If adhesives bug your skin, consider a breathable, non-occlusive approach with a sterile pad under a soft sleeve for the commute home, then uncovered at home once oozing slows. Dry heal is also valid for small, low-friction placements.
- Second-skin film: Change at 24 hours if plasma build-up is heavy, otherwise at 48 hours. Replace once more if needed. Choose hypoallergenic film if you react to adhesives.
- Classic wrap: For the ride home only. Replace with washing as soon as you are settled. Do not rewrap all day, trapped heat raises itch and swelling.
- Dry heal: Works for micro tattoos in low-rub zones. Keep clothing loose and clean. Add a thin moisturizer once peeling starts, typically day 3–5.
Cooling, elevation, and gentle compression
Cold and position are underrated tools for chronic pain tattoo aftercare. Use a soft ice pack wrapped in a clean cloth for 10 minutes on, 20 off during the first 24 hours to reduce throbbing. Keep the cold source off the direct tattoo surface to avoid sticking. If your tattoo is on a limb, elevate to just above heart level for 20 to 30 minutes, 2 to 3 times daily in the first couple days. Mild external compression around, not on, the fresh tattoo can calm swelling for some, but avoid tight bands that press the wound. A loose sleeve or a sock with the tattoo windowed out works better than elastic directly on fresh ink.
Pain-safe cleaning and moisturizing routine
First wash happens after the artist’s guidance, typically 2 to 6 hours post-session or when you change the film. Wash with lukewarm water and a fragrance-free cleanser. Pat dry with a clean paper towel. Early on, keep steps minimal to avoid sensory overload. Moisturize with a pea-size amount of ointment for the first 48 to 72 hours if you are not using a film, then switch to a light lotion until peeling ends. Too much ointment traps heat and can worsen itch, which is a common flare trigger. If your skin runs hot or you have dysautonomia, start with lotion instead of ointment to reduce occlusion.
- Cleansers: Cetaphil Gentle Skin Cleanser, Dove Sensitive Skin, Dr. Bronner’s Baby Unscented (non-sponsored examples). Use 1–2 times daily.
- Ointments: Aquaphor, Bepanthen, or a light layer of Hustle Butter for glide and itch control (non-sponsored examples).
- Lotions: CeraVe Daily Moisturizing Lotion, Eucerin Advanced Repair, Mad Rabbit Soothing Gel for lighter feel (non-sponsored examples).
- Pain meds: Prefer acetaminophen as directed if cleared by your clinician. NSAIDs can increase bleeding in the first 24 hours, so ask before using.
Managing flares, spasms, and sleep
Flares are easier to prevent than to stop. Pace your day for 48 hours post-session, keep temperature steady, and use scheduled breaks for cooling and elevation. If you have muscle spasm tendencies, gentle heat away from the tattoo, like on the back or opposite limb, can relax tension without heating the fresh work. Sleep is recovery fuel. Position pillows to unload the tattoo, and wear a soft long-sleeve or loose pajama to avoid surprise friction. Itch peaks as peeling starts, usually day 3 to 6. Instead of scratching, tap lightly around the area, cool for 5 minutes, then moisturize. Save soaks and baths until the skin surface closes, typically 10 to 14 days, as submerging early can raise infection risk.
Red flags, allergies, and when to call a clinician
A fresh tattoo will be warm and pink at first. Normal ooze is translucent plasma for 24 to 48 hours, then light peeling. Seek care if redness spreads more than 1 inch, you have fever or chills, or you see pus with a foul odor. People with chronic conditions should not wait on true infection signs. Allergic reactions to pigments or adhesives are uncommon but real. Watch for persistent, raised itch that lasts beyond 2 weeks, hives, or a blistering rash under film. Nickel and azo pigments are known irritants for some. If you have a history of adhesive or metal allergy, tell your artist and test wraps on a nearby patch of skin first.
- Call promptly for: spreading redness, fever over 100.4°F, worsening pain after day 3, yellow-green discharge, red streaks, or a rash beyond the tattoo borders.
- For delayed bumps or nodules weeks later, ask about pigment allergy or granulomas. A clinician may suggest a topical steroid or evaluation.
- Read trusted guidance from the Cleveland Clinic on infection red flags, the AAD on aftercare, and the FDA on topical anesthetic safety.
Authoritative references: Cleveland Clinic patient education, American Academy of Dermatology tattoo care, FDA guidance on topical anesthetics, CDC data on chronic pain, and Healthline’s overview of aftercare basics. These sources cover infection signs, wound care timelines, and medication cautions.
Fuel, hydration, and med coordination
Tissue repair needs nutrients and water. Aim for 80 to 100 oz of fluids daily unless your clinician restricts fluids. Target 75 to 100 g of protein split across meals to support collagen and immune function, and consider 75 to 90 mg of vitamin C per day from food. If appetite dips after a flare, go with smoothies and broths for easy calories. If you take blood thinners, SSRIs/SNRIs, gabapentin/pregabalin, or low-dose naltrexone, tell your artist and coordinate with your prescriber about timing and dose stability. You do not need to stop your meds on your own. For food choices that keep inflammation down without fuss, see our guide on tattoo-aftercare foods that support skin health.
Gentle movement and micro-rehab for better healing
Stillness can feed stiffness, which increases pain. Once initial sting settles, usually by day 2, add light, pain-free range of motion around the tattooed joint or limb. The goal is circulation and desensitization without stretching the fresh skin. Think small, frequent sessions instead of one big stretch block. Try 3 to 5 sessions daily, 5 minutes each. Move in mid-range only, then cool and elevate if throbbing rises. For CRPS or neuropathic pain, gentle texture exposure around, not on, the tattoo can reduce wind-up: soft cloth, then cotton ball, then a clean microfiber. If pain climbs more than 2 points over your baseline and stays there after cooling, back off for a day.
Finally, set yourself up before ink day. Pack a light snack, a water bottle, and a soft, clean layer to cover the tattoo for the ride home. If you like to plan, bookmark our studio checklist in how to organize a studio visit. Most clients with chronic pain do best when the plan is clear and simple.
Design choices can lower pain and simplify aftercare. Preview placement that stays off your personal flare zones, and scale detail so sessions stay short. Use AI for Tattoo to generate a design, test size and flow with the virtual try-on, and save versions you can discuss with your artist. If you are exploring options, browse styles and motifs that heal cleanly under film in our Explore section.
Try AI for Tattoo Free