
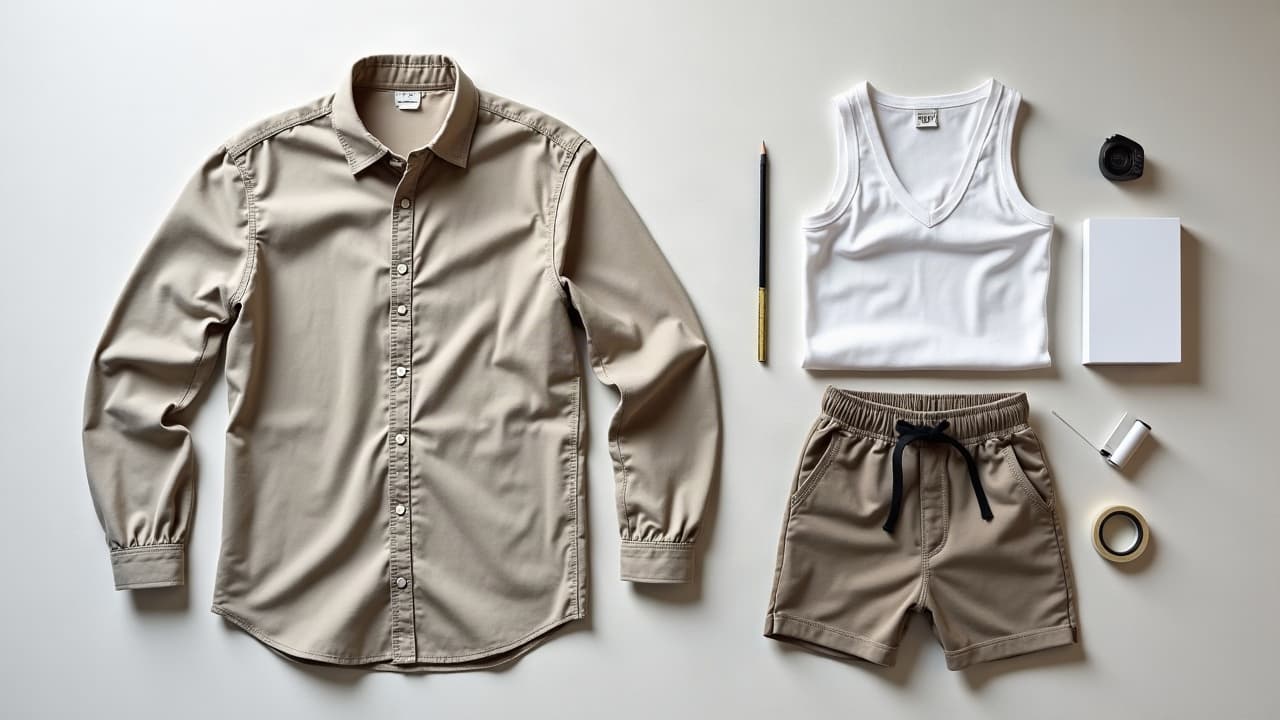
Clothing is not a side note at a tattoo consult. The right outfit often means the difference between rushed descriptions and clear photos your artist can design from. Most consultations run 20–45 minutes and sometimes include quick measurements or mock placements, so plan clothing that gives fast access to the area while keeping you comfortable and covered. Pain is 0/10 today, but preparation still matters.
Start With Placement, Then Build the Outfit
Decide where the tattoo will likely live, then reverse-engineer your clothing. If you want a rib piece, a high-neck bodysuit will slow everything down. For a shoulder cap, a tight crewneck traps fabric right where we need to see skin. Choose garments that expose the exact zone without full undressing. Button-front tops, loose necklines, shorts with split hems, and wrap silhouettes are your friends.
Expect your artist to look for natural lines, how skin stretches when you move, and where clothing usually rests. Clean reference photos save design time later. If you are new to the process, read how to maximize your first tattoo experience so your outfit and expectations line up.
Fabrics and Fits That Work in Studios
Studios are kept cool and clean. You will be happier in breathable cotton, moisture-wicking knits, or 4-way stretch pieces that move and re-layer quickly. Pick black or dark colors if you are camera-shy, they photograph neutrally and hide pen marks. Avoid fuzzy sweaters and sequins that shed or reflect light, they contaminate surfaces and ruin photos.
Choose a loose fit over compression for the target area. Tight elastic can imprint skin and distort placement references. Bring a structured but soft layer you can open or slide aside. If you are worried about modesty, wear nude or skin-tone underlayers so we can still see anatomy while you feel covered.
Layering Equals Access and Privacy
Smart layers let your artist work while you stay comfortable. A zip hoodie beats a pullover because you can open it to expose one side at a time. Cardigans, wrap skirts, button-downs, and lightweight jackets unfasten precisely where we need access. For chest work, a front-zip sports bra or stick-on bra keeps coverage while freeing the sternum or underboob.
For legs and hips, pair bike shorts or loose running shorts with a longer top so you can lift fabric without flashing everything. If the studio takes reference photos or quick videos, these layer tricks make the process faster and more respectful for everyone.
Outfit Ideas by Body Area
Match the garment to the target canvas. The goal is clean skin around the area, freedom to stretch or twist, and easy re-coverage when photos are done. Use these quick picks to plan your consult look.
- Upper arm or shoulder: sleeveless tank or wide-cut tee, plus a zip hoodie you can slide off one arm. Avoid tight sleeves that leave dents where we place the stencil.
- Forearm or wrist: short-sleeve tee or rolled long sleeve, skipping bracelets and watches. Bring a hair tie to keep sleeves secured above the elbow for measurements.
- Back or spine: button-down shirt you can wear backward or open, plus a stick-on bra or nipple covers for coverage. Tie long hair up to expose the nape and shoulder blades.
- Chest or sternum: front-zip sports bra or adhesive bra, topped with a loose button-down. This combo opens the center line while keeping sides and areolae covered.
- Ribs or side torso: loose crop top, relaxed joggers or high-waisted shorts. Raise arms easily without the hem dragging across the exact skin we need to photograph.
- Hip, thigh, or glute: loose athletic shorts or a skirt with a side slit, plus fitted briefs or bikini bottoms under. Avoid shapewear that compresses or creases the area.
- Calf or ankle: cuffed joggers or shorts that clear the ankle bone. Skip tall socks that leave compression rings where your artist needs to gauge alignment.
- Neck or behind ear: wide-neck tee or button-down with the top buttons open. Bring clips for long hair so we can see the mastoid and hairline clearly.
What to Pack in Your Consult Bag
A small kit keeps you fresh and ready for quick adjustments. Think comfort, cleanliness, and small tools that make accurate references easier. Include adhesive coverage if you prefer modesty during photos or measuring.
- Clean socks or slides for studio floors, especially if you will remove shoes for leg or ankle photos. Studios appreciate clients keeping floors debris free.
- Hair ties, clips, or a soft beanie to get hair off necks, ears, and upper backs. Clear sightlines reduce guesswork when we mock up sizing.
- Deodorant and fragrance-free wipes for nearby skin folds. Light, fragrance-free products keep the room breathable and your skin camera ready.
- Nipple covers or a stick-on bra for chest or sternum references. Choose medical-grade adhesive so it peels off cleanly without residue on the skin.
- A small notebook or your phone notes for measurements and artist instructions, plus a charger. Clarity now saves emails later.
- A thin scarf or clean towel to sit on if you will change or adjust layers. It protects clothing from marker and gives a quick privacy shield.
- Optional skin-care backups: Aquaphor, Bepanthen, Hustle Butter, or Mad Rabbit balms for dry spots if the artist requests a touch up (non-sponsored examples). Use only if asked.
- If you have sensitive skin, bring hypoallergenic tape or adhesive film like Saniderm or Tegaderm for modesty or quick patch cover if needed, and ask the artist before applying.
Skin Prep That Helps the Meeting
Arrive clean, dry, and unscented on the tattoo site. Shower beforehand and lightly moisturize the area the night before with a fragrance-free lotion, not heavy oils. Avoid self-tanner and body makeup on the placement zone because pigments and shimmer distort how ink will read on your skin and get on our tools. The American Academy of Dermatology notes that healthy, unbroken skin lowers risks around tattooing and aftercare, so baseline care helps from day one. See the AAD’s tattoo safety information for general skin guidance.
If you are sun sensitive, do not arrive with a sunburn. Keep the area covered for 48 hours before your consult to avoid redness and swelling that change how we size the design. Big-picture medical information on tattoos and skin reactions is available via the Cleveland Clinic and Mayo Clinic. For ink composition and rare hypersensitivity concerns, see the U.S. FDA’s information on tattoos and inks.
What to Skip, No Matter Your Style
Some garments slow a consult or make references unreliable. Avoid the following so your artist can see true anatomy, muscle movement, and resting clothing lines without fighting fabric or residue.
- Tight shapewear or compression layers over the target area. They dent skin and change how the design will sit when you are dressed normally.
- One-piece jumpsuits, rompers, or bodysuits that require full undressing for access. They complicate modesty and eat up consult time.
- Glitter, body shimmer, or transfer-prone makeup on the tattoo zone. Particles migrate onto tools and skew how ink saturation will look on your tone.
- Fresh self-tanner or bronzing lotion. It stains towels, throws off color assessments, and can irritate skin if we need to tape or mark the spot.
- Fragile knits that shed lint or fuzz. Fibers stick to pre-stencil films and make clean photography frustrating for both you and the artist.
- Complicated belts, corsets, or lace-up pieces around ribs or hips. Hardware sits exactly where we need to measure natural landmarks.
- Overly perfumed products. Studios are shared spaces and some artists have fragrance sensitivities, so keep it neutral near the placement area.
- White fabrics if you are modest about transparency. Studio lighting plus camera flash can turn thin white knits into unintentional windows.
Style Still Matters, So Show Us Who You Are
Consult day is not a runway, but your personal style helps us read the vibe of the final piece. If you live in minimal neutrals, we may steer line weight and contrast differently than for a maximalist color-lover. Wear a neutral base with a statement layer so we get a feel for your palette without distracting the camera. If you bring references, organize them on your phone and pair them with notes. Our guide to tattoo linework techniques for visual clarity explains why clean, well-lit photos matter.
If you are building a larger body plan, your outfit should reflect how you dress most days. Waistlines, necklines, and sleeve lengths are permanent design boundaries in real life. For big-picture planning, see our piece on building a tattoo anthology to connect clothing habits with long-term placement strategy.
If Photos or Mock Stencils Happen at the Consult
Some studios take quick photos or trace with marker during the meeting. That is normal. If possible, wear skin-tone underlayers that let us lift or shift fabric without a full change. Avoid lotions right before the appointment so tape and draping grip cleanly. If the artist needs to test placement with adhesive film, having lint-free, dry skin helps everything stick and gives more accurate visibility for curves and joint movement.
Want to preview how a design sits on your actual outfit lines before the big day? Use AI for Tattoo to generate ideas and try them on your body in minutes. Create a few concepts in our generator, then use the virtual try-on to see placement against your neckline, sleeve, or waistband. Bring those mockups to the consult and your clothing will match the plan.
Try AI for Tattoo Free