
A tattoo needle only reaches about 1–2 mm into skin, and you can ask for a pause at any time. Those two truths take the edge off first session nerves fast. With clear prep, a solid artist match, and a few simple comfort tactics, your first tattoo can feel focused, low drama, and honestly pretty fun.
Choose an artist who fits your brief, not just your feed
Your experience starts with the right artist. Follow portfolios for at least 2–4 weeks, then book consultations with two people who specialize in your style. A clean, confident portfolio in the exact lane you want reduces redraws and on-day stress. Expect small, single-session pieces to run about $150–$300, medium pieces $300–$800, with a deposit of $50–$200 applied to the final total. Check healed photos, not just fresh ones, to see if linework stays crisp and shading heals smooth. For objective evaluation criteria, bookmark our guide to assessing artist quality.
- Ask about setup: Do they open needles and tubes in front of you and use single-use cartridges or sterilized equipment every time?
- Ask about scheduling: How long is the session, how many breaks, and what is their policy for rescheduling if you feel unwell the day of?
- Ask about design flow: Do they draw on skin, work from a stencil, or adjust on iPad? Can you approve size and placement before transfer?
- Ask about aftercare: Do they use film bandages like Saniderm and provide written instructions, or prefer ointment and wrap with gauze?
- Ask about touch-ups: Is a quick touch-up included within 60–90 days, and how do you book it if small gaps appear after healing?
Prep your skin and schedule seven days out
Good skin makes for easier lines and smoother shading. Start 7 days before with gentle exfoliation every other shower and daily moisturizing. Stay consistent, not aggressive. Do not shave the area yourself the night before, your artist will clip or shave during prep to avoid micro-cuts. Avoid sunburn, tanning beds, and harsh actives like retinoids or strong AHAs on the placement zone for 5–7 days. If you are sun sensitive, read our aftercare for sun sensitive skin and plan your booking around a lower UV week if possible.
- Hydrate: Aim for 2–3 liters of water daily the week prior, especially if you drink coffee or alcohol, which can dry the skin.
- Fuel: Eat a normal, balanced meal 60–90 minutes before your appointment so your blood sugar stays stable during the session.
- Sleep: Get 7–9 hours the two nights prior. Fatigue magnifies pain and makes sitting still harder than it needs to be.
- Skincare: Switch to a bland lotion like CeraVe Daily Moisturizing Lotion or Eucerin Advanced Repair for the area.
- Clothing: Pack clothing that gives easy access to the spot, like loose shorts for thighs or a zip hoodie for upper arm.
For a deeper skincare playbook that pros use, see our pre-ink skincare guide. The goal is supple, non-irritated skin on the day, not a complicated routine.
Know your pain and pace plan
Pain is personal, but patterns are predictable. Outer forearm and calf usually sit around 3–5/10 for most people. Ribs and spine can jump to 8–10/10. For your first piece, placements you can see and breathe into help keep anxiety down. Use our pain chart guide to sanity check your placement against your comfort goals.
Breaks are part of the plan. A good first session cadence is 40–60 minutes on, 5–10 minutes off, with longer pauses if the artist is sizing or switching needles. If you are considering a numbing product, ask your artist first. OTC creams like Dr. Numb 5%, Aspercreme Lidocaine 4%, or TKTX can help on high-heat placements, but application and timing matter. The FDA cautions against heavy application under occlusion and large-area use due to rare but serious risks, so read labels carefully and follow instructions (FDA information on tattoos and cosmetics).
Lock your design and placement with previews
Nothing reduces first-day jitters like knowing exactly what will sit on your skin. Ask for a stencil on body and check it from three angles while standing in natural light. Confirm scale against nearby features like elbow crease or wrist bones, not just a mirror glance. If you are still unsure, do a temporary placement and live with it for 24 hours while you move, sit, and dress. A small size tweak of 5–10% can be the difference between feeling crowded and feeling balanced.
You can also test the look with a digital mockup. Try a quick preview using our virtual try-on to see how different sizes read on your body, then bring the screenshot to your consult. If you want to experiment with styles before meeting your artist, start a draft in our AI prompt studio, then refine with your artist’s eye.
Session day checklist, what to bring and wear
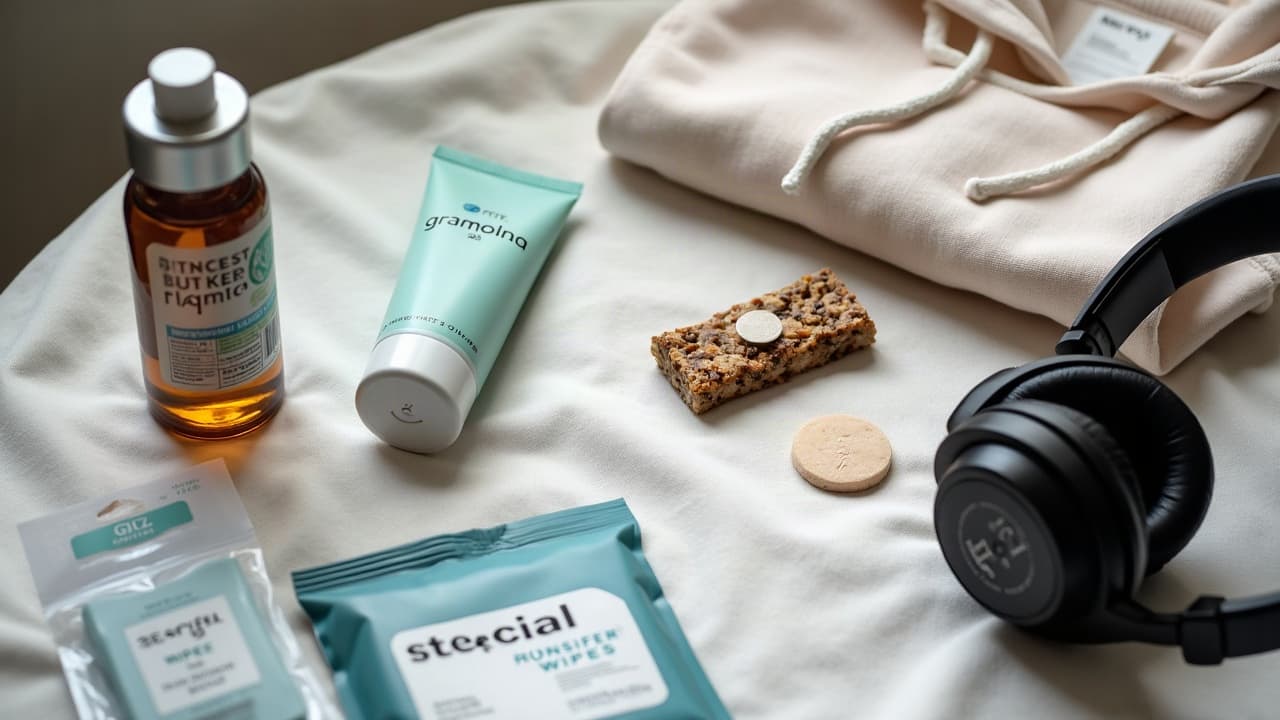
Small comforts compound. You are not high maintenance for packing the right kit. Your artist will appreciate that you came prepared to sit well and stay steady.
- ID, deposit confirmation, and reference images, plus any approval notes you and your artist discussed during consult.
- A water bottle, light snack like nuts or a granola bar, and a sugary backup if you tend to get woozy.
- Headphones with a playlist or podcast, and a phone charger or battery pack so you are not juggling low battery stress.
- Loose layers that allow access without overexposing you, like button-downs for upper arm or shorts for calf.
- A clean barrier ointment like Aquaphor, Hustle Butter, or Bepanthen for aftercare if your artist suggests ointment.
- A clean, small pillow or rolled towel if you need neck or lower back support during long sits.
Stay comfortable in the chair
Three things handle 80% of first tattoo discomfort: breathing, posture, and active breaks. Breathe on a four count in, six out, especially when you hear the machine ramp or the artist works near a bony spot. Keep joints stacked and relaxed, and ask for adjustments to armrests and leg supports. Tell your artist early if a position causes tingling or numbness.
- Topical help: If approved by your artist, apply lidocaine 4–5% cream 30–45 minutes before, then wipe clean at setup. Do not reapply mid-session without guidance.
- Mind focus: Use a podcast you already know or a calm playlist. Familiar audio reduces novelty anxiety better than a brand new soundtrack.
- Micro breaks: Call a 10-second pause at the end of a line, sip water, then reset shoulders. Short, predictable breaks help more than one long stop.
If you feel lightheaded, lie back or put your head between your knees and breathe slowly. Vasovagal dips are common with first-timer adrenaline swings. Medical sources like the Cleveland Clinic note hydration, food, and rest as the strongest controls for fainting risk.
Safety and hygiene you should actually notice
A safe setup looks the same in every city. The artist washes hands, dons fresh nitrile gloves, covers the machine and clip cord with barrier film, and opens needles or cartridges in your view. Work surfaces are wiped with a medical-grade disinfectant between clients, ink caps are single use, and razors or dermaplaners are disposed of in a sharps container. If anything feels off, speak up before the stencil goes on.
For skin reactions or general tattoo care facts, the American Academy of Dermatology is a reliable reference. The FDA also tracks tattoo ink safety and recalls, which is one reason legit artists stick to reputable ink brands and lot numbers. If a shop cannot answer basic hygiene questions, reschedule for a studio that can.
Nail the first 48 hours of aftercare
Your tattoo is an open wound for a short stretch. Most top layers seal in about 10–14 days, though deeper remodeling takes longer. Keep it clean, lightly moisturized, and out of the sun. Some artists prefer breathable film like Saniderm or Derm Shield, others prefer ointment and wrap for the first night, then gentle washing. Both paths work when followed consistently. For what normal healing looks like at each stage, check our signs of healing guide and our moisturizing explainer.
- Remove the wrap when instructed, then wash gently with lukewarm water and a fragrance free soap like Dove Sensitive or Dr. Bronner’s Baby Unscented.
- Pat dry with a clean paper towel. Apply a thin layer of Aquaphor, Bepanthen, or Hustle Butter twice daily for 3–5 days, then switch to lotion.
- If using film, leave it on as directed, usually 24–72 hours, then switch to gentle wash and light lotion like CeraVe.
- Avoid pools, hot tubs, or soaking baths for 2 weeks. Showers are fine. Do not pick flakes or scabs.
- Keep it out of direct sun. After peeling ends, use SPF 30+ on the tattoo whenever it sees daylight.
Dermatology sources like the AAD and consumer health outlets such as Healthline align on the basics of cleaning, light moisture, and sun avoidance. Simple wins here.
If something feels off, here is how to respond
Redness outside the tattoo that expands, heat, pus, or fever can signal infection. These usually show up within 3–7 days. Seek care promptly, and let your artist know. The Cleveland Clinic outlines these red flags clearly. Allergic reactions are rarer, but can happen, especially with certain red pigments. The AAD notes that contact dermatitis and granulomas do occur in a minority of cases.
- Itch management: A cold compress and an over the counter oral antihistamine like cetirizine at night can help. Avoid topical benzocaine unless your artist or clinician okays it.
- Nickel or metal sensitivities: If you have known nickel allergy, mention it. Many modern inks avoid reactive metals, but disclosure helps your artist select pigments.
- Film irritation: If adhesive film causes rash, remove it, wash gently, and switch to lotion care. Document with photos and contact your artist.
For safety around pigments and products, see the FDA’s general tattoo information page (FDA tattoo and permanent makeup overview). When in doubt, better to ask early. Quick guidance in the first 24–48 hours can prevent weeks of frustration.
Your confidence kit, summarized
If you remember only five things: match the artist to your style, hydrate and sleep, confirm the stencil from multiple angles, pace breaks like clockwork, and follow simple aftercare. Product names to keep handy include Saniderm, Aquaphor, Bepanthen, Hustle Butter, Dr. Numb, and Mad Rabbit (non-sponsored examples). Anchor those to clear safety basics from the AAD, FDA, and Cleveland Clinic, and your first tattoo day will feel much more like a collaboration than a test.
Preview your first tattoo before the needle starts. Use AI for Tattoo to generate style options and try placements on your body in minutes. Build confidence by testing sizes and angles, then bring your favorite mockups to your consult. Start with Create or test a placement with Try On, and browse style references in Explore.
Try AI for Tattoo Free