Most first tattoo regret does not come from the needle, it comes from a design that was never truly yours. The first piece that ages well is almost always anchored to a clear personal meaning, translated into a style and placement that match your life now and ten years from now. As a working artist, I’d rather slow you down for an hour than see you rush for a lifetime.
Start With Meaning, Not Motif
Motifs are everywhere, meaning is rare. Before scrolling hashtags, run a simple memory map exercise. Write three columns: people, places, turning points. Circle the items that still change your choices today. Your first tattoo should echo one of those circles, not chase a trend. If you need symbolic scaffolding later, you can pull from references like our guide to symbolic geometry.
- If you lost someone, list the exact details you miss, a voice note time, a flower from their garden, a coastline, then turn one detail into a symbol only family will immediately recognize.
- For a place that shaped you, think coordinates, a plant native to that region, or a skyline linework. Keep one anchor detail literal, and let the rest stay abstract for subtlety.
- For a habit you built, like sobriety or language learning, choose a process symbol, a tally, a date format, or a tool, then decide if it reads publicly or stays coded to you.
- If you want words, pick a single line you already say. Print it at three sizes to check legibility on skin, and choose a font with clean counters so it will age better.
Treat this like songwriting. Your chorus is the core meaning, the verses are supporting elements. Keep the chorus strong enough that even when details blur in 10–15 years, the piece still sings.
Check Cultural and Symbolic Context
Symbols travel across borders, but histories travel with them. If you are drawn to irezumi, sak yant, or Adinkra marks, learn the story, the protocols, and who is invited to wear them. Start with context pieces like our look at tattoo rituals in African cultures, then discuss respectfully with your artist. When in doubt, pivot from sacred mark to a personal echo of its underlying value.
- Research original regions, practitioners, and permissions. Many spiritual designs require a specific blessing or ceremony that cannot be replicated in a studio session.
- Swap restricted symbols for value-aligned forms, for example, if you love protection marks, use your own family crest elements, coordinates, or a custom sigil built from your initials.
- Avoid language scripts you cannot read. If you choose one, hire a native speaker to proof it, then print it at the exact size in millimeters you plan to tattoo.
Skin is long term. Respecting origin stories is not gatekeeping, it is craftsmanship. You can still get something powerful and uniquely yours without copying a sacred template.
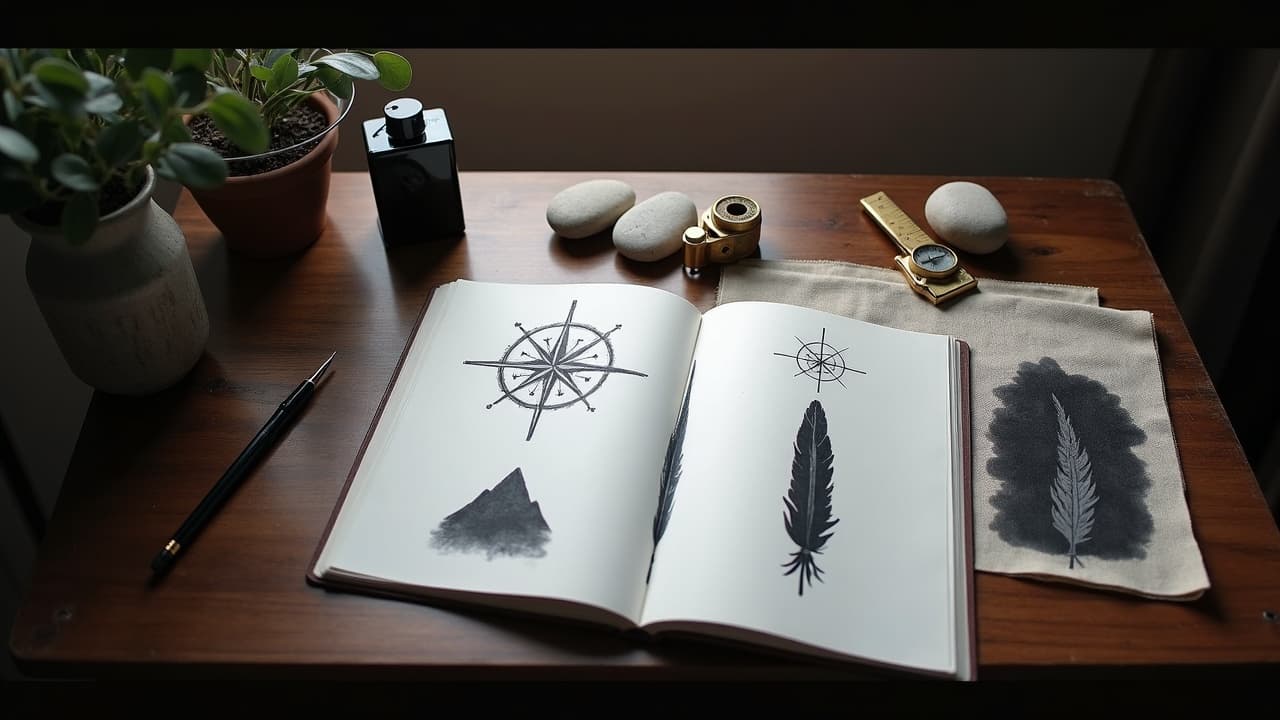
Translate Story Into Style
Style is the vehicle for your meaning. A quiet grief piece reads best in fine line or single-needle greywash. A resilience story often shines in American traditional with bold line and saturated color. Geometric balance pairs with blackwork and dotwork. Browse our style overview to see how line weight, contrast, and texture change the message, then match that to your story and skin tone. Start with styles, and if geometry is your path, circle back to our guide to symbolic geometry.
- Fine line and micro, elegant at pain 2–5/10, but demand precise aftercare. They can blur if placed too small or in high friction zones like fingers.
- American traditional, bolder at pain 4–7/10, built to age. Solid blacks and simple color palettes hold up on varied skin tones for 20+ years.
- Watercolor, luminous but needs strong black anchors to age well. Without line support, soft edges may fade faster under UV exposure.
- Blackwork and geometric, striking at pain 5–8/10 for fills. Consider how large dark fields retain heat and require longer healing windows.
Concerned about aging and fading science rather than opinions, scan authoritative care basics from Healthline. And for allergy or reaction risks, bookmark the American Academy of Dermatology before you pick an ink palette.
Placement, Visibility, and Pain Reality
Placement should serve both meaning and lifestyle. A reminder piece near the wrist stays visible during your day. A private memorial over the heart or rib reads intimate. If you want a design with day-to-day presence and strong composition, the forearm is a reliable first canvas, as we outline in our forearm design guide.
- Lower forearm or outer bicep, pain 3–5/10, great visibility, minimal stretch. Easy to cover with a long sleeve if needed for work.
- Ribs and sternum, pain 7–9/10, breath control required. Gorgeous for linework that follows anatomy, but expect longer breaks and careful aftercare.
- Ankles, feet, and fingers, pain 6–8/10 with higher fade rates. Constant friction and sun mean more frequent touch-ups.
- Upper back or shoulder blade, pain 4–6/10, broad canvas. Works well for pieces that may grow into larger compositions later.
Your daily environment matters too. If you are in public-facing work, a visible hand or neck piece as a first tattoo is a hard start. Build a base elsewhere first, then graduate if you still want it.
Scale, Budget, and Time Horizons
Money is part of meaning. Undersizing a complex story can set it up to fail. Most reputable studios have a $150–$200 minimum, and many first pieces land in the $250–$600 range depending on size, style, and artist demand. Plan for the session, and for maintenance like touch-ups in year 1 if needed.
- Session length for palm-size linework is typically 1.5–3 hours, shading and color can add 1–2 hours. Bring snacks, layers, and a charged phone for reference checks.
- Deposits are usually $50–$200, applied to your total. Rescheduling windows vary, read the policy before you pay so your meaning does not start with stress.
- Healing runs 2–4 weeks for top layer, with full dermal remodeling up to 3 months. Calendar around travel, swimming, and events to give it clean air and time.
- If you are pain anxious, vetted numbing creams like TKTX can help. Always confirm with your artist and review safety notes from the U.S. FDA on tattoo inks.
Budget for aftercare. A simple kit with Saniderm or DermShield, Aquaphor, and a fragrance free cleanser runs $20–$45. If you prefer balms, Hustle Butter or Mad Rabbit are common choices (non-sponsored examples).
Color, Ink, and Longevity
Color is not just vibe, it is chemistry and contrast. Bold blacks create the skeleton of a design. Colors can sing on top of that structure, but some pigments age differently. Reds can be reactive for a small subset of people, and some blues or greens may shift under long UV exposure. For a deeper practical take, see tattoo aftercare for different color inks.
If you have a history of keloids or raised scars, talk to your artist and consider a test dot. Read baseline risk notes from the Mayo Clinic, and review allergy guidance from the American Academy of Dermatology. Regulations around pigment ingredients are evolving, so keep an eye on the U.S. FDA on tattoo inks for safety updates.
Longevity basics are simple. Choose high contrast designs, place them on lower friction zones, protect with SPF 30+ after healing, and keep the top film of healing skin happy and unpicked. Subtle does not mean weak when it is engineered to last.
Choose the Right Artist and Collaborate Well
Artists are translators. Look for portfolios where the work you want is already present, not promised. If you want fine line botanicals, find an artist who posts crisp healed photos of that exact style. Big coastal names like Bang Bang Tattoo in NYC or Shamrock Social Club in LA are not the only answer, but they set a bar for healed results and client process that your local studio should echo.
- Green flags, clear healed photos, consistent line weight, sterilization shown, references credited, and a consult that asks you why this design matters.
- Red flags, only fresh photos, heavy filters, vague pricing, pushy up-selling, or dismissing your cultural concerns. Walk away, your skin is not a sales quota.
- Prep questions that help, use our tattoo consultation questions by style, bring two must-keep elements and one flexible element, and ask for a black-and-white mockup first.
If you have sensitive skin or a history of reactions, flag it. Review allergic reaction basics and myths in our resource on tattoo allergy facts, and cross reference with the American Academy of Dermatology.
Preview, Iterate, then Commit
A great first tattoo is designed forward and tested backward. Mock it at true size, print it on paper, and tape it to your intended placement. Take photos in indoor light and full sun. If you are choosing script, print it at 8 pt, 10 pt, and 12 pt equivalents to see where legibility breaks down. The right design survives these tests with no loss of feeling.
This is where tech helps. Generate a draft from your story, try it on your body at scale, then bring that visual to your consult. You get to keep your meaning intact while your artist refines line weight, negative space, and contour.
Turn your story into a skin-ready mockup now. Use AI for Tattoo to [create a design](/create) from your prompts, [try it on](/try-on) your body with real scale, and browse our [library](/library) for style references you can adapt. Bring the preview to your consult so your first tattoo starts with meaning, not guesswork.
Try AI for Tattoo Free