
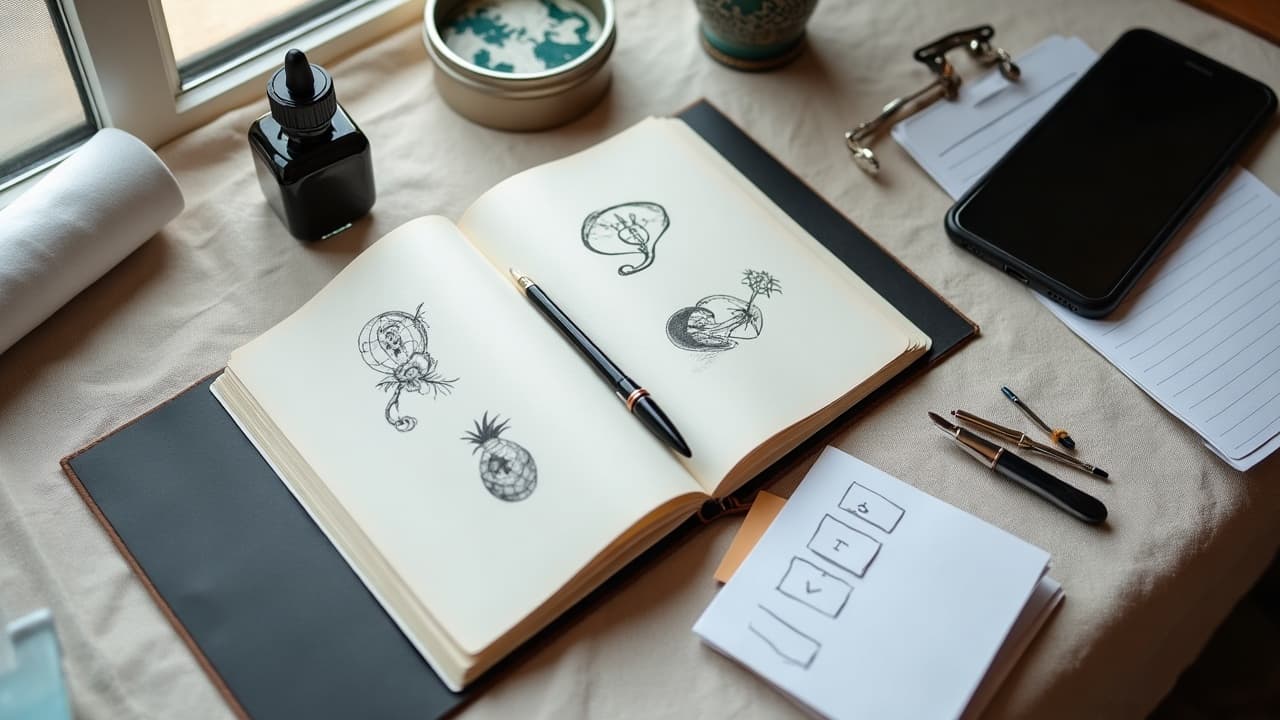
Most consultation problems are visual, not verbal. If you bring precise references and a clear size and placement plan, communication snaps into focus even when you do not share a language with your artist. As a studio habit, I treat visuals as the first language and words as the second. This guide shows you how to prepare, phrase, and confirm your tattoo idea so nothing important gets lost. You will build a simple toolkit, from reference photos to translation cards, and use it to cover size, style, placement, color, budget, timeline, allergies, and aftercare. The goal is a smooth consult and a healed tattoo that reflects your vision.
Let visuals do the heavy lifting
Images translate better than adjectives. Bring 3–6 reference photos that show style, subject, and line weight. Pair them with a quick mockup on your body so the artist sees scale and flow in context. Create a simple collage that shows must-have elements in one frame. If your idea is abstract, mark the hierarchy: what is essential, what is optional, and what should never appear. Visual priority cuts through language gaps fast.
- Use a clean mood board: two blackwork pieces, two fine-line examples, one color palette, one composition reference. Circle the must-keep items in red.
- Print a body photo and draw the tattoo outline to actual size. Write the size in centimeters or inches next to it for clarity.
- Try a digital preview with our virtual try-on. Seeing the piece at 1:1 scale on your arm or ribs removes guesswork.
- If you need help choosing a style, scan our tattoo styles overview and name one style keyword on your board.
Build a short language kit you can point to
You do not need perfect sentences to have a perfect consult. Prepare a one-page sheet with simple phrases in both languages, plus labeled diagrams. Keep it in your phone and on paper. Limit your vocabulary to the essentials: style, size, placement, color, meaning, budget, timeline, allergies, and aftercare. Pointing to a clear noun saves more time than translating a long story.
- Write a 12-line script: “I like this style,” “Black only,” “Soft shading,” “Line weight medium,” “Size 8 cm,” “Placement inner forearm,” “Budget $250–$400,” “Session time 2–3 hours,” “No color,” “Allergy none.”
- Use translation tools offline. Save key phrases in Google Translate or DeepL and screenshot them so you are covered if the shop Wi-Fi lags.
- Label a body outline with arrows. Mark “avoid veins,” “not over scars,” or “not near watch strap.” These notes prevent small but annoying placement errors.
- Create a symbols legend: check mark means yes, X means no, triangle means maybe, clock for timing, dollar sign for cost. Simple icons beat long paragraphs.
Lock down size, placement, and orientation with numbers
Numbers are language proof. Always state exact measurements and intended orientation. A difference of 2–3 cm can change how a design sits across a tendon or wraps a forearm. Use body landmarks for precision. Instead of “upper arm,” say “centered between biceps and deltoid,” or “1 cm above wrist crease, aligned to ulna.” This reduces redraws and protects your session time.
- Bring a ruler and masking tape. Outline the box of width x height on your skin for a stencil preview.
- Note rotation: “rose angle 15 degrees toward elbow” or “text baseline horizontal.” Artists appreciate clear orientation cues.
- Account for movement. Ask for placement that stays readable when you bend or twist. The goal is legibility in everyday positions.
- If skin has moles or scars, mark “avoid” or “include.” Photograph those marks so they are not missed during the stencil.
Talk style, line weight, and color in plain terms
Skip abstract words like “vibe.” Use concrete style labels such as fine line, blackwork, illustrative, American traditional, or watercolor. Pair the label with a close-up of the lines you want. Color and skin tone need clear expectations. If you want muted tones, say “desaturate” or “pastel,” not “soft.” If you have concerns about pigment reactions, mention any past sensitivities before the session starts.
- Define line weight: 0.25–0.35 mm fine, 0.35–0.45 mm medium, 0.45–0.6 mm bold. Pick one for outlines and one for details.
- Show a palette swatch on your skin under daylight. Write “colors at 60–70% saturation” if you want a calmer look.
- Flag red pigments. The American Academy of Dermatology notes red can be a common trigger for reactions. Share any previous issues upfront.
- For style translation help, read our style adaptation guide and bring one edited example to your consult.
Clarify symbolism and cultural details respectfully
Symbols do not travel perfectly across languages. If your design includes text, dates, religious icons, or regional motifs, confirm spelling, orientation, and cultural context. Ask your artist to mirror back their understanding in a sentence or a quick sketch. If you are borrowing from a culture that is not yours, request input on respectful use and proper placement. Precision protects meaning and avoids awkward corrections on tattoo day.
- Print the exact spelling of names or coordinates using the same script you want tattooed. Circle capitalization and accent marks.
- Add a short note of meaning in your language and the shop’s language. Keep it to 1–2 lines for clarity.
- If using foreign characters, supply a vector or high-res reference. Low-resolution screenshots can distort letterforms.
- Ask the artist to send a final proof image. Approve it in writing with “Yes, this spelling and orientation are correct.”
Budget, deposits, and session plan in black and white
Money terms should be as clear as your art direction. Confirm hourly rate or flat price, deposit amount, reschedule rules, and what is included in the quote. Many shops take $50–$200 deposits that apply to the final price. Spell out time expectations too. A medium forearm piece may run 3–5 hours depending on detail and skin. One accurate estimate upfront sets calmer expectations for both sides.
- Write: “Budget $300–$500 total, deposit $100, balance due at session, payment via card or cash.” Take a photo of the confirmation message.
- Ask about redraws and minor edits. Many artists include one round of tweaks before the appointment, major changes may cost extra.
- If you are planning a series, map sessions now. Spacing 4–6 weeks between sittings helps healing and scheduling.
- Need to spread costs? Scan our tattoo financing guide and discuss staged work with clear milestones.
Numbing, skin prep, and aftercare in simple steps
If you plan to use numbing cream, always clear it with your artist. Some formulas can affect skin texture and ink saturation. The Cleveland Clinic provides general guidance on topical anesthetics and safe use. Bring the product to your consult, not just a photo. Aftercare should be communicated in your language. Ask for printed steps or a message you can translate and save. Reputable sources like the Mayo Clinic and Healthline cover fundamentals, and the U.S. FDA monitors tattoo ink safety and reports issues to consumers.
- Show your artist the exact product if using TKTX or similar numbing creams, and follow their timing guide. Not all artists allow numbing.
- Confirm aftercare method: dry heal or second-skin bandage like Saniderm. Ask for the healing window of 2–4 weeks and daily steps.
- Stock aftercare: Bepanthen, Aquaphor, Hustle Butter, or Mad Rabbit as advised by your artist (non-sponsored examples).
- If you have sensitive skin, mention it early. The FDA maintains consumer information on tattoo pigments and reactions at fda.gov.
Use clear approvals, not vague nods
Before you leave the consult, confirm the plan with concrete proofs, not just “looks good.” Ask for the design draft, size, and placement notes in one message or PDF, then save copies. If anything feels off, mark it directly on the image with arrows and short labels. Two or three precise notes beat a long translated paragraph that might miss the point.
- Request a stencil-size image laid over your body photo. Approve with “Yes, 8 cm tall, centered, angle correct,” or reply with specific edits.
- Create a shared album for references, drafts, and healed photos. Title files with version numbers, for example, Lotus_v2_blackline.png.
- Confirm session details in writing: date, start time, location, price, deposit received, and aftercare plan link.
- If language is still a hurdle, bring a friend who speaks both languages, or ask if the studio can provide a translator for 15–30 minutes.
Day-of communication and quick signals
Even with perfect prep, you still need simple signals during tattoo day. Agree on a few nonverbal cues before the machine starts. This keeps you safe and your artist focused. Keep devices handy but not intrusive. If you need translation, pause the machine, use your prepared phrases, and confirm the change on the stencil or skin with one clear photo.
- Set hand signals: tap twice for pause, three times for long break, thumbs up for continue, flat palm for too much pain.
- Bring your printed language kit and a pen. Writing one number or arrow is faster than live translating a paragraph mid-session.
- Ask for an in-chair mirror check after 15–20 minutes to confirm orientation and line weight look right on your skin.
- Save your artist’s aftercare message and translate it into your language now. Recheck it at home to avoid missing early care within the first 48 hours.
Preview designs on your body before you book
If you can show exactly how the piece sits on your anatomy, communication barriers shrink to almost nothing. A realistic mockup creates shared expectations about scale, contrast, and flow across muscles and joints. Use tools that let you experiment quickly without art fees. This takes pressure off the consult and gives your artist a precise starting point instead of a blank page.
- Generate a design seed in your language, then translate only the keywords. Try AI for Tattoo Create and include style tags like fine line or blackwork.
- Test placements with virtual try-on. Save front, side, and bend views so your artist sees movement.
- If you plan negative space or wraparounds, read our negative space guide and mark the exact keep-clear areas.
Bring the language of pictures to your next consult. Generate design options in your own words with AI for Tattoo Create, then preview exact size and placement with virtual try-on. Show your artist a clear, 1:1 mockup and skip the translation stress.
Try AI for Tattoo Free