
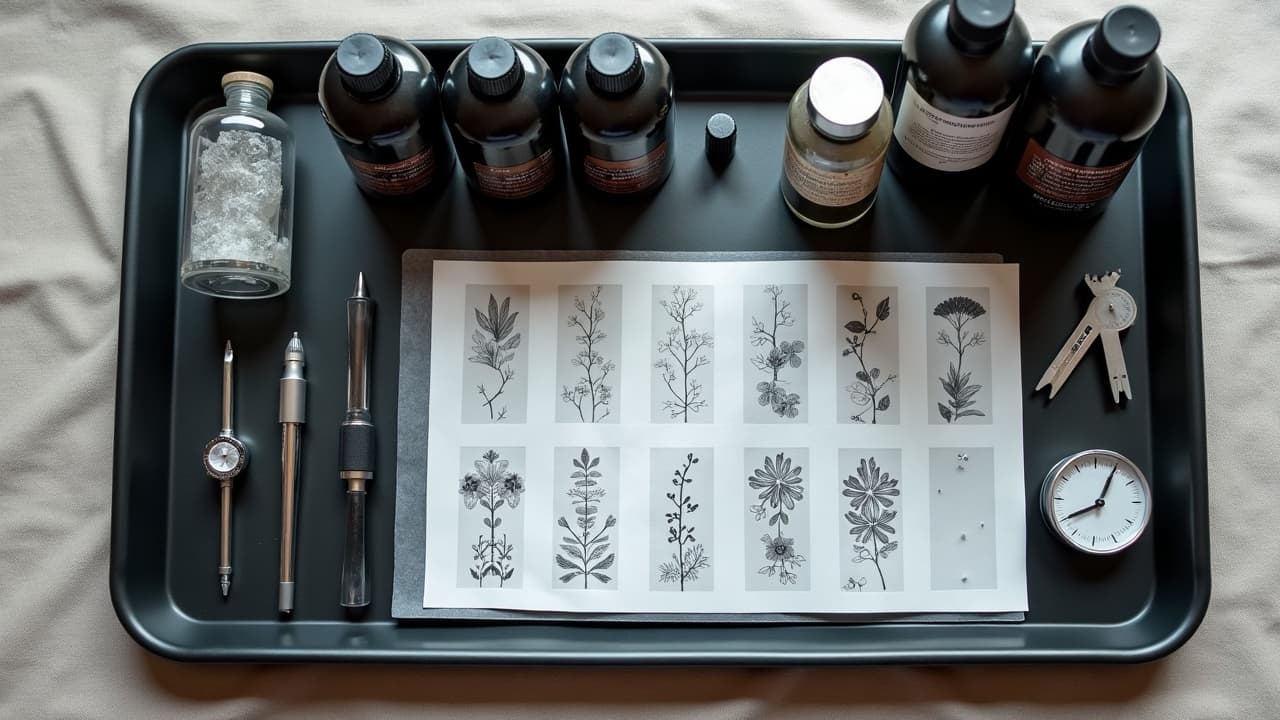
Consistency is engineered long before the stencil touches skin. The artists who deliver cohesive sleeves repeat the same needles, voltages, ink brands, and aftercare across sessions, then verify with healed photos before moving on. UV light causes the biggest color shifts, so sun protection and timing matter as much as the linework itself, a point dermatology groups reinforce for tattoo longevity. This guide gives you the exact questions and prompts to align with your artist so pieces done weeks or months apart still read as one story.
Create a Style Bible Your Artist Can Reuse
A style bible is a one-page spec sheet that nails the parameters of your project. It removes guesswork, especially when sessions are spaced out. Keep it simple, precise, and visual so it is fast to reference in the chair. Agree on line weights, contrast ratios, negative space rules, and a locked color palette that suits your skin tone.
- Linework specs: primary outlines at 0.35–0.45 mm using 9RL, secondary at 0.25–0.30 mm using 5RL. Crosshatching only in shadow planes, no single lines longer than 15 cm without breaks.
- Shading rules: keep 60/40 light-to-dark balance, build mids with 7M or 9M in two passes, hard shadows reserved for focal points only, no pepper shading in highlights.
- Color palette: fix brand and names (for example, Eternal Ink Neutral Gray set, Fusion Power Black, Intenze Crimson). Include swatches and healed references on similar skin tone.
- Texture and detail density: limit micro-texture to one focal zone per piece, maintain minimum 3–4 mm breathing room around key motifs to avoid crowding when viewed at 1 meter.
- Edge handling: soft edge on atmospheric elements, crisp edge on subjects. Avoid mixed edge treatments inside the same subject so contours read the same across sessions.
Bring 2–3 reference artists for shared language. For example, “line crispness like Dr. Woo, flow like Chaim Machlev” tells your artist more than a mood board does. For color blending tactics, point to our color gradient techniques for a terminology set you can both use.
Lock Down Ink Brands, Color Names, and Mix Ratios
Pigments vary between brands and even batches. If you want reds or grays to match months later, your artist needs to record ink brand, color names, and any dilutions they use. The FDA notes that tattoo inks are complex colorants with variable ingredients and labeling, which is why documentation is your friend. See the FDA’s information on tattoo inks for the broad safety context.
- Ask for an ink ledger: brand, color name, lot number, and dilution ratios like 1:3 for gray wash tiers, plus which blacks are for lining versus packing.
- Do a 2 cm test patch for any new pigment, especially reds and yellows. Photograph at day 1, 14, and 45 to confirm tone and reaction before big fills.
- Compare healed to fresh: bring last session’s healed photos. Your artist can slightly over-saturate low-staying hues so they match once healed.
Sun is the silent culprit behind uneven color. The American Academy of Dermatology recommends daily SPF on tattoos to reduce fading. Commit to SPF 30–50 outdoors and cover fresh work during healing. Read the AAD’s sun protection guidance and keep your routine consistent session to session.
Standardize Needles, Voltage, and Hand Speed
Line quality changes if the tool chain changes. If you want outlines and dotwork to match, align on needle groupings and machine setup. Typical crisp lining is done with 5RL–9RL at 7.0–9.0 V on a rotary machine with 3.5 mm stroke. Soft black and gray often uses 7M–15M at slightly lower voltages and slower hand speed. Your artist will tune by feel, but asking them to log the settings is reasonable and professional.
- Questions to ask: Which RL for primaries and which M for shading, what voltage range, and how many passes are planned in dark zones.
- Technique cues: consistent skin stretch, perpendicular angle for lines, sweeping arcs for blends. Confirm they will mirror these across sessions.
- Machine notes: record model and stroke, for example Cheyenne Sol Nova, 3.5 mm stroke, or Bishop Wand Liner, so replacements do not shift the look.
Even slight differences in machine torque or stroke can change dot size and saturation. A shared log avoids “Why is this line heavier on the forearm than the bicep?” surprises later.
Plan Flow, Negative Space, and Landmarks Before Session Two
Consistency is also composition. Decide early where negative space will live so future pieces do not crowd your focal areas. Use the same stencil scale, place motifs relative to anatomical landmarks, and mark connection points at the edges of each session’s work so the next piece snaps in cleanly.
- Measure once, tattoo twice: mark endpoints in millimeters from fixed points like wrist crease, olecranon, or clavicle for reliable alignment.
- Wrap tests: dry-fit stencils at standing and seated posture. Photograph from 0°, 45°, and 90° to confirm flow around curves.
- Edge handoff: end shapes with intentional fades or hard stops, not accidental soft edges. Label these in your style bible so the next session knows how to join.
Mock it before you ink it. Use our virtual try-on to preview scale and flow across joints, then bring screenshots to your consultation. You can launch try-on from this page and save variants to compare.
Time Sessions for Skin Health and Predictable Healing
Fresh skin behaves differently than healed skin. Spacing sessions lets colors settle and lines crisp up, which helps your artist match saturation more precisely. Most pros schedule 3–8 weeks between passes depending on size and placement. The Cleveland Clinic notes that upper skin layers close in about two to three weeks while deeper healing continues, so patience pays. See the Cleveland Clinic’s tattoo care resources for baseline timelines.
Keep your pre-session routine steady. Arrive hydrated, sleep well, avoid sunburns, and limit alcohol the day before. If you use a numbing cream like TKTX, test it on a small area first and tell your artist. For risk context around topical reactions and skin prep, check the Mayo Clinic’s tattoo risk overview.
Manage Session Length and Pain for Uniform Output
Fatigue bends lines and blurs blends. Aim for session lengths you can reliably handle. Many clients do best with 2–4 hours for linework or 4–6 hours for large fills. Schedule 5–10 minute breaks every 45–60 minutes, snack lightly, and bring electrolytes. If pain peaks at 6–8/10, it is smarter to stop and return than to push through and risk shaky execution.
Agree in advance that you will pause when lines begin to wobble or when the skin feels overworked. Consistency is not just technical, it is behavioral. A good artist appreciates a client who sets clear, repeatable session boundaries.
Use One Aftercare Protocol Every Time
Healed texture affects how light hits your tattoo. Switching aftercare mid-project creates uneven sheen or micro-silvering that changes perceived contrast. Pick one protocol and stick with it across every session. The AAD and Healthline both emphasize gentle washing, moisturization, and strict sun avoidance during healing. See Healthline’s tattoo aftercare basics and the AAD’s care tips to calibrate with your artist.
- Film method: sterile wrap like Saniderm for 3–5 days, then unscented wash twice daily, light layer of Bepanthen or Aquaphor for 7–10 days.
- Dry heal: wash gently, pat dry, tiny amount of Hustle Butter or Mad Rabbit twice daily, no soaking or sun for 2–3 weeks.
- SPF and clothing: after peeling, switch to SPF 30–50 outdoors and cover with UPF clothing for uniform color retention.
Named non-sponsored examples: Saniderm, Bepanthen, Aquaphor, Hustle Butter, Mad Rabbit (non-sponsored examples). If your skin is reactive, see our product picks for sensitive skin and run choices past your artist.
Document Every Session Like a Pro Shop
Great studios keep logs. You can too. Photograph fresh and healed work in the same lighting and distance, then screenshot the EXIF data so future comparisons are apples to apples. Put your style bible and notes in a shared folder with your artist so nothing lives only in memory.
- What to record: machine model, stroke length, needle sizes, voltage range, passes per area, and ink brands, color names, lot numbers, and mix ratios.
- Photo protocol: stand 1.5 meters from camera, same lens and room light, angles at front, 45°, profile, and macro at 10 cm for texture.
- Healing checkpoints: day 1, 7, 14, and 45 photos to capture peel, flattening, and color settle for reference before the next session.
If you have a history of color reactions, especially to reds, note it clearly. The FDA and dermatology literature report that red pigments generate more allergic responses than other shades. For research context, browse JAMA Dermatology for tattoo complication overviews at jamanetwork.com/journals/jamadermatology.
Stay Consistent Even If You Switch Artists or Cities
Life moves. Your artist might book out, move studios, or you might travel. A solid paper trail lets another pro match the look. Share your style bible, healed photos, and supply specs, and ask them to do a small connector piece first. If that healed match is good, scale up with confidence.
- Send a pre-brief: style bible PDF, 10 healed photos, and a one-paragraph intent. Expect $50–$200 consults and deposits to hold dates.
- Ask for healed evidence: request at least 5 healed photos of pieces in your desired style to prove technique is consistent, not just fresh sheen.
- Do a test tile: a 2–4 cm joiner element near the planned connection. Review at 4–6 weeks to confirm line weight and gray tone before committing.
If you are commissioning a brand-new concept mid-project, build a clean brief. Use our commissioning guide and seed ideas with AI tattoo prompts so you and the new artist share precise language from day one.
Previewing scale and flow prevents most consistency headaches. Generate on-brand sketches, share a style bible, and test wraparounds with AI for Tattoo. Spin up ideas in minutes with Create and check placement instantly with Try-On.
Try AI for Tattoo Free