
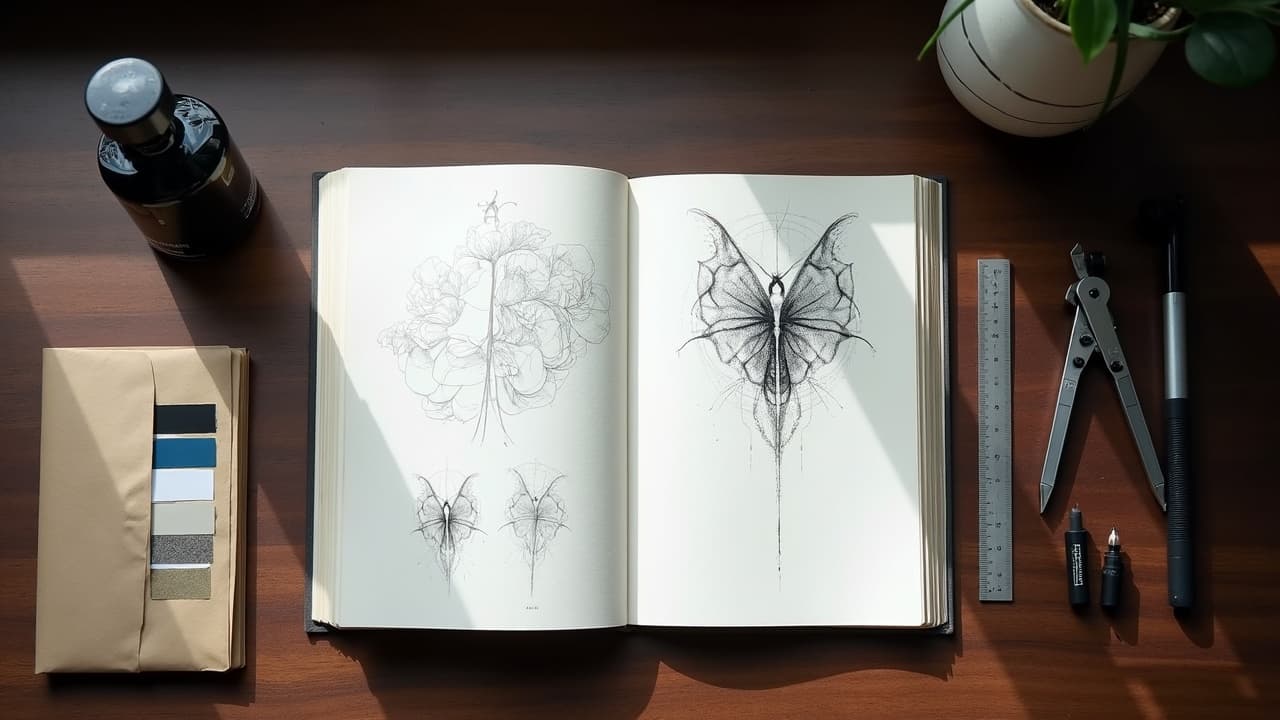
You do not need to be able to draw to commission a world class tattoo. You need a clear brief, the right artist, and timely feedback. Most redraw fees and month long delays disappear when you prepare like a client artists love to work with. Expect a 20–50% deposit, a 1–3 week design window for many pieces, and 1–2 edit rounds if your idea is well framed.
Define your concept before you DM
Start by clarifying what the tattoo must communicate, not just what it should look like. Write the story, the symbolism you care about, and the elements that are truly non negotiable. Decide early on size in inches or centimeters, placement, style family (fine line, American traditional, black and grey realism), and color vs black grey. Lock your constraints first, then give your artist room to design inside them. If you are undecided on size or placement, bracket it, for example forearm or outer calf, 4–6 inches tall. That still lets the artist solve composition without guessing. Budget is part of the brief too. If you have a ceiling, say it plainly, for example $300–$500 or $1,200 day rate, so the artist can right size the concept.
- Use a one page brief: concept in one sentence, what it should feel like in three words, and 3–5 visual must haves. Keep it readable.
- Specify placement with a clear phone photo of the body area, taken square on, in good light. Mark approximate size on the image.
- Pick a style lane: for example, single needle fine line, bold traditional, Japanese irezumi, illustrative neo traditional, or geometric dotwork.
- Decide color mode: full color, muted palette, or black and grey. Note any pigment sensitivities, especially to reds.
- Set a realistic budget range, for example $150–$250 per hour or $800–$1,500 day rate, depending on your city and the artist’s tier.
- State timing: earliest date you can sit, and any hard deadlines, for example wedding on Oct 12.
- Add edit tolerance: are you open to composition changes if it improves flow on your body? Say yes if you trust the artist.
Build a reference pack, not a franken-brief
Great references show direction without telling the artist to copy. Collect 6–12 images that cover subject, line weight, color palette, and texture, plus a couple body placement shots that match your anatomy. Annotate what you actually like in each image. For example, “the negative space in the leaves” or “the bold outer contour, not the inner shading.” Avoid piecing together five artists’ exact motifs into a single mandatory collage. That kills flow. If you are toying with multiple directions, generate quick variations first so you are not asking for two completely different designs. You can prototype with our custom prompt guide or tighten wording using prompt parameters that steer style. Bring the strongest one or two directions to your artist with a clear preference order, not twelve equal options.
- Name the folder “YourName_Project_Placement_Date” and include subfolders: Subject, Style, Palette, Placement.
- Mark what to ignore. A red X on parts you dislike stops accidental carryover.
- Include at least one healed tattoo photo for the style you want, so expectations match how ink actually settles.
- Add a short note on scale references, for example coin or ruler next to a sketch on your skin, to signal true size.
Finding the right artist for custom work
Fit beats fame. Hunt for portfolios where 60 percent of the work lives in your style lane, then check line consistency, contrast control, and healed results. Scan highlights for stencils and freehand markers, which reveal how they build flow on anatomy. Shortlist three artists who already solve problems like yours. Safety matters too. Reputable studios post sterilization protocols and use barrier protection on machines, beds, and bottles. The American Academy of Dermatology notes that allergic reactions, especially to red pigments, do occur, so a pro who quizzes you about sensitivities is a green flag. Read more from the American Academy of Dermatology on tattoo risks and allergic reactions. For general safety and ink oversight, the U.S. FDA on tattoo inks and safety is a solid primer. Price is not uniform. In most U.S. cities, expect $150–$250 per hour, with top tier artists or major metros running $200–$400 per hour or $1,000–$2,000 day rates. Healthline’s consumer reporting tracks similar national ranges, see Healthline’s tattoo cost overview.
- Green flags: healed photos in posts or stories, consistent line weight, clear booking policies, and realistic timelines.
- Red flags: no healed work, copy pasting other artists’ designs, refusing to discuss aftercare, or pressuring you to book instantly.
- Waitlists happen. Good artists book 2–12 weeks out. If you need sooner, ask for cancellation lists instead of pushing rushed design.
First contact that gets a yes
Treat your first message like a mini brief. Artists triage dozens of DMs, so be specific and complete. Email beats DM if the artist requests it. Subject lines like “Custom raven, forearm, 5 inches, black grey, budget $600–800” get opened. Attach everything in one thread, label files, and include your full name and mobile number. If you are open to placement alternatives, say which ones. Include clear, front lit photos of the area without filters. If you are planning a larger project, ask for a consult slot to map flow across sessions.
- Your message checklist: concept sentence, placement photo, size in inches or centimeters, style lane, color mode, budget range, dates you can sit, references link, and any medical notes.
- Ask for a quote format you can compare: hourly vs day rate, estimated hours, number of sessions, and deposit amount. Clarity now avoids bill shock later.
- Be polite about response time. Many artists draw at night, so 48–72 hours is normal. Follow up once if you have no reply after a week.
Deposits, contracts, and scheduling without surprises
Deposits hold your slot and pay for design time. Standard is 20–50% of the estimate, almost always non refundable. Reschedule windows are often 48–72 hours before your appointment, after which the deposit may be forfeited. Ask for policies in writing. Save the email or PDF. If the studio uses an online portal, create the account so invoices and artwork notes stay centralized. Know how you will be billed. A day rate can be cheaper for big projects that require long sits, while an hourly rate is fair for compact pieces that need precision. Ask whether the quote includes stencil time, breaks, and aftercare supplies. For pricing sanity, cross check general ranges with Healthline’s tattoo cost overview. For safety and regulation basics, the U.S. FDA on tattoo inks and safety outlines what is and is not regulated in ink manufacturing.
The custom design process, feedback, and edits
Most custom workflows share a shape. You secure a date with a deposit, the artist sketches during a defined window, you review a draft 3–7 days before the appointment, and small edits are handled ahead of time or during stencil placement. Expect one to two edit rounds. More rounds usually mean a change in concept scope and an additional fee. Give feedback that describes outcomes, not how to draw. “Can we increase negative space around the flower so it breathes more on my arm?” beats “move the petal 3 millimeters.” Trust your artist’s geometry on curves and muscle groups. If scale is unclear, ask for a quick print to place and photograph on your body. That removes guesswork.
- Useful feedback phrases: “too dense in the center, can we open it up,” “bolder outer contour, lighter interior shading,” “rotate 10–15 degrees to follow muscle,” “simplify leaves so they age clean.”
- Flag true deal breakers only once: spelling, meaningful dates, religious or cultural symbols that must stay exact.
- If uncertainty remains, request an in person stencil sizing on the day, with 10–15 minutes reserved to nudge placement before commitment.
Prep for the session and skin readiness
Healthy skin takes ink better. Two weeks out, avoid sunburn and aggressive exfoliation on the area. The day before, hydrate, sleep, and skip alcohol. Eat a carb plus protein meal an hour before you sit. Bring a water bottle and quick snack. If you are considering a numbing cream like TKTX, clear it with your artist first. Not all formulas play nicely with every skin type. Aftercare plans start now. Stock a gentle, fragrance free wash and a light occlusive or ointment. Common kits include Aquaphor, Bepanthen, Hustle Butter, Mad Rabbit, and Saniderm (non-sponsored examples). The Cleveland Clinic guidance on tattoo aftercare emphasizes cleanliness and avoiding submersion early on. For medical background on reactions, check the American Academy of Dermatology.
- Shave only if asked. Many artists prefer to prep the area themselves to avoid micro nicks.
- Wear clothing that grants easy access to the site, and bring a backup layer if the studio runs cool.
- If you have a history of contact dermatitis or pigment reactions, mention it. Reds are the most common irritants according to dermatology sources.
On the day, collaborate in the chair
Arrive on time, clean, and fed. Confirm sizing on skin using a mirror and neutral stance. Take the extra minute to breathe and look from several angles. If the stencil feels off, speak up respectfully before the first line. A good artist welcomes micro adjustments at this stage. During the session, communicate in simple signals. Numbness, lightheadedness, or sharp spikes are worth mentioning. Breaks every 60–90 minutes keep everyone fresh. Have payment ready, including tip. In many cities, 15–25% is standard tipping etiquette for custom pieces, much like hair or cosmetic services. Local norms vary, so ask the studio if you are unsure.
Aftercare that protects the art you just commissioned
Your healing routine is the last 20 percent of quality. With second skin dressings like Saniderm or Tegaderm, typical wear is 3–5 days, then switch to gentle wash plus thin moisturizer for 2–3 weeks. If you skip second skin, wash gently twice a day for the first week, pat dry, then apply a small amount of ointment or lotion as directed by your artist. Avoid pools, hot tubs, and oceans for 2 weeks, and keep it out of direct sun while the top layer heals, roughly 10–14 days. If you see spreading redness, pus, fever, or rapidly increasing pain, contact your artist and a clinician. The Cleveland Clinic publishes clear infection signs, and the U.S. FDA outlines reporting routes for adverse reactions. Long term, protect color with SPF 30–50 once healed. We break down sun strategy in our aftercare and sun safety guide and moisturizer choices in our skin type specific aftercare roundup.
Ready to turn a tight brief into a design your artist can run with? Use AI for Tattoo to prototype styles, dial composition on your body, and arrive with confidence. Generate variations in minutes with Create, then preview placement on your skin with Try On.
Try AI for Tattoo Free