
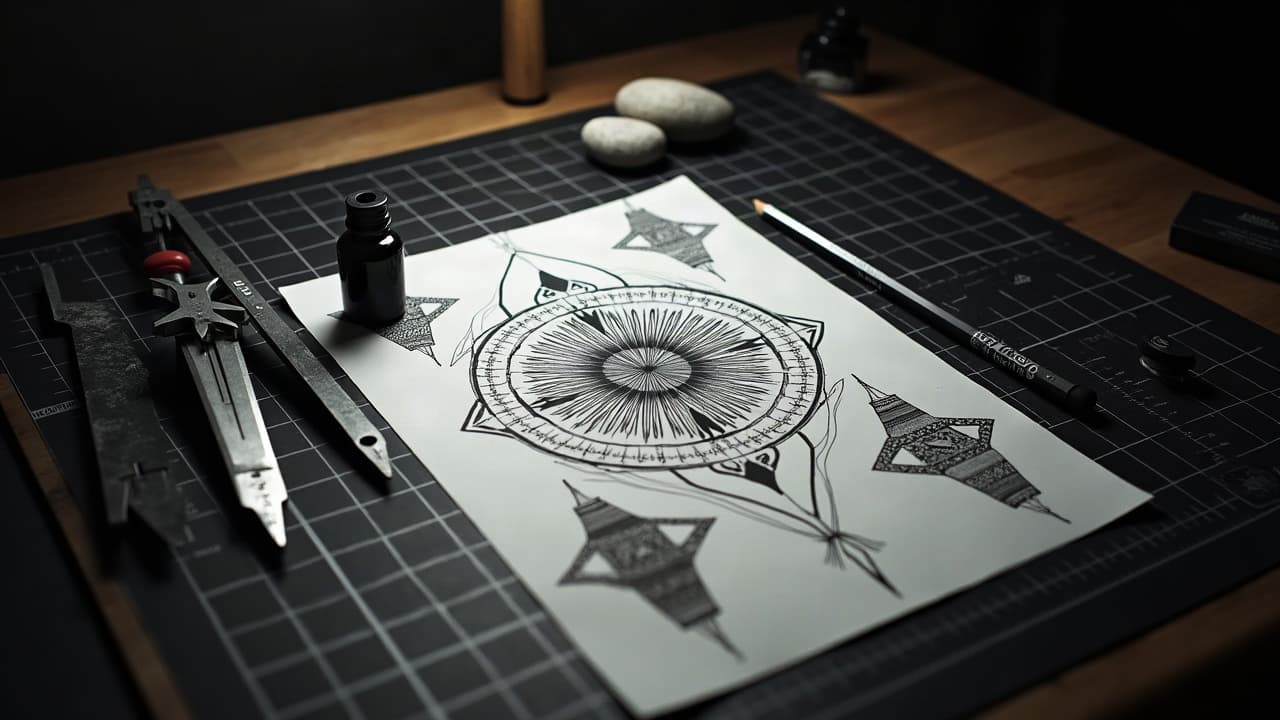
Perfect symmetry is not the goal, readable balance is. On real bodies, bones tilt, muscles bulge, and skin stretches. Great symmetrical tattoo design respects that reality, using composition tools to make both sides feel intentional, calm, and connected. If you master a few practical checks, your symmetry will read at a glance even when anatomy throws you a curve.
What Symmetry Means in Tattooing
Symmetry in tattooing is broader than a perfect mirror. You have several useful modes. Bilateral symmetry mirrors left to right, ideal for chest pieces, forearms, and calves. Radial symmetry rotates around a center, common in mandalas, knees, and elbows. Translational repetition repeats a module at equal intervals, great for spine rows or wrist bands. There is also near-symmetry, where small, controlled deviations are allowed so the design rides the body cleanly. A symmetrical tattoo that breathes with motion will always outlast one that clings to ruler-straight perfection.
Map the Body’s Lines Before You Draw
Start with the body, not the stencil. Establish a centerline using the sternum, navel, and pubic line on the front, or the spine and sacrum on the back. Track fixed landmarks like clavicle arcs, ASIS hip points, patella centers, and Achilles tendons. Note moving landmarks like pec borders or the gastrocnemius belly, which change with posture. Build a light symmetry grid on skin so your art can reference reality at every step. Digital prep helps too: flip your design horizontally in Procreate or Photoshop and overlay a grid that aligns to these same anatomical marks, so placement day is a confirmation, not a guess.
- Landmarks to mark: sternal notch to xiphoid for the centerline, clavicle endpoints, acromion tips, navel center, ASIS hips, patella midpoints, tibial crests, and Achilles midline.
- Useful placement tools: Sharpie Skin, Electrum Skin Prep, Stencil Stuff, flexible tailor’s tape, and a small spirit level for reference only (non-sponsored examples).
- Digital prep moves: set a 1 cm grid, flip on X, label anchor points A-B-C, and print a mirrored pair with 1-2 mm registration dots.
Composition First: Balance the Focal Points
Symmetry that works is built on hierarchy. Decide what the eye should hit first, second, and third. Reserve your highest contrast and thickest lines for the primary focal on each side, then taper to secondary and supporting details. If you’re mirroring, avoid two identical bullseyes at equal strength, which can feel static. Instead, use a 1:0.9 scale shift or a 60-40 contrast split so one side leads by a hair and the other echoes. Black distribution matters more than outline shape. Two shapes can be different yet feel balanced if their visual weight matches through line weight, fill density, and negative space.
Motifs That Mirror Beautifully
Some subjects are symmetry naturals. Geometry, botanical sprays, wings, paired animals, and blades all mirror with minimal friction. When working with cultural motifs like Polynesian patterning or Celtic knots, research and respect context, then align the pattern logic with body lines so the story reads clean from both sides. If you are pairing a text element with a graphic, mirror the mass, not the letters themselves. An italic script mirrored literally will feel off, but a text block balanced against a floral of equivalent visual weight reads effortlessly. For cultural context and meaning, see our piece on tribal vs Western meanings and the impact of colonialism.
- Reliable mirror-friendly subjects: mandalas, laurel wreaths, butterflies, swallows, snakes, swords, phoenix wings, and lotus clusters.
- Botanical tips: mirror the stem gesture and leaf mass, not every serration. Keep petal counts within ±1 between sides to preserve rhythm.
- Animal pairs: angle snouts or beaks 5-10 degrees inward to frame the centerline and avoid drifting attention off the body.
Stencil Accuracy and On-Skin Mirroring
Crisp symmetry is won during transfer. Print two stencils: original and flipped. Add registration ticks at repeatable landmarks like the sternal notch, xiphoid, and ASIS points, or at patella and tibial crest highs for legs. Place the first stencil using your grid, then align the second by matching ticks, not just eyeballing distance. Set centerline anchors in light purple marker so both stencils reference the same spine or sternum path. After transfer, have the client breathe, twist, and raise arms to catch drift. A 3-5 mm tweak now avoids 3-5 cm regret later.
- Stretch consistently: pull skin in the same vector on both sides, so line weight doesn’t fatten on one and thin on the other.
- Cross-check with calipers or a soft tape at three heights per zone, then dot micro-corrections rather than sliding the whole stencil.
- Use durable products: Stencil Stuff or Electrum for crisp holds, then set with Hush Foam Soap before lining (non-sponsored examples).
Line Weight, Texture, and Negative Space
Equality of feel beats equality of measurements. A 9RL on firm pec skin will read lighter than the same pass on soft inner bicep, so adjust needle grouping or passes to equalize read. Make a line weight map before you start: primary outlines, secondary outlines, micro-detail, and texture methods like stipple, whip, or pepper shading. For dotwork or stipple, count time instead of dots, pacing 20-30 seconds per square inch per pass per side. Guard your negative space with the same discipline. Mirrored gaps are what make heavy blacks feel light and structural.
Color and Value: Keep Both Sides in the Same Family
Color symmetry is about value families. Mix a master cup of each tone and work it on both sides in alternation, so shade density and saturation match. Black packing reads uneven if you change grip or angle, so clock your passes and mirror your hand speed. Remember that sun exposure is rarely symmetrical. According to the American Academy of Dermatology, UV exposure accelerates fading, and routine broad-spectrum sunscreen is a key protector for tattoo vibrancy. The FDA notes tattoo inks and pigments are not FDA-approved for injection into the skin, and sensitivities vary between colors and brands, which can change how each side heals or retains tone over time. See the FDA’s tattoo and permanent makeup information for safety context.
- Alternate sides by step: lay midtones left, midtones right, then highlights, to keep saturation parity.
- Protect evenly: apply SPF 30+ on both sides daily once healed to slow asymmetric fading, per AAD guidance.
- If one side lives in sun more, bias a half-step darker value there so long-term read stays 1:1.
When to Break Symmetry on Purpose
Bodies are asymmetrical, and forcing perfect mirrors can look stiff. Use counterbalance instead. If the left clavicle sits higher, nudge the left motif up 3-6 mm and expand negative space slightly on the right. Aim for a 70-30 or 60-40 distribution when anatomy or scars demand difference, then link both sides with a shared center element or flow line. You are designing for how the tattoo reads in motion, so give yourself permission to bend geometry to anatomy. For planning larger journeys with connected balance, check our guide on mapping tattoo journeys and spatial design.
Placement, Pain, and Pricing Realities
Symmetrical placements show up in predictable pairs: forearms, calves, pecs, ribs, and hands. Expect pain to vary across these zones. Calves and outer forearms are often 3-5/10, chests 5-7/10, inner forearms 4-6/10, and ribs 7-9/10. Individual sensitivity and session length matter. The Cleveland Clinic notes broad differences in pain perception and the role of stress and expectation, which is why clean planning and pacing help more than bravado. Pricing usually scales by time, not symmetry status. For mid-size mirrored pieces, think $200-600 per side with 2-4 hours each, depending on detail, color packing, and skin type. Always budget for a 30-60 minute check session to fine-tune line weight or small value shifts once the first healing completes.
Healing Habits That Keep Symmetry Crisp
Healing can tilt symmetry if one side swells more, rubs against clothing, or gets more sun. Standard, consistent aftercare on both sides is the fix. Wash gently with lukewarm water and a mild, fragrance-free cleanser, pat dry, and moisturize thinly. The Mayo Clinic and Healthline both emphasize the basics: clean hands, light ointment in early days, and no picking while flaking. Consider second-skin films like Saniderm for even moisture control, then switch to light hydrators like Bepanthen, Aquaphor, or Hustle Butter after removal. Keep pressure and friction symmetrical too, meaning no sleeping on one side for long stretches during the first week.
- Early window days 1-4: gentle wash twice daily, Saniderm or similar kept flat on both sides, avoid heat and tight straps.
- Middle window days 5-10: light lotion 2-3 times daily, no scratching or gym friction, watch for hot spots or oozing on either side.
- Late window weeks 2-4: resume activity gradually, apply SPF 30+ outside, and book a 4-8 week check for tiny balance tweaks (non-sponsored examples).
Bring AI Into Your Symmetry Workflow
Mirrored work benefits from quick iterations. Generate left-right pairs in minutes, then audition them on actual body photos to catch mass imbalances before you print stencils. Use prompt strategies that specify bilateral symmetry, radial symmetry, or balanced composition to get closer to what you need out of the gate. If your theme carries symbolism, like dual animals or mirrored florals, keep the prompt constraints tight and push variations that test line weight and negative space rather than just subject swaps. For prompt strategy, see our guide to AI prompt flexibility and scaling prompts for specialization.
Ready to see if your symmetry actually reads on your body, not just on paper? Use AI for Tattoo to generate mirrored concepts, preview them on your photos with Try-On, and fine-tune in minutes. Build your pair in the Create tool, browse symmetrical motifs in Explore, then book with confidence knowing the balance holds from sketch to skin.
Try AI for Tattoo Free