
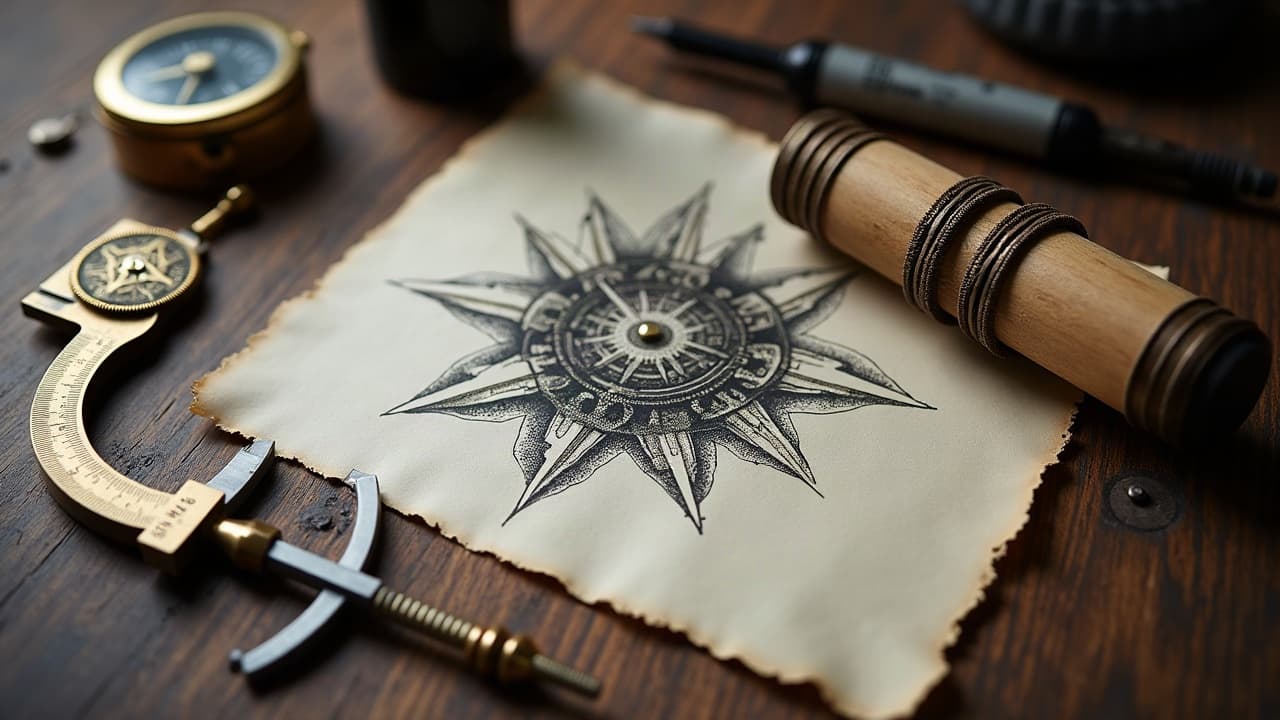
The difference between a jaw dropping mechanical tattoo and a cluttered mess is often 1 to 2 millimeters. A single gear tooth out of register reads as wrong to the eye, even if the shading is perfect. Precision and context are the real aesthetic here, because mechanical imagery promises logic. If you want brass, pistons, and bone to actually feel like they work, design choices and placement have to be engineered, not just illustrated.
Precision Is The Aesthetic: What Makes Mechanical Work Land
Mechanical tattoos live or die on alignment, proportions, and consistent perspective. You can freestyle a rose, but you cannot freestyle gear mesh angles and expect it to look right. Build your forms around the body’s architecture, then map how parts would logically interlock across curves and joints. On a forearm, run your vanishing lines with ulna alignment. On a calf, match the tibial line so pistons ride parallel and do not drift.
Design with readability at 2 meters. If the silhouette reads as a clean mechanism from across the room, close detail will only improve it. Use clear primary forms first, then secondary rivets, screws, and micro chamfers. Keep a single light source for all surfaces so the illusion holds. If you layer too many textures without hierarchy, viewers cannot parse the build and the tattoo feels noisy instead of technical.
Steampunk Done Right: Brass, Rivets, and Narrative
Steampunk is more than putting gears everywhere. Good steampunk tattoo design ties Victorian motifs to believable engineering. Think oxidized brass plates, copper pipes, stitched leather straps, and riveted seams that look like a maker actually built them. Use patina, not rust soup. Aged brass highlights sit warm and soft, and greened copper halos in crevices, not on every edge.
- Anchor the narrative, a pocket watch mechanism driving a compass, or a boiler heart with visible pressure gauge, so detail supports story rather than crowds it.
- Limit metal types to two, for example brass plus steel, to keep color harmony tight and maintenance simple for the eye.
- Design fasteners with purpose, slotted screws where serviceable, rivets where permanent, so hardware choice signals function.
- Frame with scrollwork or filigree in low contrast so ornament does not fight the utility read of the piece.
- Place larger cogs in stable muscle bellies, smaller escapements along flatter spans, to avoid distortion in high motion zones.
Context matters here. If you wear formal sleeves daily, consider upper arm or chest placements that hide cleanly. If you want a wrist watch-window, keep the scale modest and the glass reflection consistent with the same light used across the piece. For deeper style matching, see our style-fit guide before you lock in an artist.
Biomechanical vs Mechanical: Where Flesh Meets Machine
Biomechanical tattoos imply machinery under skin, so the body’s anatomy is your blueprint. Tendons become cables, muscle striations become piston sleeves, fascia planes become mounting plates. Use negative space to peel skin back in readable flaps, then stage depth with soft shadow falloff so it feels surgically real instead of comic-book gory. Crisp edges only on the topmost cut lines, everything else tapers to atmospheric midtone.
Purely mechanical tattoos ignore flesh and present the machine as object, like a sectional drawing or exploded view. That changes your priorities, symmetry and perspective over anatomy. Both can mix, but do not split the difference thoughtlessly. If you plan torn-skin windows, study how your triceps or obliques actually move so the reveal does not stretch in impossible directions. For composition tricks with empty space, skim our negative space primer.
Placement and Scale: Why Gears Need Room To Breathe
Tiny gears blur first. If a gear’s tooth is under 1.5 mm in skin, capillary spread and normal healing can round it off within a year. Reserve high detail for forearm, upper arm, calf, and upper back, areas that give you width to stage mechanisms. For moving joints like elbow and knee, keep the core form simple and let tendons or cables flow through the hinge rather than stacking tiny parts there.
- Forearm panels, medium pain 4 to 6 out of 10, great for long pistons or watch-works that align to the bone.
- Calf or outer thigh, stable canvas and less sun exposure, detail stays crisp with routine SPF.
- Chest panels, high breath motion, design broad plates with fewer micro teeth so reads under stretch.
- Ribs or inner arm, pain often 7 to 9 out of 10, save for larger, simpler silhouettes if it is your first build.
- Hands and fingers, fastest fade zone, keep mechanical iconography bold and graphic, not micro-detail.
Sun is the enemy of finish. Reflective metal effects need intact contrast to sell the illusion. Daily SPF on healed work lengthens crispness, and a second-skin bandage in week one protects edges from snagging. Health editors like Healthline note typical surface healing in 2 to 4 weeks, while deeper remodeling can take months, so plan sessions with recovery in mind.
Linework and Shading Techniques That Sell The Illusion
Mechanical reads rely on clean line weights and believable value ramps. Use a consistent system, thick lines for outer silhouette, medium for part separation, fine micro-lines for engravings. That hierarchy makes instant sense to the eye. Build metal with smooth gradients and leave true black only where light would not reach, under overlaps, deep sockets, and behind layered plates. Save white highlights for the final pass and place them once, on the same light axis, so specular hits connect.
- For brushed steel, favor directional shading that follows panel grain rather than circular blends.
- For knurled knobs, build a faint crosshatch texture, then define only the light-facing edges.
- For chrome, push extremes, crushed blacks beside small bright hits, but keep horizon lines straight.
- For rubber hoses, soften transitions and avoid hard edge highlights, matte first, pop only on bends.
- For depth, stage atmospheric perspective, distant parts a half step lighter and softer to recede.
Do not outline every bolt. Let seams breathe with implied edges where value shifts are enough. Over-outlining makes a machine-cartoon. And if your artist leans realism, ask how they stage large-value fields to prevent silvering as the tattoo settles. Style matching to the artist is half the battle, and our style-fit guide explains how to read portfolios for this exact thing.
Color, Metal Sheen, and Texture Mapping
Color choices telegraph material. Gunmetal sits cool neutral, brass leans yellow-orange, copper pushes red with green patina in recesses, and oiled steel grabs slate-blue midtones. Keep a tight, repeatable palette so the piece feels engineered, not random. Map sheen by surface type, mirror for polished housings, satin for worked plates, matte for rubber and leather. Every surface reflects the same imaginary lamp, so all highlights and shadows should agree.
Sensitivity is real. The American Academy of Dermatology notes that pigment reactions, especially with certain reds and yellows, can occur and sometimes persist, so patch-test history matters and aftercare discipline is non negotiable. Read AAD guidance for a medical overview at aad.org. The U.S. FDA also reminds clients that tattoo inks are not approved for injection and labeling can vary, see their safety notes at fda.gov. Build your plan with that reality in mind.
Contextual Appropriateness: When a Cog Belongs and When It Does Not
Mechanical imagery reads as intentional and technical. If your life or job is hands-on with engineering, timepieces, automotive systems, or fabrication, the fit is natural. If not, tie the build to a personal anchor, a ship winch for a sailor, a camera shutter for a photographer, a prosthetic motif if you live with hardware in your own body. Without a spine of meaning, gears can feel like visual noise.
Consider setting and longevity. Highly visible mechanisms on hands or neck can carry assumptions in conservative workplaces. Scale the story to your life, upper arm plates under a shirt, or a full back assembly for impact without daily visibility. For risk management and complication rates from allergic reactions to infections, peer reviewed sources like JAMA Dermatology maintain ongoing reporting, see their journal hub at jamanetwork.com/journals/jamadermatology.
Budget, Sessions, and Healing: Planning Realistically
Mechanical and biomech work usually sits at the higher end of shop rates because of planning and precision. Typical pro rates cluster around $150 to $300 per hour, and a detailed half sleeve can run 15 to 25 hours. Expect $2,500 to $6,000 for dense forearm or upper arm work, and $3,000 to $8,000 for a full technical sleeve with color. Complex chest or back builds commonly take 3 to 6 sessions to finish without rushing heals.
- Surface healing is often 14 to 28 days, but deeper settling continues for months, per Healthline’s overview.
- Aftercare staples, Saniderm, Bepanthen, Aquaphor, Hustle Butter, Mad Rabbit (non-sponsored examples). Ask your artist which they prefer.
- Numbing creams like TKTX exist, but always clear with your artist and spot test. The FDA cautions about topical anesthetic misuse, see fda.gov.
- Schedule sessions at least 3 to 4 weeks apart so shading blends and linework settle before the next pass.
- If you have a history of dermatitis or metal sensitivity, review AAD guidance and consider a small test tattoo first.
Good aftercare preserves edge fidelity. Wash gently, moisturize lightly, avoid gym friction and sun. For tailored routines by skin type, bookmark our aftercare templates. Strong design plus disciplined healing is what keeps micro teeth and etched knurling crisp at year five.
Previsualize Smart: Stencils, 3D Renders, and Test Fits
Treat mechanical design like product design, iterate before you cut metal. Ask for scaled stencils, check alignment on your body in neutral and flexed positions, and photograph all angles. Many artists mock parts in 3D or photo-bash references to nail perspective. You can do the same at home with a phone and a good try-on tool to confirm silhouette and scale before money hits the table.
If you are building from ideas, generate variants that fix scale and light before you ever book a session. Try a watch movement set high on the forearm versus low, compare a brass boiler heart against a steel piston cluster, and pick what reads best in grayscale and color. For solo concepting prompts, read our autonomous prompt guide, then preview on your skin with our virtual tool to sanity check distortion.
Ready to pressure test your steampunk or biomech idea at full scale? Use AI for Tattoo to generate mechanical tattoo variants, then try them on your body in minutes. Build, compare, and iterate with Create and fit-check instantly with Try On.
Try AI for Tattoo Free