
Tattoo pigment lives in the dermis, not the melanin-rich epidermis. That means color can absolutely show on deep skin when you design for value contrast, control saturation, and photograph healed results. The American Academy of Dermatology notes that ink is placed in the dermis, and that healing outcomes depend heavily on technique and aftercare, not just skin tone (American Academy of Dermatology). Concerns like keloids, allergic reactions, and postinflammatory hyperpigmentation are real, but they are manageable with the right plan, confirmed by guidance from the Cleveland Clinic and the U.S. FDA (Cleveland Clinic, U.S. FDA). This guide breaks down practical choices that keep tattoos crisp and readable on deep skin from day one through year ten.
How Ink Shows Up on Deep Skin, The Real Constraints
Deep skin tones have more epidermal melanin, which filters light before it reaches the pigment in the dermis. The solution is not avoiding color, it is designing for contrast hierarchy. Prioritize a dark anchor, usually cool black or super dark brown, then stack midtones that are one to two steps lighter in value, and reserve the lightest tones for micro-highlights. Low-contrast pastels can be used, but they need more surface area and a bold outline to stay readable. Technically, two things carry readability on deep skin long term: line weight and negative space. Lines that are too fine get crowded by natural skin texture and later by micro-spread. For most designs, a 7RL to 9RL for linework and 11RL or thicker for outlines delivers longevity. Leave purposeful openings so the skin itself acts as a light tone. If you push too much ink to force brightness, you risk overworking, which increases swelling and your chance of postinflammatory hyperpigmentation. The AAD and Healthline both note that darker skin is more prone to pigment changes after inflammation, so gentle technique and smart design matter (American Academy of Dermatology, Healthline).
Best Tattoo Colors for Deep Skin, What Actually Pops
Think in values first, then hue. A strong blue-black or richly packed warm black builds the scaffold. From there, saturated hues with mid-to-deep value read best. Pale inks are not off limits, but they need support from bold shapes and healed-proof placement away from high-friction zones. If you are planning multicolor work, use color blocking rather than thin gradients. Pack color with slow passes and cross-hatching to reduce trauma and avoid chewiness in the dermis. A 13M soft magnum with gentle pendulum motion lays even fields of pigment while keeping the skin calm.
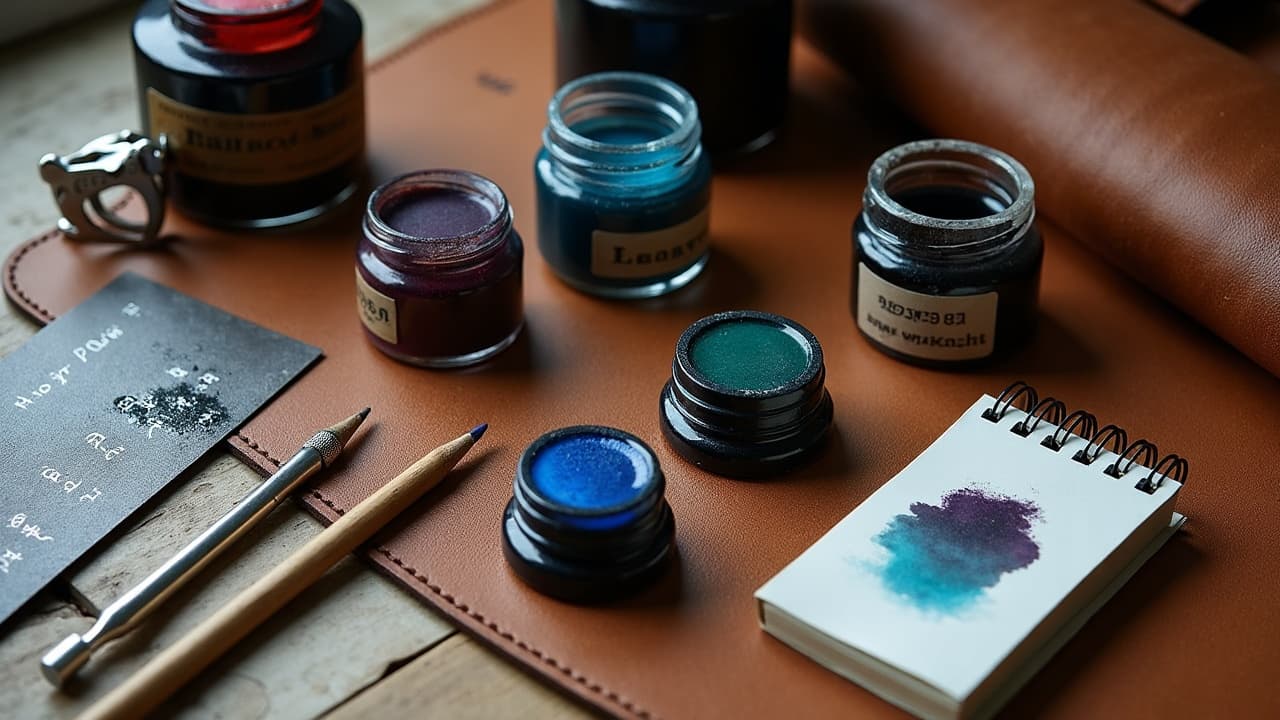
- High-visibility hues, burgundy, brick red, forest green, royal blue, violet, and burnt orange hold up on deep tones when fully saturated.
- Cautious picks, yellows, pastels, and neons can work as accents near bold linework or heavy shadow, not as standalone micro details.
- Smart neutrals, dark olive, cool gray, and espresso brown add readable midtones without fighting undertone.
- Highlights, use warm white or bone only as tiny pops inside a larger dark shape, minimal passes to avoid chalkiness.
- Blackwork options, solid fill, dotwork, and geometric packing create high-contrast motifs that age predictably.
If you have a known sensitivity to certain pigments, especially some reds, discuss ink brands and patch testing. The FDA notes that allergic reactions to tattoo pigments, particularly red, can occur and may be prolonged (U.S. FDA). Bring it up during your consult so your artist can plan substitutions, for example maroon-brown blends in place of bright cadmium-like reds.
Linework, Shading, and Techniques That Love Melanin
For crisp results on deep skin, favor bold outlines and clear shapes. I like a 7RL to 9RL for primary lines and a 11RL or 14RL for shape-defining borders. Keep your stroke consistent and avoid excessive overlapping, which drives trauma and later darkening from healing pigment changes. For shading, whip shading and pepper shading build soft transitions without muddying midtones. In large fields, a 13M to 21M soft magnum with low voltage and moderate hand speed reduces irritation. If the design calls for delicate texture, stipple it instead of micro-hatching at skin level. Texture reads better as spacing, not as tiny lines that will blur.
Placement Tips, Readability, Pain, and Sun Reality
Placement is a visibility decision first. Pick areas with stable skin and lower friction so lines age clean. Upper arm outer, forearm outer, calf outer, shoulder cap, and upper back sit in a sweet spot for readability and healing. Creases and high-movement zones can work, but require thicker lines and larger shapes. Sun exposure matters. Melanin offers some natural protection, but UV still fades pigment. Commit to SPF 30+ daily on exposed tattoos. Healed color remains brighter with consistent sunscreen and occasional shade. Healing time for the top layer is typically 10 to 14 days, with dermal settling taking 4 to 6 weeks, a cadence acknowledged across dermatology sources like the AAD and Healthline (American Academy of Dermatology, Healthline).
- High-read placements, outer forearm, shoulder cap, upper arm, upper back, and calf outer stay legible and photograph well.
- Trickier zones, inner wrist, fingers, feet, and inner elbow need thicker lines and accept more frequent touchups.
- Pain guide, ribs and sternum sit 8 to 9/10, outer arm and calf feel 3 to 5/10, ankle and foot arch around 6 to 7/10.
- Friction caution, thighs that rub, waistline, and armpit can abrade fresh ink and increase hyperpigmentation risk.
- Scale up, tiny micro tattoos lose contrast, aim for 2 to 3 inches minimum for detailed motifs on deep tones.
Scale and Composition, Make It Read From Six Feet
Think billboard, not business card. On deep skin, bold silhouettes, clear negative space, and macro shapes give designs room to breathe. Shrinking a complex mandala to 1 inch trades crisp geometry for a gray blob over time. Bump scale, simplify micro-details, and let your value steps do the heavy lifting. Motif-wise, high contrast styles like blackwork, ornamental, geometric, script with thick strokes, large florals, and abstract silhouette work excel on deep tones. If you love watercolor or pastel looks, anchor them with a black frame, solid shadow mass, or thick script, then float lighter hues inside. For more on color choices and undertones, check out AI color theory prompts and experiment before you book.
How to Pick the Right Artist, Portfolio Reading 101
Representation in portfolios matters. Ask to see healed photos on clients with a similar tone, not just fresh shots under bright lights. Look for clean edges, readable midtones, and consistent saturation without scar shine. Reputable studios like Saved Tattoo in Brooklyn or Bang Bang Tattoo in NYC often show healed galleries across diverse skin tones. If an artist lacks healed examples on deep skin, ask for a small test piece first. Budget realistically. In major cities, expect $150 to $300 per hour, plus a $50 to $200 deposit. Good artists welcome questions about needle groupings, inks, and aftercare. For more ink-selection detail, see our guide to choosing tattoo ink for your skin type.
Aftercare for Deep Skin, Hydration and Gentle Wins
The goal is to heal calm and even. Over-drying or over-scrubbing increases inflammation and can trigger postinflammatory hyperpigmentation on deep skin. Wash gently twice daily with unscented soap, pat dry, and keep a thin layer of moisturizer. Avoid exfoliants, retinoids, and fragranced products on the area until fully healed. A breathable film like Saniderm for the first 3 to 5 days can limit friction if your artist approves. Moisturizers that consistently perform include Aquaphor, Bepanthen, Hustle Butter, and Mad Rabbit balm applied thinly two to three times daily, adjusting for climate and how your skin drinks product. If you are sensitive, see our product picks for sensitive skin and aftercare moisturizers by skin type. Product references, Aquaphor, Bepanthen, Saniderm, Hustle Butter, Mad Rabbit (non-sponsored examples). The Cleveland Clinic highlights that darker skin can be prone to keloids and pigment changes with aggressive trauma, so keep activity low during early healing, wear loose clothing, and avoid picking, peeling, or heavy sweating in week one (Cleveland Clinic).
Keloids, Allergies, and PIH, Minimize the Risks
If you have a personal or family history of keloids, tell your artist up front. Larger-scale trauma, heavy packing in one sitting, and high-tension placements can increase risk. A conservative approach, smaller sessions, and softer shading passes help. Some clients opt for a test dot or tiny line in an inconspicuous area, then wait 8 to 12 weeks to assess healing behavior before committing to larger work. Allergic responses happen to a minority of clients. The FDA reports that reactions, notably to some red pigments, can be persistent and hard to treat once ink sits in the dermis. If you have known dye allergies, ask about brand data sheets and consider patch testing with your dermatologist’s guidance. For hyperpigmentation risk, reduce inflammation, keep the area moisturized and covered as advised, and begin SPF 30+ once the surface is closed, which Healthline and the AAD both recommend for long-term color retention (U.S. FDA, Healthline, American Academy of Dermatology).
Test Designs on Your Tone Before You Book
Seeing a design mocked up on a skin tone close to yours is the fastest way to confirm line weight, contrast, and scale. Prototype with large shapes and solid shadows, then iterate color accents until the hierarchy reads from across the room. Tools like AI visualizers let you compare blackwork vs color, adjust line thickness, and move the design from forearm to calf before you ever send a deposit.
Want proof your color choices will pop on your tone? Use AI for Tattoo to generate variants, tweak contrast, and preview placements on realistic deep-skin models. Start with Create to build a concept, then test it on your body with Try On. You can also browse style ideas in Explore and apply our AI color theory prompts to lock dialed-in palettes before you book.
Try AI for Tattoo Free