
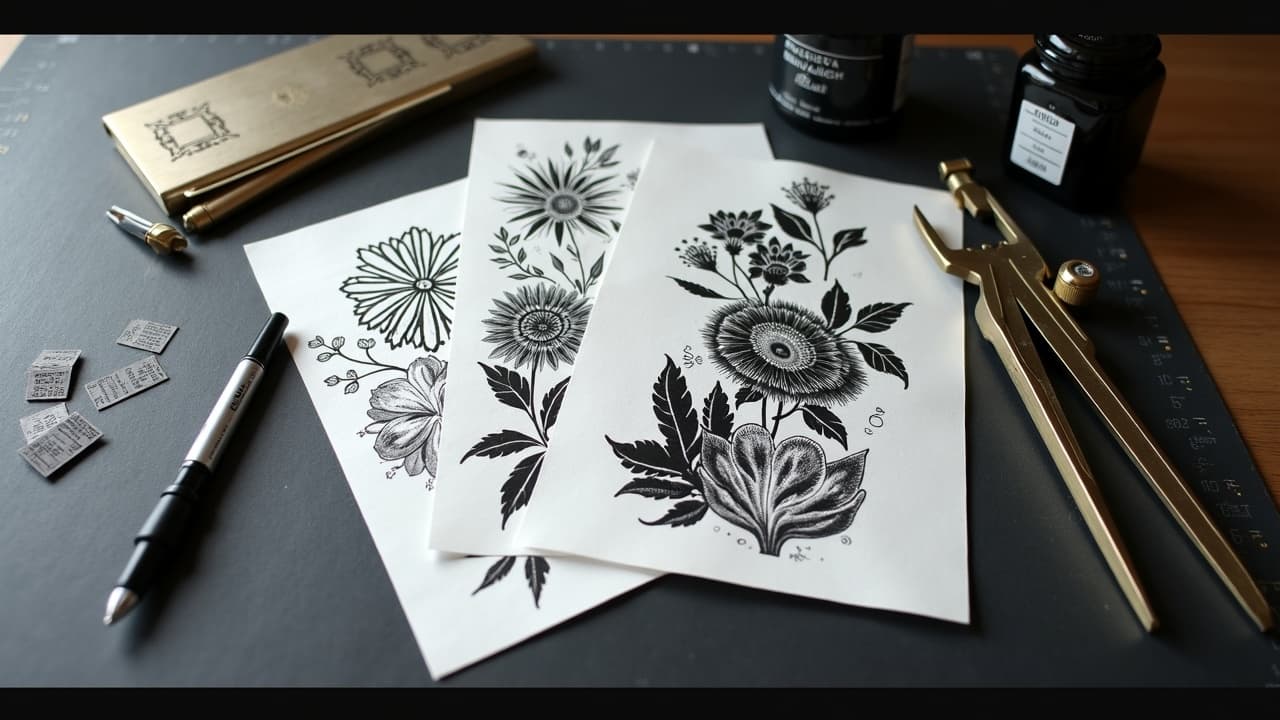
You can get studio-ready AI tattoo drafts in 15 to 30 minutes if your prompt nails story, structure, and constraints. Generic prompts produce generic flash. Specific prompts, with the right parameters, consistently return printable, unique outcomes that still respect tattoo craft. This guide breaks down how working artists translate meaning into clear prompt language that AI understands, then iterate those outputs into skin-safe, stencil-ready art. A quick truth most people miss, your prompt is not poetry. It is a build sheet. The more you clarify subject, placement, scale, line weight, composition, and color strategy, the less you fight random noise. You do not need to copy a famous artist to get a vibe you love. With good references and negative prompts, you can anchor a concept that reads like you, not like everyone else.
Start With a Story, Not a Style
Before tools and parameters, write your why. One meaningful sentence beats a paragraph of adjectives. Convert that sentence into concrete nouns and actions, then decide what must be obvious at a glance. A forearm piece that honors a grandparent might center a singular focal symbol, supported by smaller motifs that matter to you, not Pinterest. Use this rule, if an outsider cannot explain your tattoo in five words, the concept needs tightening or a clearer hierarchy. Define the main symbol, two to three supporting elements, the placement and max size in centimeters or inches, and a primary mood like quiet, kinetic, or meditative.
- Five anchor points to write first: who or what is honored, one core symbol, two supporting motifs, placement and approximate size, and the mood you want viewers to feel.
- Replace vague emotion words with visuals. Instead of “mystical,” say “misty shoreline,” “low-contrast grayscale,” or “soft edges with 2 px lineweight accents.”
- Decide readability distance. Wrist or finger needs bold linework and fewer elements, upper arm can hold more texture and negative space transitions.
- State must-have and must-avoid. “Include compass points, avoid clocks.” That becomes a strong negative prompt block later.
- Pick a storytelling structure, emblematic badge, vertical totem, circular mandala, or landscape band. That single choice cleans up composition fast.
Translate Meaning Into Visual Building Blocks
Break your idea into parts AI can combine. List the subject (heron, laurel, wave), setting (tidal marsh at dusk), style cues (black and gray, watercolor, dotwork, geometric), and composition (centered emblem, diagonal sweep, circular lockup). This is where personal symbolism becomes visual grammar. If geometry carries your message, specify forms and ratios. For example, “nested triangles at 30-60-90, golden-ratio spiral accent, thin to thick stroke contrast.” If painterly color matters, clarify texture like “dry-brush edges, subtle grain, no solid fills.” For deeper dives on meaning-first geometry, see our breakdown of symbolism in geometric designs and for pigment layering see our watercolor layering guide.
Prompt Structure That Consistently Works
Treat the prompt like a checklist the model must satisfy. Here is a practical structure you can reuse across Midjourney, Stable Diffusion, DALL·E 3, or Adobe Firefly (non-sponsored examples): Concept, the one-line story. Subject and key motifs, list in priority order. Style and technique, two to four precise tags, such as fine line, engraving hatching, soft watercolor wash, bold neo-traditional palette. Composition, emblem, vertical totem, circular mandala, or S-curve sweep. Placement and scale, forearm outside, 18 cm tall, leave 5 mm breathing room on edges. Line and texture, single-needle look, or 3 mm bold outlines, specify negative space bands. Color strategy, black and gray, or a limited palette like indigo, rust, bone. Must-avoid, clocks, pocket watches, skulls. Output constraints, 2:3 aspect, white background, centered, high contrast, no text. Example, “heron standing in tidal marsh, laurel sprig and tide lines, fine line engraving with light watercolor wash, vertical totem, outer forearm 18 cm tall, single-needle look, limited palette indigo rust bone, avoid clocks and pocket watches, 2:3, clean white background, high contrast, no text.”
Control Style With Parameters, Not Wishes
Most models accept controls that steer results far more than adjectives. Use aspect ratio to match body real estate, seed to lock randomization for clean A-B tests, stylize or cfg for creativity strength, negative prompts to block clichés, and model or checkpoint choices for line fidelity. If you are a power user, local pipelines like Stable Diffusion with Automatic1111 or ComfyUI, and cloud tools like Midjourney or Firefly can all respect constraints differently. Read our parameter explainer with tattoo-safe defaults in our prompt parameters guide. Keep tests systematic, change one variable at a time, and label outputs with version, seed, and size so you can reproduce winners later. Tip, for linework-centric tattoos, reduce stylization, increase contrast, request white background, and include “no shading gradients” in the negative prompt. For painterly tattoos, raise stylization, specify soft edges, and cap the palette to three to five hues plus black.
Originality, Ethics, and Safe References
Ask models for art traits, not living artists’ names. Referencing “etching linework, 19th-century botanical plates” is safer and more original than naming a contemporary artist. For legal context on originality and authorship, review guidance from the U.S. Copyright Office. It is not a shield for copying, but it helps you understand what is and is not protectable. Treat public-domain and your own photos as gold. Pull your motifs from museum scans, vintage field guides, or personal snapshots. If you include brand logos or protected characters, most shops will decline to stencil them. Keep health in mind too, more than aesthetics are at stake. Tattoo pigments and reactions are documented by the FDA, and skin reactions are covered by the American Academy of Dermatology. Red pigments in particular have higher reaction rates, so keep a skin-safe palette plan if you are color-forward.
Color, Skin Tone, and Readability
Color choices are not just taste, they are physics and biology. On deeper or richly melanated skin, higher value contrast and bolder lines hold better at a distance. Prompt for higher contrast, thicker keylines, and a limited palette that emphasizes darker hues plus saturated highlights, not mid-tones that can mute. For tailored color planning, see our color theory prompt guide and if you are planning placement or tone, review our deep skin tone guide. If you are sensitive or have a history of allergies, prioritize black and gray or a tested ink set and talk to your artist. Reactions and infections are not common but are real risks, detailed by the Cleveland Clinic and the American Academy of Dermatology. Keep your AI outputs aligned to what heals well, clean linework, smart negative space, and avoid unreadable micro-text and overpacked detail.
From Screen to Stencil, Preparing for Skin
Great prompts are step one. Converting AI art into a tattooable plan is step two. Request output that prints clean, 300 dpi, white background, strong black separation, and minimal background noise. Export at least 2000 to 3000 px on the short edge for forearm scale. Vector, like SVG, is ideal for geometric work, but clean high-res PNG is fine for linework. Test sizing on your body. Use a printable mockup or an AR try-on to sanity check scale and flow. You can preview placement with our virtual try-on to avoid last-minute surprises. For markup and cleanup, Procreate, Clip Studio Paint, Krita, and Adobe Fresco (non-sponsored examples) are reliable for smoothing lines and isolating stencil layers. When you book, bring your files labeled by seed, aspect ratio, and size. Your artist will still redraw or refine, but you have shortened the translation loop and removed guesswork.
Iteration Workflow That Saves Time and Money
Aim for a three-pass flow, rough thumbnails, refined composition, final print. Generate 8 to 12 low-cost variations first to explore layout. Pick two, then iterate with minor deltas, single variable changes like seed lock with new negative prompt terms. Finally, upscale and clean lines by hand. Budget wise, expect shops to charge a $50 to $200 design deposit that rolls into the session total. Coming in with a clean prompt sheet and tight references often cuts a design round or two. That is real savings in both dollars and calendar time. If you want to co-create live, bring a tablet and keep the structure handy. You can also generate a base concept in our AI creator, then hand those roughs to your artist to preserve authorship while speeding decisions.
Common Prompt Fails and Quick Fixes
- Fail, too many motifs. Fix, cap elements to one focal and two supports, plus negative space bands so details breathe and read at 1 meter.
- Fail, vibe words only. Fix, replace adjectives with concrete build terms, line weight, texture type, composition shape, and aspect ratio tied to body placement.
- Fail, messy backgrounds. Fix, require white background, “no background elements,” and add a negative prompt for smoke, clouds, sparkles, or bokeh.
- Fail, unprintable micro-detail. Fix, specify bold outlines, limit hatching density, and request “no micro-text.” Scale test on paper before you fall in love.
- Fail, model invents off-theme clichés. Fix, add a Must-Avoid block, “no clocks no skulls no pocket watches,” then set seed and re-roll with only one change.
Health Basics Still Apply
AI can propose a concept, but skin is still skin. If you are considering heavy color or large sessions, plan for 2 to 4 weeks of visible healing for small to medium work and longer for sleeves. Inks are not identical across brands and colors. Government and medical sources like the FDA, the Cleveland Clinic, and the American Academy of Dermatology outline common reactions and aftercare basics. When in doubt, choose designs that read well even if color softens. A practical rule, if a detail is crucial to meaning, make it larger, darker, or simpler. If it depends on tight gradients, expect it to soften in the healed state. Your prompt should anticipate that reality so the final result looks intentional a year later.
Ready to turn a story into a tattooable prompt, not just pretty AI art? Build a structured brief, then generate clean, high-contrast drafts with AI for Tattoo. Use our creator to produce focused variations and virtual try-on to test scale and flow before you book.
Try AI for Tattoo Free