
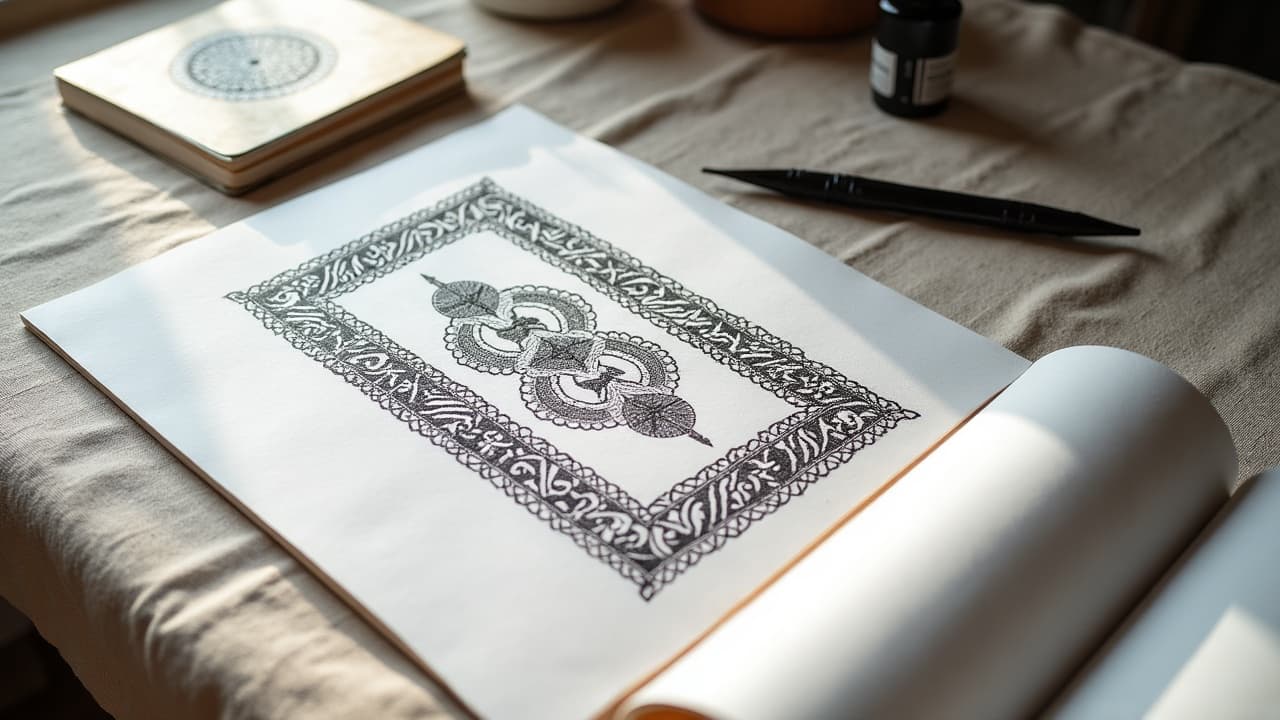
The most convincing cross‑cultural tattoos do not shout symbols, they breathe pattern. When you get line weight, motif scale, and negative space to agree, viewers feel flow first and references second, which is exactly how a respectful blend reads on skin.
Know the pattern vocabularies before you mix them
Start by identifying what is considered ornamental, what is narrative, and what is sacred or restricted. Many motifs look similar at a glance, but their logic is different. Polynesian spearheads read as protection and achievement, Japanese seigaiha waves track rhythm and transience, Celtic knots resolve into endless paths. Misreading one for the other results in visual noise or, worse, unintentional offense. For context on sacred meanings, see our overview of sacred tattoo traditions.
- Polynesian and Marquesan sets use spearheads, enata, shark teeth, arranged in bands. Strict rhythm, high contrast, low negative space between rows.
- Japanese irezumi patterns often anchor with seigaiha waves, asanoha hemp leaf, kikkō tortoise shell. Curved flow, variable line weights, generous negative space near edges.
- Celtic and Insular patterns prioritize interlace and key patterns, tight spacing, consistent line weight, bold knots that resolve cleanly at corners.
- Amazigh and Saharan motifs use lozenges, combs, chevrons with dotted grids, often read in rows across the face or hands.
- South Asian mehndi inspired forms lean into paisley, mandalas, mango motifs with micro-line fills. High density, elegant tapers, delicate dotwork.
- Indigenous North American patterning varies widely, from parfleche diamonds to Northwest Coast formline. Some are clan restricted, so verify usage before adoption.
Do your research outside of social feeds. Museum and anthropology collections help with context and restriction boundaries. A good starting point is the Smithsonian’s collections and essays, which catalog historic pattern sets and explain which are tied to ceremony.
Respect, consent, and what not to use
Appreciation starts with asking whether a motif is restricted, then whether it lands on your body appropriately. Many patterns represent lineage, rites of passage, or social rank. If you do not have the right to wear a rank mark, do not bend the rule. Keep inspiration at the level of geometry and rhythm, not borrowed status. If religion is involved, review our culture and religion guide to avoid trespassing.
- Map the meaning. Write what each candidate motif means, who it belongs to, and whether it is restricted publicly or by gender.
- Seek informed guidance. A consult with a culture bearer or specialist can run $50–$200, money well spent to prevent a lifetime error.
- Favor pattern logic over sacred emblems. Build from grid, rhythm, tessellation, not from ceremonial crests or status marks.
- Use provenance in your brief. Tell your artist exactly which sources you referenced so they can add or remove elements with intent.
If allergies or medical concerns are part of your planning, remember that tattoo pigments are not FDA approved for injection and reactions, especially to red pigments, occur more often than most people think. See the FDA’s tattoo and permanent makeup page and guidance from the American Academy of Dermatology and the Cleveland Clinic about allergic and photoactive reactions. Patch testing small areas or avoiding problematic reds can reduce risk.
A design framework for interweaving aesthetics
Interweaving works best when the structure is planned like a score. Build hierarchy first, then transitions. Choose one dominant pattern language and one supporting accent. Keep their line weights in a 1:1.5 or 1:2 ratio, so the eye knows which voice to follow.
- Flow map first. Sketch body lines, then assign pattern lanes with negative space gutters between cultures. Empty space is your strongest translator.
- Standardize units. Keep motif scale consistent in each band, for example 6–8 mm repeat on the forearm, so rhythms do not argue.
- Control line tools. Pair a 3RL for detailed cultures with a 7RL or 9M for bolder sets to keep edges crisp at different densities.
- Use digital scaffolds. Draft in Procreate or Adobe Illustrator with symmetry and guides, then print at 100 percent scale to test wraps on the body (non-sponsored examples).
When the rough reads, test three transition strategies: hard cuts with a rule line, braided overlaps with dotwork fades, and soft merges using whip shading. Err toward less overlap. When in doubt, separate with a thin negative break so each culture speaks clearly.
Motif pairings that resolve cleanly
Some cultures share geometric DNA and sit together naturally. Others need a careful spacer seam to avoid collision. Here are reliable pairings that stay respectful of meaning while delivering strong visual rhythm.
- Japanese seigaiha with Celtic key patterns. Keep wave arcs large, let the keys compact. Separate with a 3–4 mm negative seam so curves and right angles do not fight.
- Polynesian spearheads with Amazigh lozenges. Use spearheads as the anchor band, lozenges as the lattice infill around joints. Avoid lifting sacred Marquesan faces or rank marks.
- Mehndi paisley and mandalas with Japanese asanoha. Tapered lines and dotwork give a natural bridge. Keep paisley density as the focal voice, asanoha as a steady textural ground.
- Nordic knotwork with Celtic interlace. Use distinct line weights to avoid visual merger, and angle the Nordic band with body flow for movement.
- Art Deco chevrons with Berber chevrons. Different eras, similar geometry. Vary scale, for example 8 mm vs 4 mm repeats, to create hierarchy without cultural confusion.
When testing pairings, print at full scale and tape to the body. Step back 2–3 meters. If you cannot read both languages cleanly at that distance, increase the seam or reduce one pattern’s density.
Plan the body flow and placement
Patterns fail when they ignore anatomy. You want motifs to flex with muscle, not against it. On limbs, run bands slightly diagonal to mimic muscle fiber direction. Around joints, use smaller repeats so details do not break up when you bend. Decide early which surfaces are high wear areas, since hands and feet can soften edges faster.
- Forearm wraps love 30–45 degree diagonals that echo brachioradialis flow. Taper pattern scale toward the wrist for continuity.
- Shoulder caps take radial layouts well. Use a mandala or kikkō shell as the hub, then feed bands into chest and shoulder seams.
- Back panels can carry two cultures with a spine negative space seam, left and right. Anchor with heavier line weight near the spine for balance.
- Inner biceps and ribs are moderate pain, roughly 5–7/10, so schedule breaks and simpler micro-fills there to maintain line quality.
If you prefer bolder line engines, machines like Bishop Rotary, Cheyenne Hawk Pen, or FK Irons Flux deliver stable power for long bands, and solid inks like Dynamic Black and Eternal Ink hold edges well on patterned work (non-sponsored examples).
Linework, texture, and shading bridges
Mixing cultures means mixing textures. You can bridge dense and open languages using consistent edge treatments. Use hatching or stippling to slow a dense field into an open one. Or graduate from pepper shading to clean skin before the next band begins. Keep your needle groupings consistent throughout a section so patterns read like one voice, not a chorus competing.
Mind pigment choice. Black and gray holds for decades with the least conflict across cultures. Color is beautiful, but check for sensitivities. Red inks trigger more allergic reactions than blues or blacks per dermatology sources. Review reaction risks with the American Academy of Dermatology and the Cleveland Clinic. Tattoo inks are not FDA approved for injection, so sourcing from reputable makers matters, see the FDA general guidance.
Color strategy that honors tradition
If you add color, do it with a plan. Start with value maps in grayscale, then drop color families. Japanese palettes love indigo, vermilion, moss green with paper-like off whites. Celtic and Nordic sets hold best with restrained metallic impressions using muted ochres and umbers. Mehndi inspired work reads elegantly as rich brown monotone or soft burgundy transitions.
- Limit your palette. Two to three hues plus black keeps the cultural hand visible and reduces maintenance.
- Color separate by culture. Assign Japanese blues to the wave band and keep Celtic knots in grayscale to maintain identity.
- Test against your skin tone. Deep skin loves high value contrast and larger color fields. See our deep skin tone guide.
- Check lightfastness. Choose brands rated for stability and avoid fugitive pigments that chalk out early.
If you are building concepts digitally, lean on symmetry guides and palette libraries in Procreate or swatch sets mirrored from print standards like Pantone, then translate to tattoo ink equivalents from World Famous, Solid Ink, or Eternal Ink once you are in the studio workflow (non-sponsored examples). For color planning prompts, try our color theory prompt guide.
Stencil, session, and healing strategy to keep patterns sharp
Crisp pattern only stays crisp if you transfer it clean and let it heal undisturbed. Use solid transfer systems like Spirit Classic Freehand or ReproFX stencil paper with Stencil Stuff or Electrum to lock lines before you start. For long bands, stencil in segments to prevent warping when the client breathes or moves.
- Session plan. Break the project into 2–4 hour blocks for high density pattern. Longer sessions risk swell that distorts tight repeats.
- Aftercare. Cover with Saniderm or Dermalize for the first 3–5 days, then moisturize lightly with Aquaphor, Bepanthen, or Hustle Butter for 14–28 days (non-sponsored examples).
- Budget. Expect $300–$1,200 for a medium band or panel depending on city and artist pedigree. Complex interweaves and redraws add time.
- Sun and swim. Avoid UV and soaking for the first 3–4 weeks. Patterns lose edge quickest from sun exposure and friction.
If your skin runs sensitive, pick fragrance free moisturizers and watch for redness that spikes after day three. For product ideas by skin type, see our aftercare and moisturizer guide.
Collaboration workflow that respects culture and craft
Cross‑cultural pattern work thrives on collaboration. Bring real references with citations, not Pinterest mashups. Tell your artist where you stand culturally and what you hope to express. Expect to fund a proper design phase. A good custom process usually starts with a brief, then black and white proofs, then body placement maps. Deposits often run $100–$300 and are credited toward the session.
- Audit portfolios for line discipline. Look for consistent line weight, clean corners, and non-blown dots across healed photos.
- Ask how they plan seams. You want a clear strategy for negative space seams, overlaps, and shading bridges.
- Agree on what is off limits. Write restricted motifs into the contract so nobody adds them later under pressure.
- Share tests on your body. Print at 100 percent, tape, photograph front and side. Repeat until flow is undeniable.
If you like to test compositions quickly, you can build a prompt set, then prototype at-scale with tools before committing. For symbolic guardrails and meaning checks, read our geometric symbolism guide.
Ready to test your cross‑cultural pattern idea without risk? Use AI for Tattoo to generate banded or panel concepts that respect seams and line weights, then preview them on your body with the virtual try on. Start with a few guided prompts, iterate fast, and take the best draft to your artist. Build now in Create, browse ideas in Explore, and preview placement in Try On.
Try AI for Tattoo Free